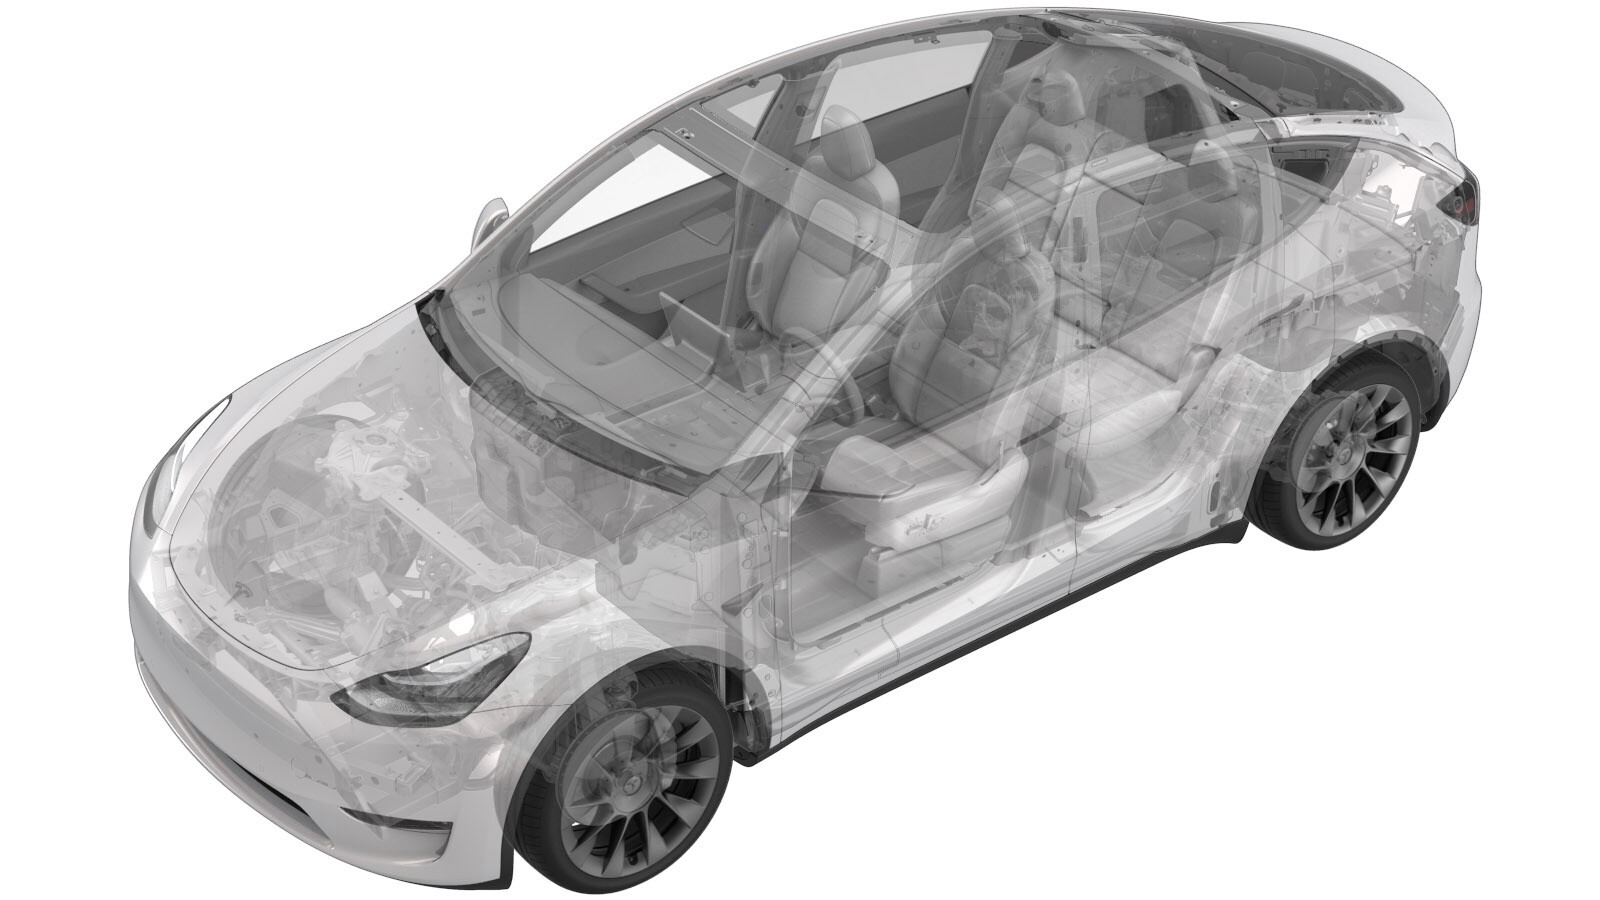
Brake Pedal (Structural Pack) (Remove and Replace)
 Correction code
33251022
0.84
NOTE: Unless otherwise explicitly
stated in the procedure, the above correction code and FRT reflect all of the work
required to perform this procedure, including the linked procedures. Do not stack correction codes unless
explicitly told to do so.
NOTE: See Flat Rate
Times to learn more about FRTs and how they are created.
NOTE: See Personal Protection to make sure wearing proper PPE when
performing the below procedure. NOTE: See Ergonomic Precautions for safe and healthy working
practices.
Correction code
33251022
0.84
NOTE: Unless otherwise explicitly
stated in the procedure, the above correction code and FRT reflect all of the work
required to perform this procedure, including the linked procedures. Do not stack correction codes unless
explicitly told to do so.
NOTE: See Flat Rate
Times to learn more about FRTs and how they are created.
NOTE: See Personal Protection to make sure wearing proper PPE when
performing the below procedure. NOTE: See Ergonomic Precautions for safe and healthy working
practices.
- 2023-12-08: Removed brake stiffness routine.
- Open the LH front door and lower the LH front window
- Move LH front seat backward
- Open hood
- Remove the rear underhood apron. See Underhood Apron - Rear (Remove and Replace).
-
Remove bolt securing frunk to washer fluid reservoir neck
Note1x bolt, 10mm, 5 Nm
-
Release washer tank neck from washer tank and set aside
Note1x O-ring, No need to remove hose from neck
-
Remove HEPA filter assembly
Note2x bolts, 10mm, 5 Nm, Pivot rearward edge up and past brake reservoir, then lift up to clear frunk assembly
-
Power off vehicle from center display
NoteVia Controls > Safety > Power Off, Select Power Off button at warning dialogue box
-
Disconnect LV battery connector and First Responder Loop
Note2x connectors, Lift up and release green locking tab, Pull black connector lock outwards to release connection, Release red lock tab on FRL, Allow 2 minutes for all electrical circuits to fully discharge
- Remove LH front floormat
-
Remove LH console side panel
carpet
Note11x clips, 2x guide pins, Use trim tool starting at top edge to release upper clips, then pull bottom to release remaining clips, Use caution and pull panel straight away from console, if panel is peeled off it could be damaged
- Remove the driver knee airbag. See Airbag - Knee - Driver (Remove and Install)
-
Remove the LH footwell air duct
-
Disconnect brake switch
Note1x connector
-
Remove brake switch from pedal assembly
NoteTwist counter clockwise 45 degrees to remove. Replace if damaged during removal
-
Remove cotter clip from clevis pin on brake pedal assembly
Note1x clip
-
Remove clevis pin from brake pedal assembly
Note1x pin
-
Disconnect accelerator pedal connector
Note1x connector, Do not push down on Red tab, Pull red tab to disengage lock, Pull again to release connector
-
Remove clip securing pedal harness to pedal assembly
Note1x clip
-
Remove inner nuts securing pedal assembly to superdash
Note2x nuts, 13mm, 16.5 Nm, Discard nyloc nuts after removal
-
Remove outer nuts securing pedal assembly to superdash
Note3x nuts, 13mm, 16.5 Nm, Located under cowl, Discard nyloc nuts after removal
-
Remove pedal assembly
Note2x studs, Release from iBooster studs then negotiate around iBooster rod
-
Position pedal assembly
Note2x studs, Negotiate around iBooster rod then secure onto iBooster studs
-
Install outer nuts securing pedal assembly to superdash
Note3x nuts, 13mm, 16.5 Nm, Located under cowl, Install new nyloc nuts
-
Install inner nuts securing pedal assembly to superdash
Note2x nuts, 13mm, 16.5 Nm, Install new nyloc nuts
-
Install clip securing pedal harness to pedal assembly
Note1x clip
-
Connect accelerator pedal connector
Note1x connector, Engage locking tab
-
Align brake pedal to iBooster rod and install clevis pin to brake pedal assembly
Note1x pin
-
Install cotter pin into clevis pin clip on brake pedal assembly
Note1x clip
-
Install new brake switch clip into the new pedal assembly
Note1x clip
-
Install brake switch onto pedal assembly
NoteConfirm that the brake pedal is in the home position, iBooster and Brake Pedal must be assembled together for brake light switch to be installed, Push the brake switch into the clip until it stops (don't push so hard as to move the brake pedal), Twist clockwise 45 degrees to set the brake switch, Make sure brake switch connector facing RH side of vehicle with connector pins vertical
-
Connect brake switch connector
Note1x connector
-
Install the LH footwell duct into HVAC module
-
Connect the driver knee air bag and
install into vehicle
Note1x connector, Use caution not to damage the connector/harness, Support the knee air bag while connecting the connector
-
Install fasteners securing driver knee
air bag to vehicle
Note4x patch bolts, E10, 8 Nm, Install new patch bolts, 2x screws, T20, 2 Nm, 2x push clips
-
Install connectors to LH footwell cover
and position for installation
Note3x tabs, 1x Ethernet connector, 1x puddle light connector
-
Install screw and clips securing LH
footwell cover
Note1x screw, T20, 2.5 Nm, 2x push clips
-
Install LH console side panel carpet
Note11x clips, 2x locating pins, Position side panel and align the front into front locator, then the rear locator, Push side panel towards console to install
- Install LH front floormat
-
Connect first responder loop and LV battery
Note2x connectors, Secure FRL first, Seat LV battery connection and push black connector lock inwards to secure, Engage green locking tab when fully seated
-
Install HEPA filter assembly
Note2x bolts, 10mm, 5 Nm, Pivot forward edge down past frunk assembly, then carefully move rear edge past brake reservoir and into position
-
Install washer tank neck to washer tank
Note1x O-ring, Ensure washer hose is properly routed after installation
-
Secure frunk to washer fluid reservoir neck
Note1x bolt, 10mm, 5 Nm
- Install the rear underhood apron. See Underhood Apron - Rear (Remove and Replace).
- Close hood
- Move LH front seat to original position
- Raise LH front window
- Close LH front door