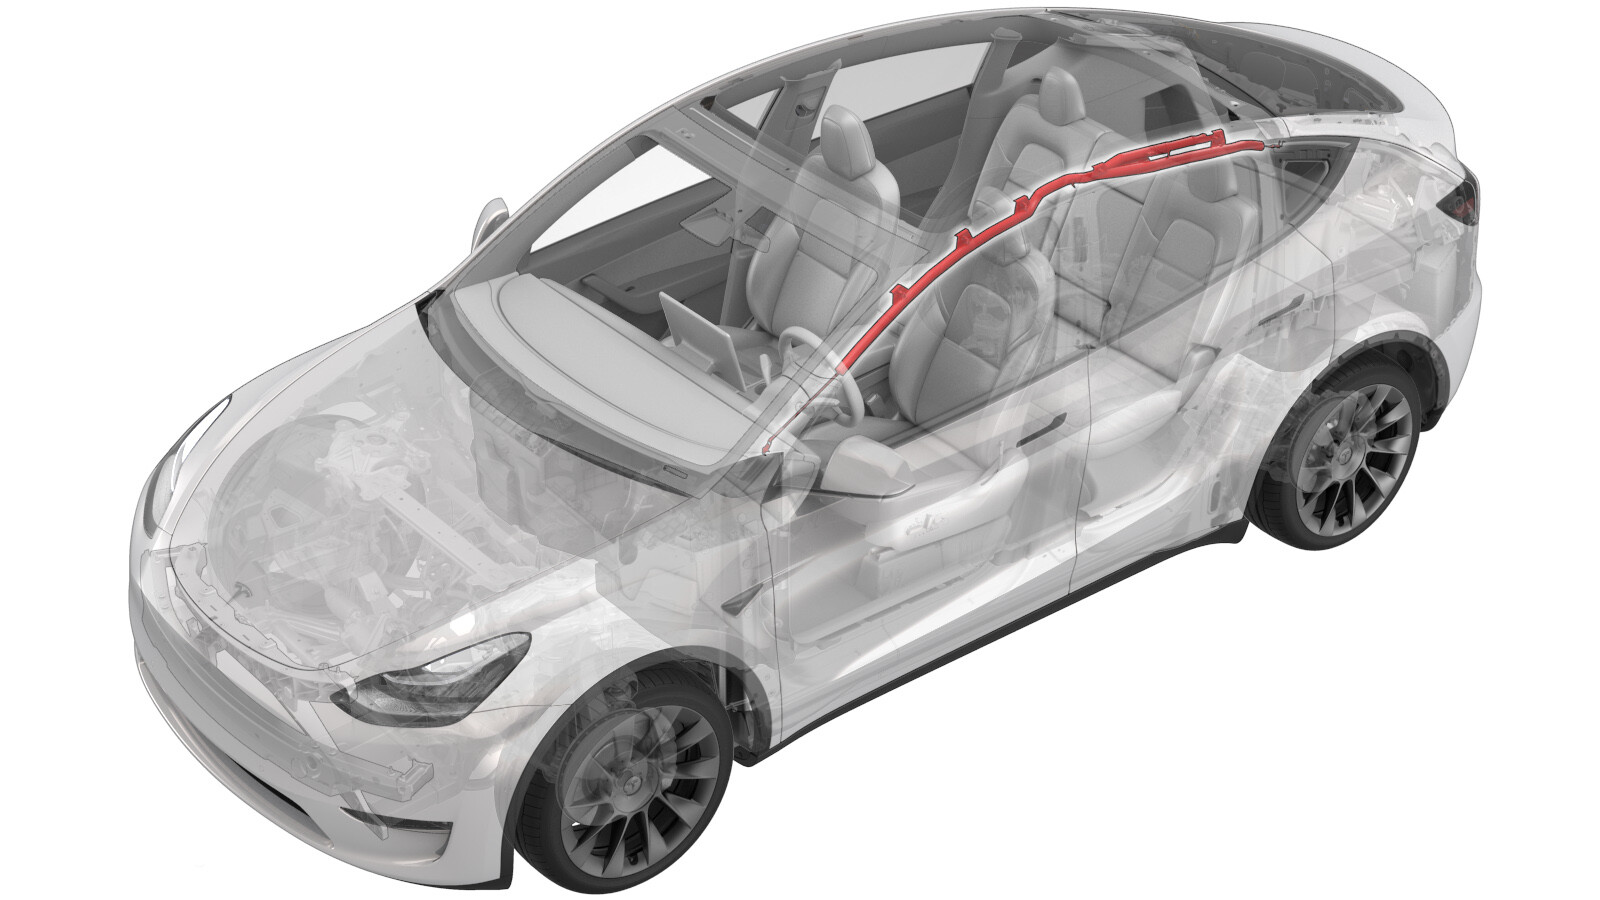
Airbag - Curtain - LH (Remove and Replace)
 Correction code
20012002
1.62
NOTE: Unless otherwise explicitly
stated in the procedure, the above correction code and FRT reflect all of the work
required to perform this procedure, including the linked procedures. Do not stack correction codes unless
explicitly told to do so.
NOTE: See Flat Rate
Times to learn more about FRTs and how they are created.
NOTE: See Personal Protection to make sure wearing proper PPE when
performing the below procedure. NOTE: See Ergonomic Precautions for safe and healthy working
practices.
Correction code
20012002
1.62
NOTE: Unless otherwise explicitly
stated in the procedure, the above correction code and FRT reflect all of the work
required to perform this procedure, including the linked procedures. Do not stack correction codes unless
explicitly told to do so.
NOTE: See Flat Rate
Times to learn more about FRTs and how they are created.
NOTE: See Personal Protection to make sure wearing proper PPE when
performing the below procedure. NOTE: See Ergonomic Precautions for safe and healthy working
practices.
- 2026-02-20: Added note on using PROC_RCM_DISARM if using this procedure to diagnose the SRS.
- 2-5-2024: Added note on varying number of curtain airbag fasteners.
Torque Specifications
| Description | Torque Value | Recommended Tools | Reuse/Replace | Notes |
|---|---|---|---|---|
| Bolts that attach the LH curtain airbag to the body |
 9 Nm (6.6 lbs-ft) |
|
Reuse |
Remove
- Open all doors and fully lower all windows.
- Open the liftgate.
- Remove the front headliner. See Headliner - Front (Remove and Replace).
- Remove the rear headliner. See Headliner - Rear (Remove and Replace).
- Remove the 2nd row lower seat cushion. See Seat Cushion - Lower - 2nd Row (Remove and Replace).
- Disconnect 12V power. See 12V/LV Power (Disconnect and Connect).
-
Disconnect the electrical harness from the LH curtain airbag connector.
-
Remove the bolts that attach the front and center portions of the LH
curtain airbag to the body.
NoteThe number of fasteners varies depending on vehicle build date/airbag revision.TIpUse of the following tool(s) is recommended:
- 10 mm socket
-
Remove the bolts that attach
the rear portion of the LH curtain airbag to the body.
NoteThe number of fasteners varies depending on vehicle build date/airbag revision.TIpUse of the following tool(s) is recommended:
- 10 mm socket
-
Carefully release the clips (x8) that attach the LH curtain airbag to the side rail, and remove the airbag from the vehicle.
WarningIf any clips are damaged, the airbag must be replaced.WarningThe airbag should always be handled by the igniter; the igniter should never be left dangling.NoteThe number of fasteners varies depending on vehicle build date/airbag revision.
Install
-
Install the LH curtain
airbag to the side rail, and then carefully fasten the clips (x8) that
attach the airbag to the side rail.
WarningIf any clips are damaged, the airbag must be replaced.NoteThe number of fasteners varies depending on vehicle build date/airbag revision.
-
Install and hand-tighten the
bolts that attach the rear portion of the LH curtain airbag to the
body.
NoteThe number of fasteners varies depending on vehicle build date/airbag revision.
-
Install and hand-tighten the
bolts that attach the front and center portions of the LH curtain airbag to
the body.
NoteThe number of fasteners varies depending on vehicle build date/airbag revision.
-
Torque the bolts that attach
the LH curtain airbag to the body.9 Nm (6.6 lbs-ft)TIpUse of the following tool(s) is recommended:
- 10 mm socket
-
Connect the electrical
harness to the LH curtain airbag connector.
- Install the rear headliner. See Headliner - Rear (Remove and Replace).
- Install the front headliner. See Headliner - Front (Remove and Replace).
- Connect 12V power. See 12V/LV Power (Disconnect and Connect).
- Install the 2nd row lower seat cushion. See Seat Cushion - Lower - 2nd Row (Remove and Replace).