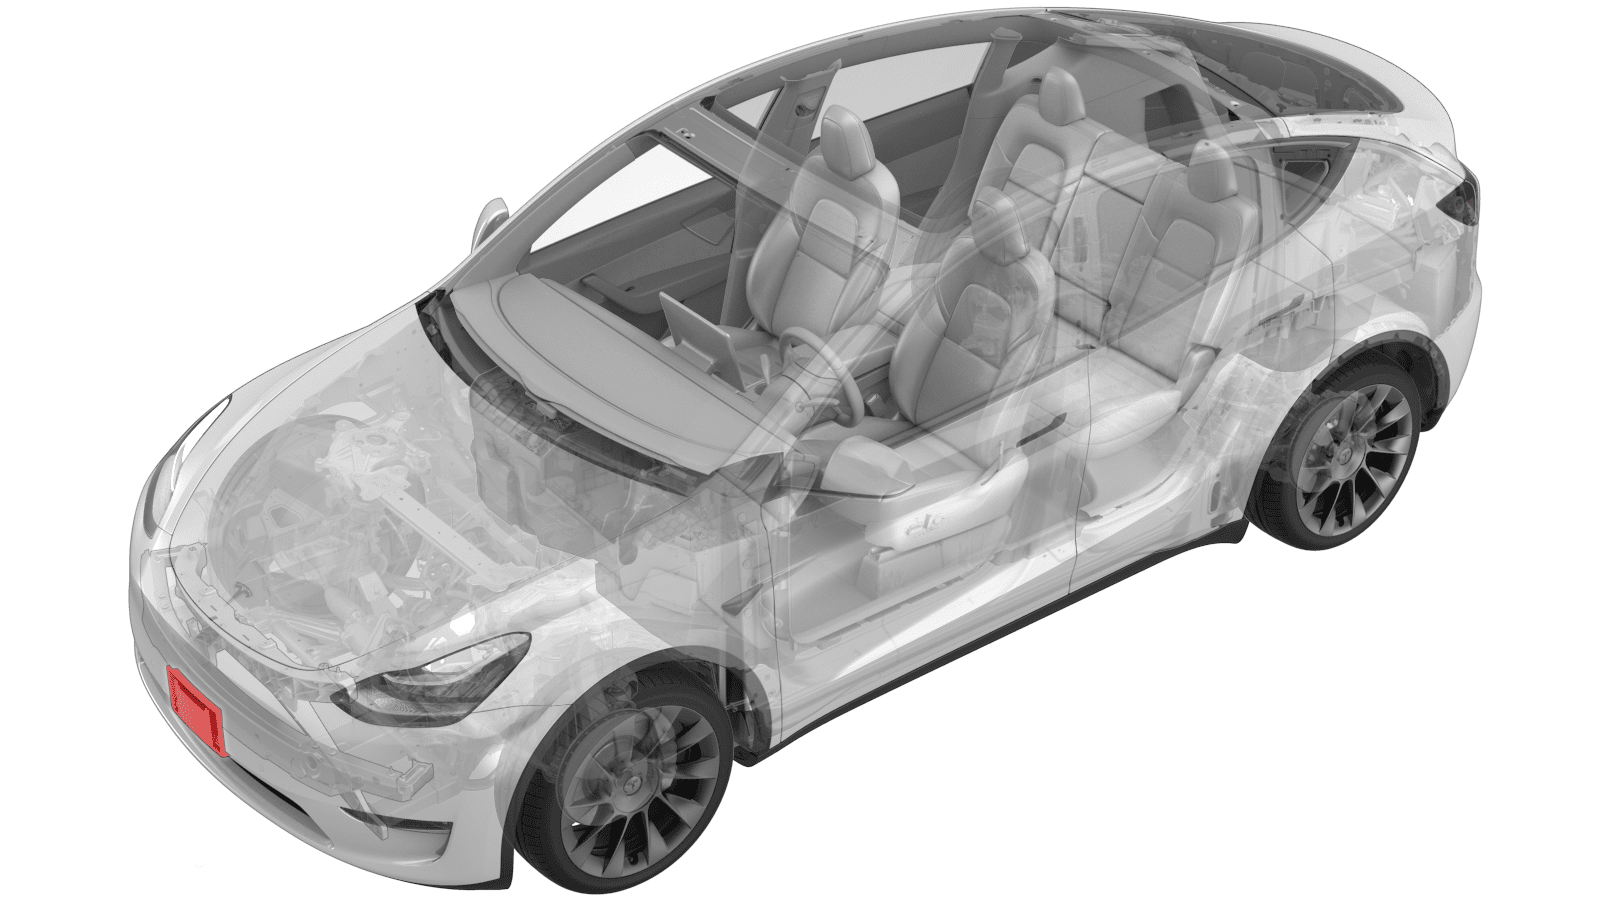
Bracket - License Plate - Front (Retrofit)
 Correction code
12070106
0.12
NOTE: Unless otherwise explicitly
stated in the procedure, the above correction code and FRT reflect all of the work
required to perform this procedure, including the linked procedures. Do not stack correction codes unless
explicitly told to do so.
NOTE: See Flat Rate
Times to learn more about FRTs and how they are created.
NOTE: See Personal Protection to make sure wearing proper PPE when
performing the below procedure. NOTE: See Ergonomic Precautions for safe and healthy working
practices.
Correction code
12070106
0.12
NOTE: Unless otherwise explicitly
stated in the procedure, the above correction code and FRT reflect all of the work
required to perform this procedure, including the linked procedures. Do not stack correction codes unless
explicitly told to do so.
NOTE: See Flat Rate
Times to learn more about FRTs and how they are created.
NOTE: See Personal Protection to make sure wearing proper PPE when
performing the below procedure. NOTE: See Ergonomic Precautions for safe and healthy working
practices.
Equipment:
- 1049517-00-A ERGONOMIC SILICONE SEAM ROLLER
Retrofit (NA)
- Use IPA wipes to clean the front center surface of the front fascia. Allow to fully dry before continuing.
-
Remove the backing from the long horizontal tape strip on the new front license plate bracket.
-
Fold the backing of the vertical tape strips out at a 90 degree angle.
-
Hold the license plate bracket horizontally and align the locator tab at the bottom lip of the bracket with the center rib of the fascia grille.
- Rotate the license plate bracket vertically and press the top edge against the front fascia.
-
Pull the tape strips out from the sides of license plate bracket.
-
Press the bracket against the front fascia to wet out the adhesive tape.
TIpUse a seam roller to wet out the adhesive tape.
-
Install the license plate onto the front license plate bracket, and then install the screws that attach the plate to the bracket.
 3 Nm (2.2 lbs-ft)WarningWear protective eye wear and hearing protection when drilling.CAUTIONOnly drill though the top surface of the front fascia. Drilling too far can result in damage to the vehicle.