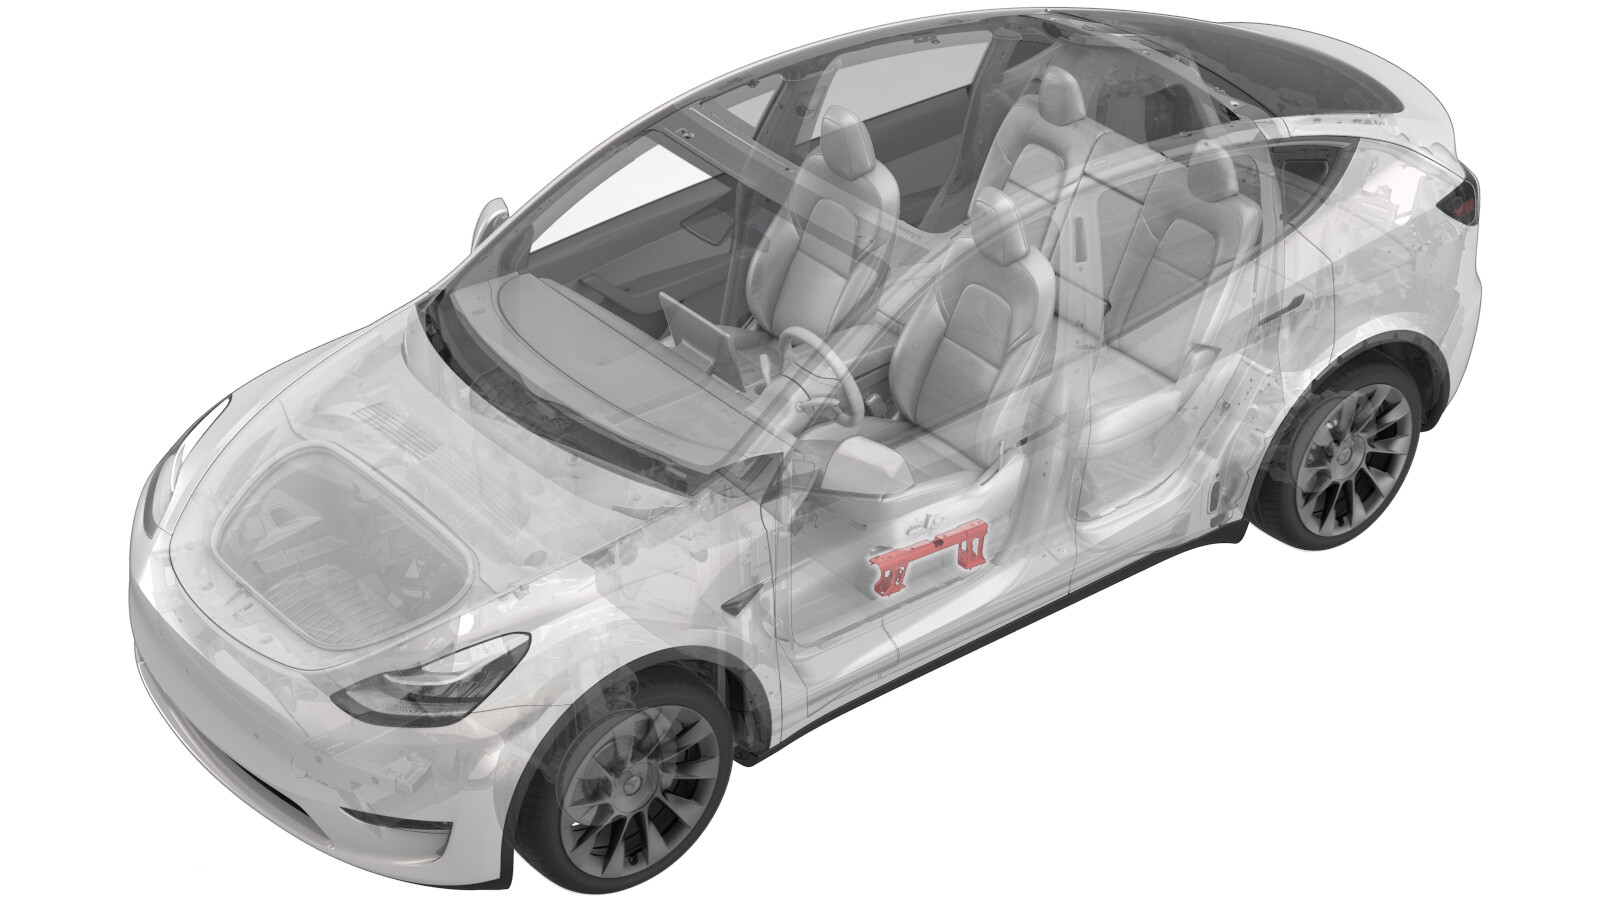
Riser - Driver Seat - LH (Remove and Replace)
 Correction code
13012002
0.48
NOTE: Unless otherwise explicitly
stated in the procedure, the above correction code and FRT reflect all of the work
required to perform this procedure, including the linked procedures. Do not stack correction codes unless
explicitly told to do so.
NOTE: See Flat Rate
Times to learn more about FRTs and how they are created. To provide feedback on
FRT values, email ServiceManualFeedback@tesla.com.
NOTE: See Personal Protection to make sure wearing proper PPE when
performing the below procedure. See Ergonomic Precautions for safe and healthy working practices.
Torque Specifications
| Description | Torque Value | Recommended Tools | Reuse/Replace | Notes |
|---|---|---|---|---|
| Bolts that attach the driver seat LH seat riser to the vehicle |
 33.5 Nm (24.7 lbs-ft) |
|
Replace |
Remove
- Open all doors and fully lower all windows.
- Remove the driver seat. See Seat Assembly - 1st Row - LH (Remove and Replace).
- Remove the lower C-pillar trim. See Trim - C-Pillar - Lower - LH (Remove and Replace).
- Remove lower B-pillar trim. See Trim - B-Pillar - Lower - LH (Non-Structural Pack) (Remove and Replace).
-
Fold the LH front cabin carpet forward.
NoteLift up on the rear edge of the front cabin carpet near the front of the LH outboard seat riser.
-
Remove and discard the bolt
that attaches the front of the driver seat outboard seat riser to the
vehicle.
 33.5 Nm (24.7 lbs-ft)TIpUse of the following tool(s) is recommended:
- 11 mm deep socket
- Flex head ratchet/flex head torque wrench
-
Fold the LH rear main carpet rearward.
NoteLift up on the front edge of the rear main carpet near the rear of the LH outboard seat riser.
-
Remove and discard the bolt
that attaches the rear of the driver seat outboard seat riser to the
vehicle, and then remove the seat riser from the vehicle.
 33.5 Nm (24.7 lbs-ft)TIpUse of the following tool(s) is recommended:
- 11 mm deep socket
- Flex head ratchet/flex head torque wrench
Install
Installation procedure is the reverse of removal, except for the following:
- Replace all patchbolts.