Plaid Letter Badge (Remove and Replace)
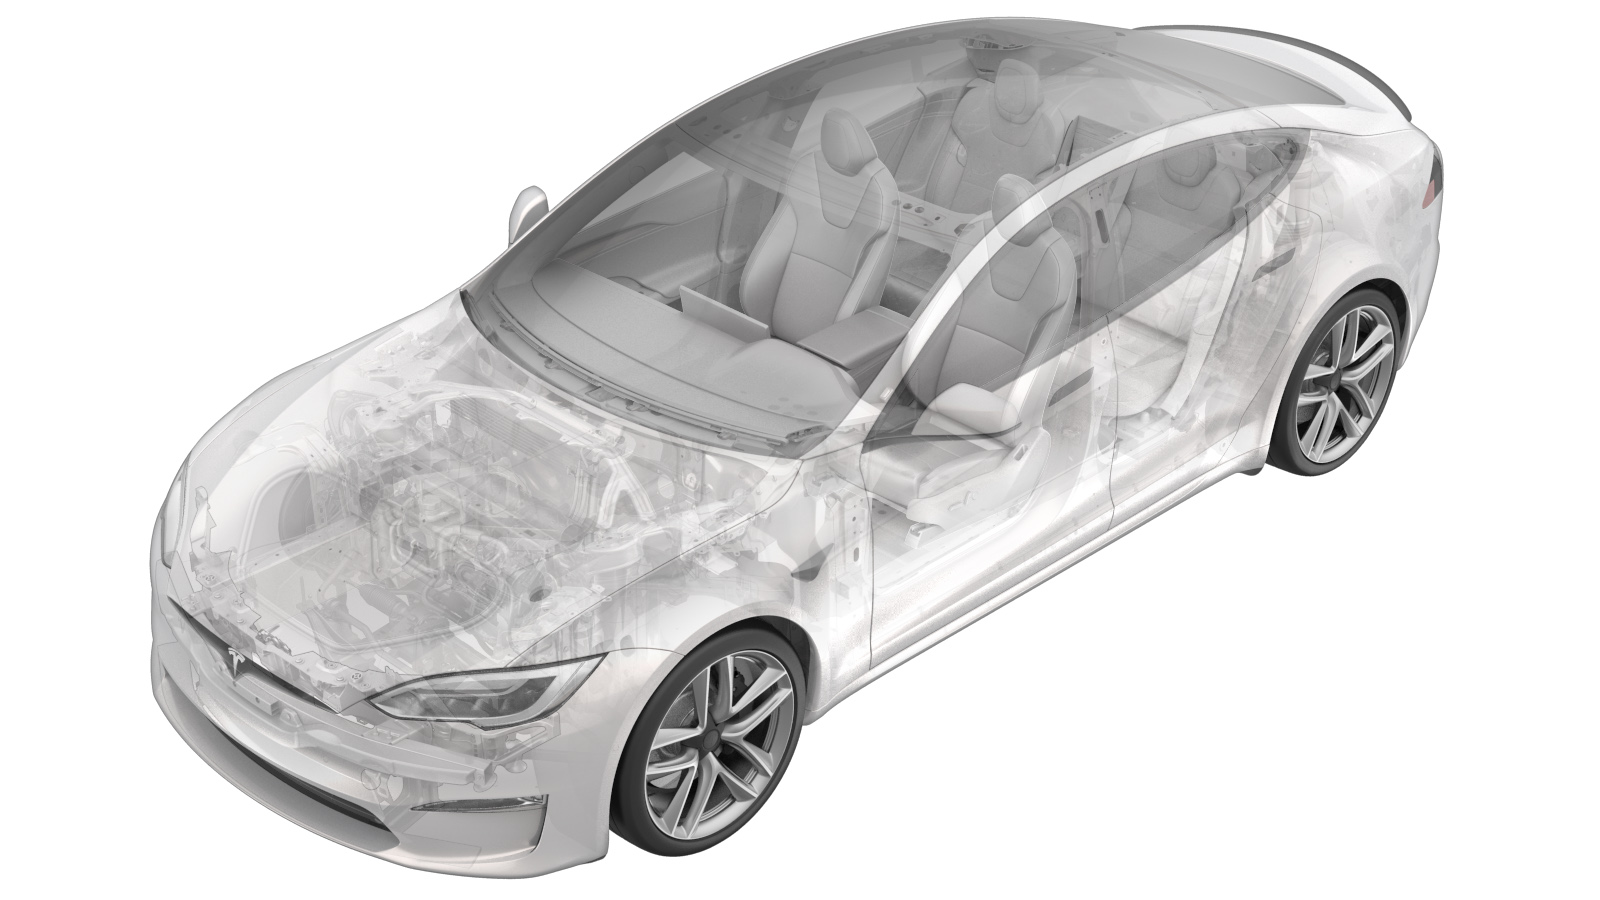 Correction code
12054202
0.12
NOTE: Unless otherwise explicitly
stated in the procedure, the correction code and its associated FRT reflect all of the
work required to perform this procedure, including the linked procedures. Do not stack correction codes unless
explicitly told to do so.
NOTE: See Flat Rate Times to learn
more about FRTs and how they are
created.
NOTE: See Personal Protection to make sure proper PPE is worn when
performing the below
procedure.
Correction code
12054202
0.12
NOTE: Unless otherwise explicitly
stated in the procedure, the correction code and its associated FRT reflect all of the
work required to perform this procedure, including the linked procedures. Do not stack correction codes unless
explicitly told to do so.
NOTE: See Flat Rate Times to learn
more about FRTs and how they are
created.
NOTE: See Personal Protection to make sure proper PPE is worn when
performing the below
procedure.
Remove
-
Cut the badge removal kit wire, and then tie slip knots onto both handles as
required.
TipUse of the following tool(s) is recommended:
- Badge removal kit - 1453028-00-A
- Scissors
- Tape measure metric/inch
-
Feed the wire back and forth to
separate the plaid letter badge from the liftgate surface, and then remove the badge
from the vehicle.
TipUse of the following tool(s) is recommended:
- Badge removal kit - 1453028-00-A
-
Use IPA wipes to remove old adhesive
residue from the liftgate surface area. Allow 1 minute dry time.
TipUse of the following tool(s) is recommended:
- IPA wipes
Install
- Open the liftgate.
-
If necessary, install the new plaid
letter badge with film on the badge alignment tool, and then perform a dry fit
check.
NoteThe badge alignment tool will line up along the RH bottom corner of the liftgate.TipUse of the following tool(s) is recommended:
- MS DM performance badge jig - 1506917-00-A
-
Peel off the adhesive backing film
from the new plaid letter badge, and then install the badge on the badge alignment
tool.
TipUse of the following tool(s) is recommended:
- MS DM performance badge jig - 1506917-00-A
-
Install the new plaid letter badge on
the liftgate.
NoteApply pressure and allow each letter to fully adhere to the liftgate.TipUse of the following tool(s) is recommended:
- MS DM performance badge jig - 1506917-00-A
-
Remove the alignment tool from the
plaid letter badge.
NoteThe front film will lift with the alignment tool.TipUse of the following tool(s) is recommended:
- MS DM performance badge jig - 1506917-00-A
-
Install the front film on the plaid
letter badge, use a seam roller to apply pressure and allow each letter to fully adhere
to the liftgate, and then remove the film from the badge.
TipUse of the following tool(s) is recommended:
- Seam roller - 1049517-00-A
- Close the liftgate.
-
Visually inspect the plaid letter
badge and verify proper installation. Wipe away any contamination.