Switch - Back Rest and Cushion Adjust - Driver Seat (Remove and Replace)
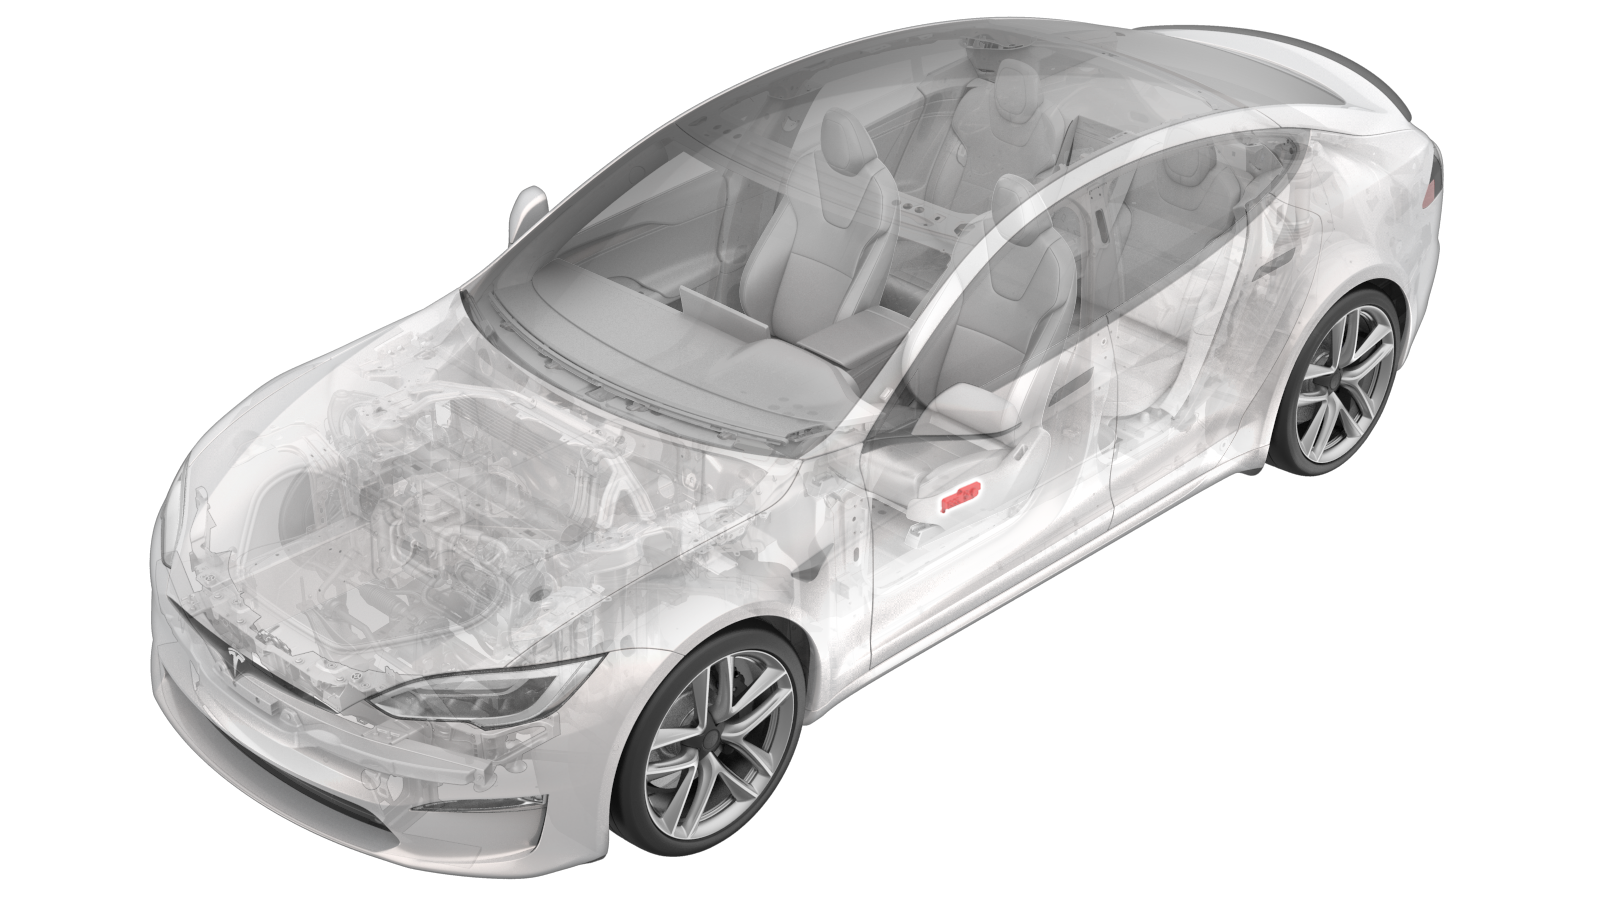 Correction code
13015102
0.18
NOTE: Unless otherwise explicitly
stated in the procedure, the correction code and its associated FRT reflect all of the
work required to perform this procedure, including the linked procedures. Do not stack correction codes unless
explicitly told to do so.
NOTE: See Flat Rate Times to learn
more about FRTs and how they are
created.
NOTE: See Personal Protection to make sure proper PPE is worn when
performing the below
procedure.
Correction code
13015102
0.18
NOTE: Unless otherwise explicitly
stated in the procedure, the correction code and its associated FRT reflect all of the
work required to perform this procedure, including the linked procedures. Do not stack correction codes unless
explicitly told to do so.
NOTE: See Flat Rate Times to learn
more about FRTs and how they are
created.
NOTE: See Personal Protection to make sure proper PPE is worn when
performing the below
procedure.
Torque Specifications
| Description | Torque Value | Recommended Tools | Reuse/Replace | Notes |
|---|---|---|---|---|
| Screw that attaches the seat side cover to the seat |
4 Nm (2.9 lbs-ft) |
|
Reuse | |
| Screws (3x) that attach the seat switch to the seat side cover |
1.7 Nm (1.3 lbs-ft) |
|
Reuse |
Remove
- Open the LH front door and lower the LH front window.
-
Move the LH front seat forward and
raise the LH front seat to the highest position.
CAUTIONAdjust the seat back to avoid contact with the headliner, if necessary.
-
Use a flathead screwdriver to
rotate the lock mechanism on the front seat belt linkage counterclockwise to
release it from the pretensioner, and then slide the linkage off the
pretensioner and set it aside.
CAUTIONDO NOT rotate clockwise to avoid damage to the mechanism.NoteThe linkage design may vary, but will function the same.NoteThe lock screw will remain in the horizontal position when released.NoteA light audible click will be heard when the linkage is released.
-
Remove the screw that attaches the
outer side seat cover to the LH front seat.
TipUse of the following tool(s) is recommended:
- Torx T20 socket
- 2 in extension
- Ratchet/torque wrench
-
Carefully release the seven clips that
attach the LH outer side cover to the seat, but do not fully remove the cover from the
seat.
-
Disconnect the electrical harness from
the seat switch.
-
Using a plastic trim tool, carefully release the LH front back rest and cushion
adjust switches from the LH outer side seat cover.
-
Remove the three screws that attach
the back rest and cushion adjust switch from the outer side cover, and remove the switch
from the cover.
WarningDo not remove the Philips head screws or damage may occur to the seat switch.TipUse of the following tool(s) is recommended:
- Torx T20 socket
- 2 in extension
- Ratchet/torque wrench
Install
-
Position the back rest and cushion
adjust switch to the outer side seat cover, and then install the three screws that
attach the switch to the seat cover.
 1.7 Nm (1.3 lbs-ft)TipUse of the following tool(s) is recommended:
- Torx T20 socket
- 2 in extension
- Ratchet/torque wrench
- Install the LH front back rest and cushion adjust switches to the outer side seat cover.
-
Connect the electrical harness to the
back rest and cushion adjust switch assembly, and then verify the functions of the seat
switches.
-
Position the LH outer side seat cover
to the seat, and then install the seven clips that attach the LH outer side cover to the
seat.
TipApply pressure to the outer side seat cover to fully seat the clips. The trim should sit flush against the seat cushion.
-
Install the screw that attaches the
outer side seat cover to the LH front seat assembly.4 Nm (2.9 lbs-ft)TipUse of the following tool(s) is recommended:
- Torx T20 socket
- 2 in extension
- Ratchet/torque wrench
-
Install the front seat belt
linkage to the pretensioner:
- Move the LH front seat to the original position.
- Raise the LH front window and close the LH front door.