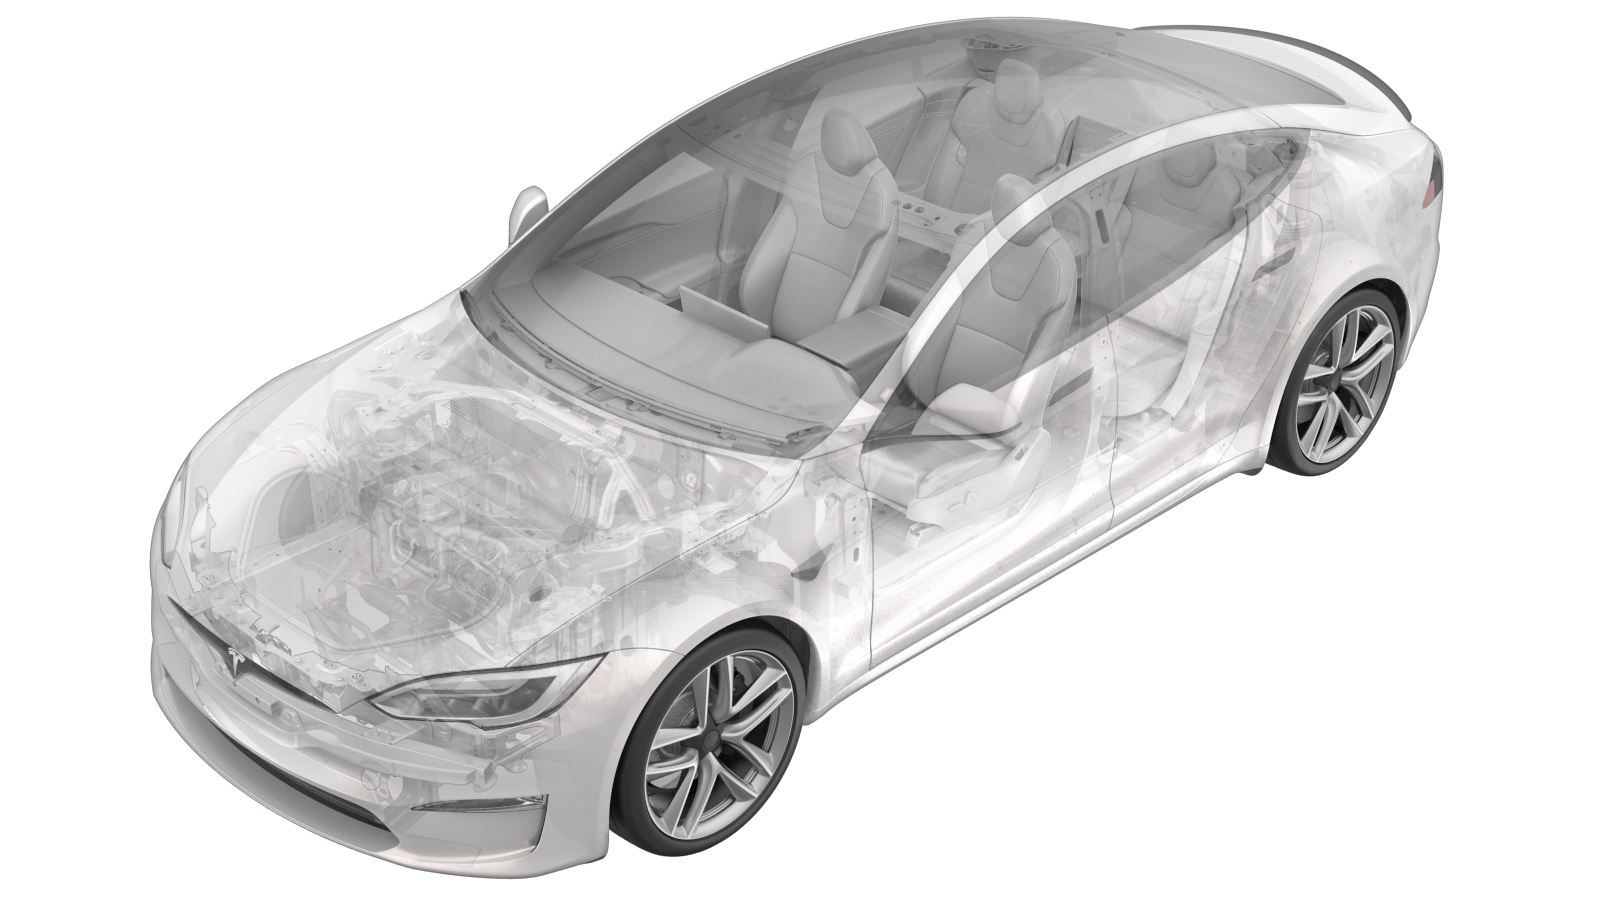
Spoiler–Rear–Install (Remove and Install)
 Correction code
12201006
0.30
NOTE: Unless
otherwise explicitly stated in the procedure, the above correction code and
FRT reflect all of the work required to perform this procedure, including
the linked procedures. Do
not stack correction codes unless explicitly told to do so.
NOTE: See Flat Rate Times to learn more about FRTs and how
they are created. To provide feedback on FRT values, email ServiceManualFeedback@tesla.com.
NOTE: See Personal Protection
to make sure wearing proper PPE when performing the below procedure.
NOTE: See Ergonomic Precautions for safe and
healthy working practices.
- 2025-10-02: Released new procedure.
-
Clean the liftgate area with isopropyl
alcohol. Allow 1 minute to dry.
NoteIf the area requires any paint correction, request assistance from the shop detailer before installation.
-
Line up the spoiler alignment jigs with
the edgses of the liftgate.
TIpTape the jigs down as needed.
-
Perform a dry fit of spoiler. Adjust the
jigs as needed to center the spoiler.
-
Peel away the adhesive tape and install
the spoiler. Apply pressure from the center and work outwards.
NoteVerify that the spoiler is fully adhered.
-
Remove the spoiler alignment jigs.
- Verify that the spoiler is properly installed. Wipe away any excess debris.