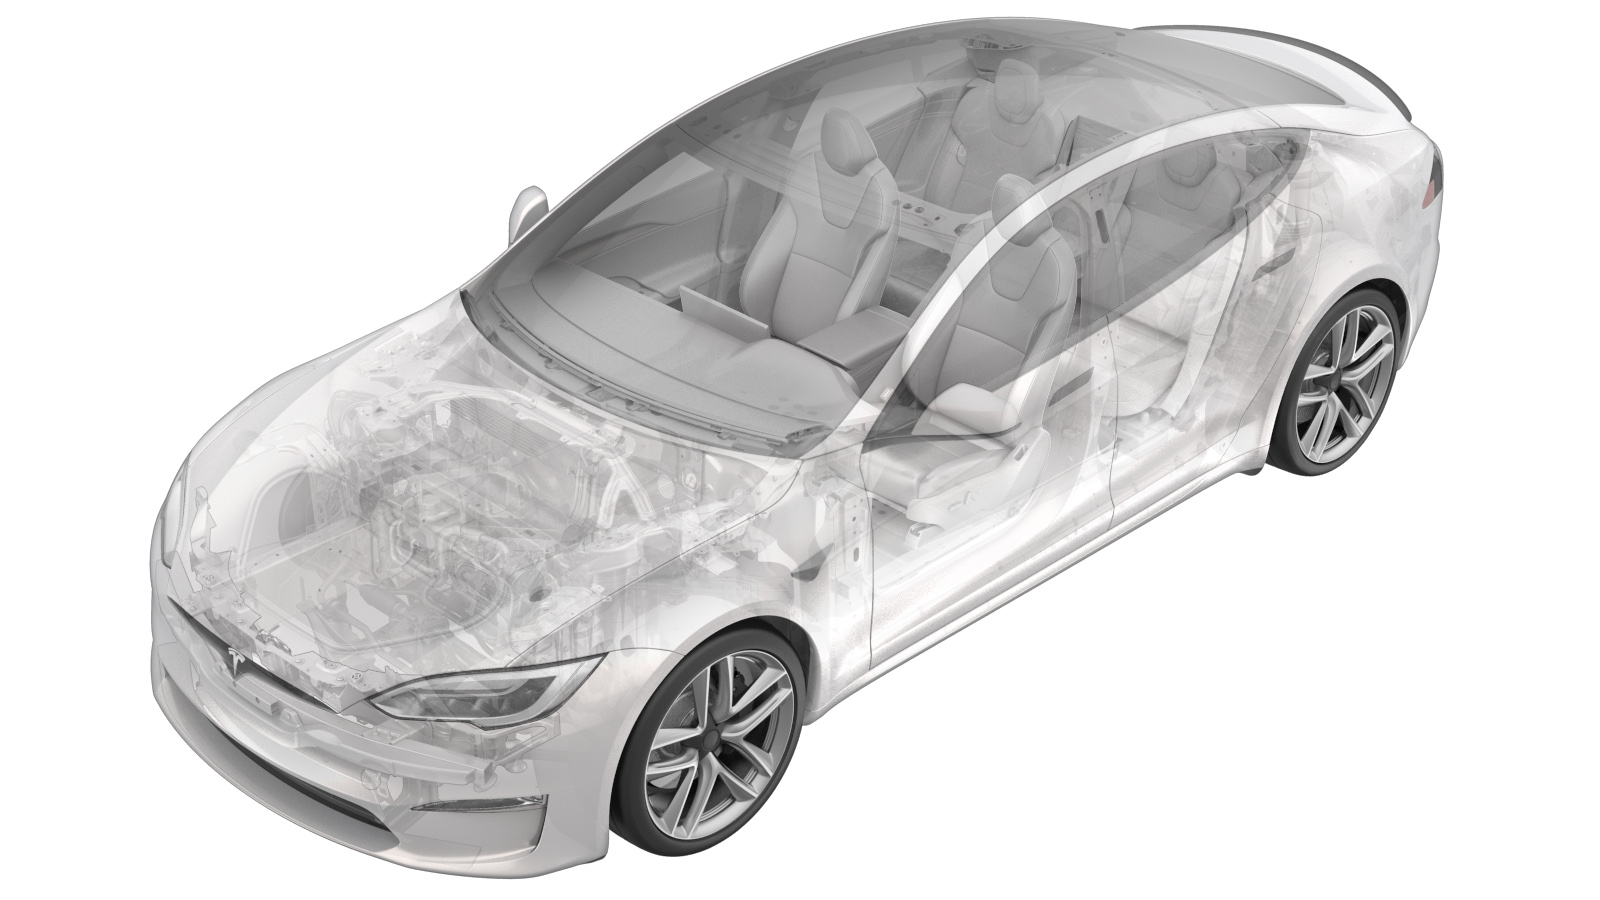
Panel - Rear - Center Console (2025+) (Remove and Install)
 Correction code
TBD
FRT
0.18
NOTE: Unless
otherwise explicitly stated in the procedure, the above correction code and
FRT reflect all of the work required to perform this procedure, including
the linked procedures. Do
not stack correction codes unless explicitly told to do so.
NOTE: See Flat Rate Times to learn more about FRTs and how
they are created. To provide feedback on FRT values, email ServiceManualFeedback@tesla.com.
NOTE: See Personal Protection
to make sure wearing proper PPE when performing the below procedure.
NOTE: See Ergonomic Precautions for safe and
healthy working practices.
Remove
- Open all doors.
- Lower the LH front window.
- Move the front seats forward.
-
Release the clips (x7) that attach the
center console rear panel assembly to the center console.
-
Disconnect the electrical harnesses
from the USB assembly and the light, and then slide the center console rear panel
assembly rearward to remove it from the vehicle.
-
Release the footwell lamp lens on the
center console rear panel assembly by disengaging the tabs (x3).
-
Remove the screws (x2) that attach the
footwell lamp assembly to the center console rear panel assembly.
TIpUse of the following tool(s) is recommended:
- Torx T10 bit
-
Remove the screws (x2) that attach the
rear USB assembly to the center console rear panel assembly.
TIpUse of the following tool(s) is recommended:
- Torx T10 bit
Install
-
Install the screws (x2) that attach
the rear USB assembly to the center console rear panel assembly.
 1 Nm (.7 lbs-ft)TIpUse of the following tool(s) is recommended:
- Torx T10 bit
CAUTIONMake sure the USB sockets are properly aligned with the openings in the center console rear panel; otherwise, damage may occur. -
Align the datums (x2) to position
the footwell lamp assembly flush with the center console rear panel assembly, then
install the bolts (x2) that attach the lamp to the panel.
 1 Nm (.7 lbs-ft)TIpUse of the following tool(s) is recommended:
- Torx T10 bit
-
Secure the center console rear panel
footwell lamp lens by aligning the tabs (x3) and datum, ensuring the lens is flush
with the panel.
-
Align the datums (x2) into the
console carrier slots and connect the USB assembly and light electrical harnesses to
the center console rear panel assembly.
-
Align the datums (x6), position the
center console rear panel assembly to the center console, and then install the clips
(x7) that attach the panel to the center console.
- Move the front seats to their original positions.
- Raise the LH front window.
- Close all doors.