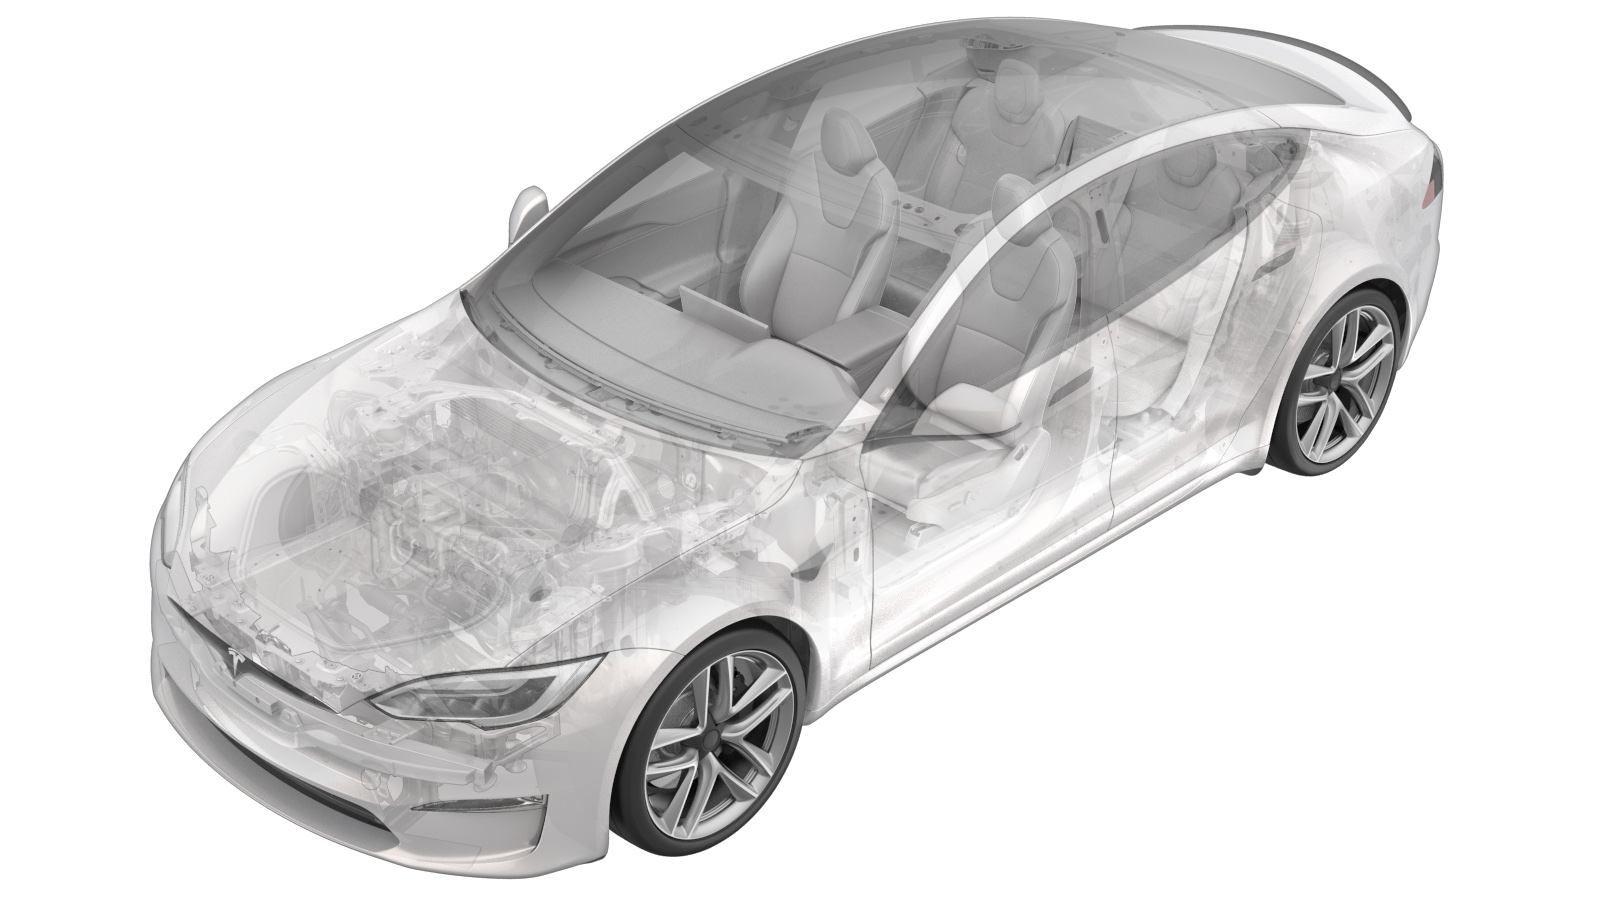
Headlights - Adjust (Global) (Tool Method)
 Correction code
17400170
0.18
NOTE: Unless otherwise explicitly
stated in the procedure, the above correction code and FRT reflect all of the work
required to perform this procedure, including the linked procedures. Do not stack correction codes unless
explicitly told to do so.
NOTE: See Flat Rate Times to learn
more about FRTs and how they are created. To provide feedback on FRT values, email ServiceManualFeedback@tesla.com.
NOTE: See Personal Protection to make sure proper PPE is worn when
performing the below
procedure.
- 2024-06-12: Updated procedure to latest validation.
-
Enter headlight adjustment mode:
-
Set the air suspension ride height to
“Medium.”
NoteUsing the touchscreen, touch Controls > Suspension > Medium.
-
Set the air suspension in Jack
Mode.
NoteUsing the touchscreen, touch Controls > Service > Jack Mode.
- Open the hood.
- Switch on the headlights.
-
If not yet entered, enter the headlight
adjustment mode through the touchscreen.
NoteUsing the touchscreen, touch Controls > Service > Adjust Headlights.
-
Position the headlight aimer in front of
the LH headlight.
NotePosition the headlight aimer at 30 cm (~ 12 in) distance from the surface of headlight lens. Adjust the height as necessary to match the center point of headlamp (~ 70 cm/28 in).
- Power on the headlight aimer.
-
Use the knobs on the base to adjust the
tester level.
-
Use the visor laser to align the tester
perpendicular to the axis between the two lower hood struts.
NoteIf the headlight aimer can move between RH and LH headlights while maintaining the same laser angle projected onto the fender bolts, it is set correctly - perpendicular to the vehicle.
-
Regardless of the region, select
TEST EC on the
headlight aiming tool.
-
Select Free test.
-
Select Vehicle, and then use the
+ or - buttons to set the vehicle
type to Tesla
S.
-
Select Headlight, use the + or - buttons to set the
Headlight type to EU
Asym, and then use the small - button next to the
EU Asym field to
select TMR.
-
Select Light, and then use the
+ or - buttons to set the Light
type to Bi-LED.
-
Select Inclinat., and then use the
+ or - buttons to set the
inclination to 0.0
%.
-
Select Height, and then adjust to
69 cm using the
+/- buttons.
NoteDuring headlight adjustment in headlight adjustment mode, the inclination is set to 0.0 %. When the vehicle is not in headlight adjustment mode and the headlights are turned on, the inclination is automatically adjusted to the required region specific value.
- Press OK, and then press OK again to skip the fog light settings.
-
Touch the laser icon, and then adjust
the tester horizontal and vertical position to the LH light focal point.
-
Turn off the laser guide.
-
On the headlight tester tool, press the
LH TMR button on the
left side of the screen, and then press the TMR button at the bottom of
the screen.
NoteThe "L" and "R" indicators at the bottom of the screen are reversed: "L" is on the right side and "R" is on the left side.
-
On the vehicle touchscreen, touch
Left.
-
On the steering wheel, use the left
scroll wheel to adjust the beam. When adjusted to within specification, the color of the
beam indicator on the headlight tester tool will change from red to green.
NoteThere might be a delay between the scroll wheel input and the actual headlight adjustment output.
Figure 3. Model Y shown, Model S similar -
On the headlight tester tool, press the
"Save" button to record the results for the LH headlight.
- Move the headlight tester tool to the RH headlight, position the tool ~ 30 cm (~ 12 in) from the front of the RH headlight lens.
- Align the tool to the RH headlight (see steps 19 and 20).
-
On the headlight tester tool, press the
RH TMR button on the
right side of the screen, and then press the TMR button at the bottom of
the screen.
NoteThe "L" and "R" indicators at the bottom of the screen are reversed: "L" is on the right side and "R" is on the left side.
-
On the vehicle touchscreen, touch
Right.
-
On the steering wheel, use the left
scroll wheel to adjust the beam level. When adjusted to within specification, the color of
the beam indicator on the headlight tester tool will change from red to green.
NoteThere might be a delay between the scroll wheel input and actual headlight adjustment output.
Figure 4. Model Y shown, Model S similar - On the headlight tester tool, press the "Save" button to record the results for the RH headlight, and then press "Save" again to view the results for both headlights.
- Press the "Print" button to print out the results, if desired.
- Close the front trunk.
- On the touchscreen, exit the headlight adjustment mode.