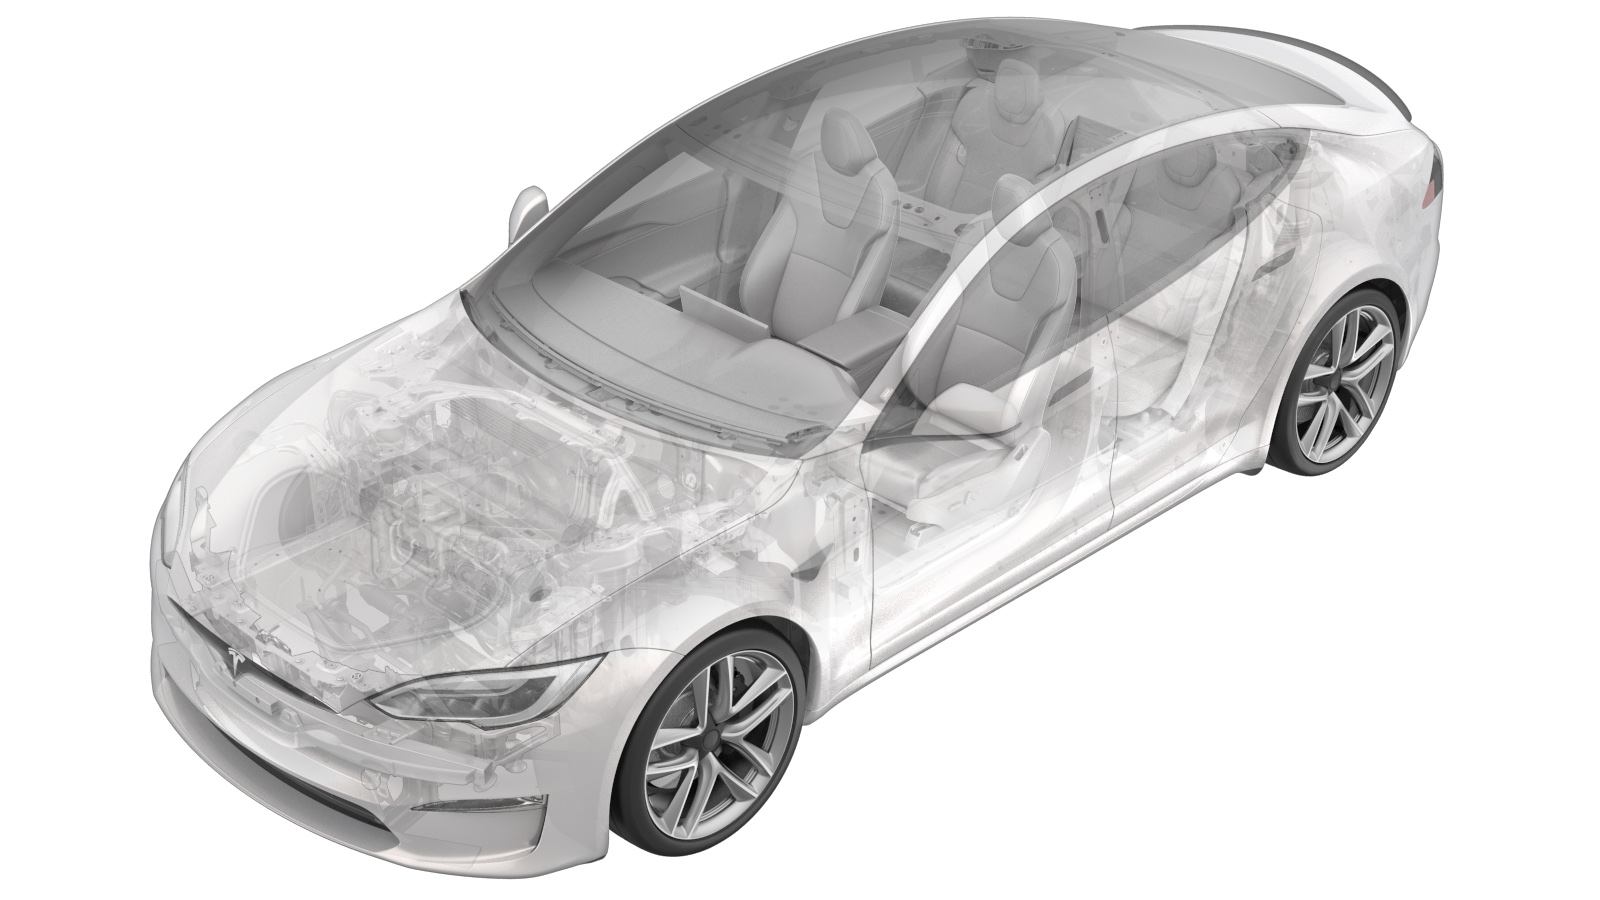
Trim - Bolster - Inner - Seat - 2nd Row - RH (Remove & Replace)
 Correction code
13084802
0.12
NOTE: Unless otherwise explicitly
stated in the procedure, the above correction code and FRT reflect all of the work
required to perform this procedure, including the linked procedures. Do not stack correction codes unless
explicitly told to do so.
NOTE: See Flat Rate Times to learn
more about FRTs and how they are
created.
NOTE: See Personal Protection to make sure proper PPE is worn when
performing the below
procedure.
Correction code
13084802
0.12
NOTE: Unless otherwise explicitly
stated in the procedure, the above correction code and FRT reflect all of the work
required to perform this procedure, including the linked procedures. Do not stack correction codes unless
explicitly told to do so.
NOTE: See Flat Rate Times to learn
more about FRTs and how they are
created.
NOTE: See Personal Protection to make sure proper PPE is worn when
performing the below
procedure.
Remove
- Open the RH front door and lower the RH front window.
- Open the RH rear door.
- Move the front passenger seat fully forward.
- Remove the RH 2nd row seat back panel. See Back Panel – 2nd Row Seat – RH (Remove and Replace).
-
Remove the bolt that attaches the
bolster assembly to the seat back frame.
 8 Nm (5.9 lbs-ft)TIpUse of the following tool(s) is recommended:
- 10 mm deep socket
-
Release the clips (x2) that attach the
RH 2nd row bolster assembly to the seat back, and then remove the bolster assembly from
the seat back.
-
Release the hooks (x2) that attach the
bottom portion of the RH 2nd row seat inner bolster trim to the bolster substrate.
-
Release the clip that attaches the RH
2nd row seat inner bolster trim to the bolster substrate.
-
Release the clips (4x) that attach the
edge of the RH 2nd row seat inner bolster trim to the bolster substrate.
-
Pull the RH 2nd row seat inner bolster
trim and away from the edge of the bolster substrate.
NotePress the substrate down to give the trim more clearance and reduce strain on the stitching.
-
Remove the RH 2nd row bolster
substrate.
-
Remove the RH 2nd row bolster foam
from the RH 2nd row seat inner bolster trim.
Install
-
Install the RH 2nd row bolster foam onto the RH 2nd row seat bolster substrate.
NoteEnsure the foam is aligned properly with substrate. Installing the foam and substrate as an assembly will give the trim more clearance and reduce strain on the stitching.
-
Install the RH 2nd row bolster
substrate and foam onto the RH 2nd row seat inner bolster trim.
NoteInstalling the foam and substrate as an assembly will give the trim more clearance and reduce strain on the stitching.
-
Pull the RH 2nd row seat inner bolster
trim up and onto the edge of the bolster substrate.
NotePress the substrate down to give the trim more clearance and reduce strain on the stitching.
-
Secure the RH 2nd row seat inner
bolster trim onto the edge of the bolster substrate.
-
Secure the clip that attaches the RH
2nd row seat inner bolster trim to the bolster substrate.
-
Secure the bottom portion of the RH
2nd row seat inner bolster trim onto the bolster substrate.
-
Install the RH 2nd row seat bolster
assembly onto the seat assembly.
-
Install the bolt that attaches the bolster assembly to the seat back frame.8 Nm (5.9 lbs-ft)TIpUse of the following tool(s) is recommended:
- 10 mm deep socket
- Install the RH 2nd row seat back panel. See Back Panel – 2nd Row Seat – RH (Remove and Replace).
- Close the RH rear door.
- Restore the front passenger seat back to its original position.
- Raise the RH front window and close the RH front door.