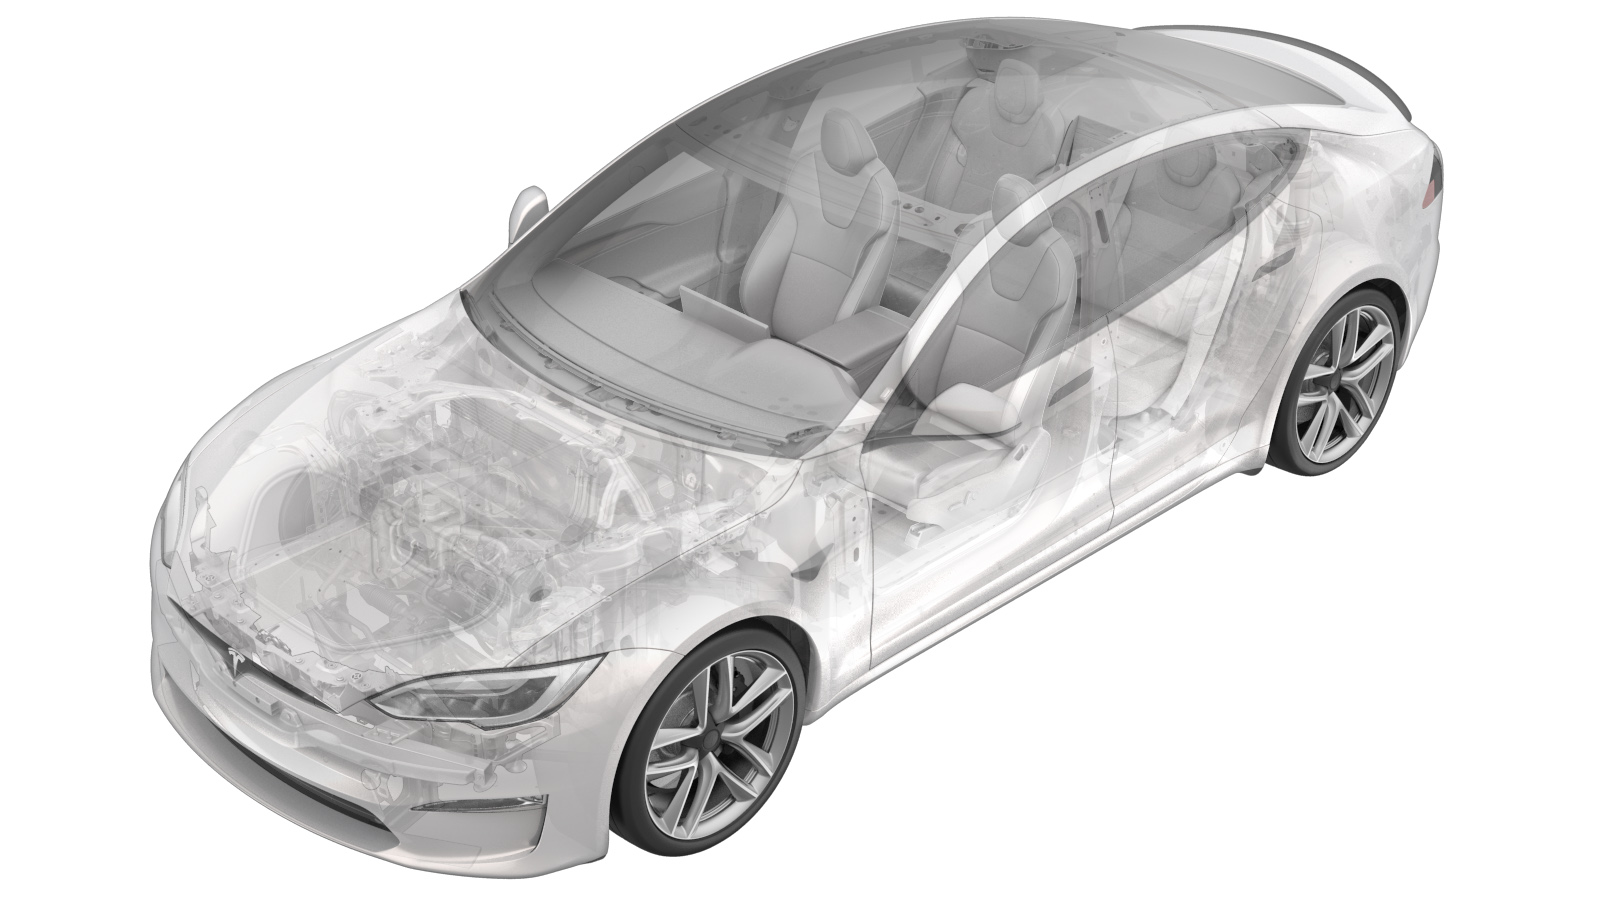
Fluid Coupling - Rear Drive Unit (Plaid) (Drive Unit Already Removed) (Remove and Replace)
 Correction code
40010022
0.06
NOTE: Unless otherwise explicitly
stated in the procedure, the above correction code and FRT reflect all of the work
required to perform this procedure, including the linked procedures. Do not stack correction codes unless
explicitly told to do so.
NOTE: See Flat Rate Times to learn
more about FRTs and how they are created. To provide feedback on FRT values, email ServiceManualFeedback@tesla.com.
NOTE: See Personal Protection to make sure proper PPE is worn when
performing the below
procedure.
Remove
-
Position a fluid catcher under the
subframe and fixture assembly.
-
Release the hose clip, release the
powertrain supply hose from the LH rear inverter, and then plug the hoses.
NotePlace towels underneath to catch any coolant.
-
Remove and discard the bolt that
attaches the rear drive unit fluid coupling to the rear drive unit, and then remove the
coupling from the inverter.
 6 Nm (4.4 lbs-ft)TIpUse of the following tool(s) is recommended:
- Torx T25 socket
Install
-
Lubricate the straight fluid coupling
O-ring with coolant.
CAUTIONDo not install the fluid coupling with the O-ring dry.
-
Install the rear drive unit fluid
coupling into the rear drive unit, and then install a new bolt that attaches the
coupling to the inverter.
 6 Nm (4.4 lbs-ft)TIpUse of the following tool(s) is recommended:
- Torx T25 socket
-
Remove the hose plugs, connect the
powertrain supply hose onto the LH rear inverter, and then install the hose clip.
NotePerform a push-pull-push test to verify the hose is fully secure.
- Remove the fluid catcher from under the subframe and fixture assembly.