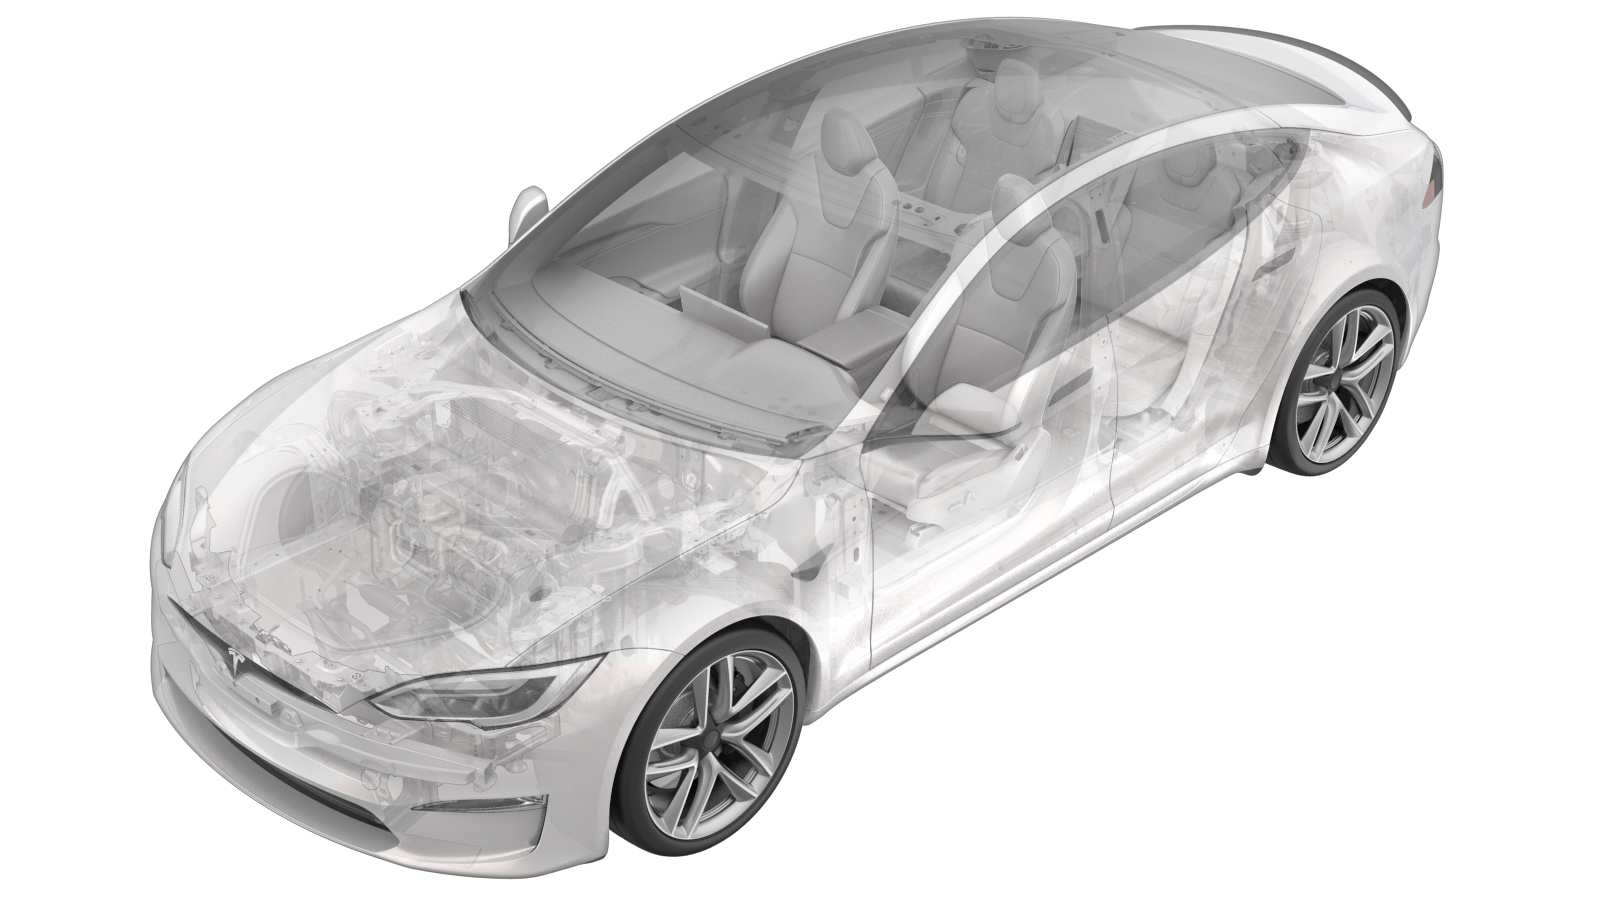
Reflex Marker - Taillight - RH (Global) (Remove and Replace)
 Correction code
17400042
0.30
NOTE: Unless otherwise explicitly
stated in the procedure, the above correction code and FRT reflect all of the work
required to perform this procedure, including the linked procedures. Do not stack correction codes unless
explicitly told to do so.
NOTE: See Flat Rate Times to learn
more about FRTs and how they are created. To provide feedback on FRT values, email ServiceManualFeedback@tesla.com.
NOTE: See Personal Protection to make sure proper PPE is worn when
performing the below
procedure.
- 2023-11-30: Reorganized the procedure.
Remove
- Remove the parcel shelf. See Parcel Shelf - Rear Trunk (Remove and Replace).
- Remove the trunk load floor. See Trunk Load Floor - Rear (Remove and Replace).
- Remove the trunk sill panel. See Trim - Sill - Trunk (Remove and Replace).
- Remove the RH trunk load floor bracket. See Bracket - Trunk Load Floor - RH (Remove and Replace).
- Remove the trunk floor front trim. See Trim - Front - Floor - Trunk (Remove and Replace).
- Remove the rear wall trim. See Trim - Rear Trunk - Rear Wall (Remove and Replace).
- Remove the RH trunk side trim. See Trim - Side - Trunk - RH (Remove and Replace).
- Remove the RH taillight. See Taillight - RH (Global) (Remove and Replace).
-
Remove the nut that attaches the
reflex marker to the body.
TIpUse of the following tool(s) is recommended:
- Flex head ratchet/flex head torque wrench
- 8 mm 12-point deep socket
-
Release the datums (x2) that attach
the reflex marker assembly to the vehicle.
NoteCarefully release the front datum next to locator pin first, then release the rear datum to prevent the surface of body from damage.
Install
-
Install the reflex marker to the
vehicle.
NotePress gently to ensure the datums (x2) are fully seated into the grommets.
-
Install the nut that attaches the
reflex marker to the body.
 1 Nm (.7 lbs-ft)TIpUse of the following tool(s) is recommended:
- Flex head ratchet/flex head torque wrench
- 8 mm 12-point deep socket
- Ratchet/torque wrench
- Install the RH trunk side trim. See Trim - Side - Trunk - RH (Remove and Replace).
- Install the rear wall trim. See Trim - Rear Trunk - Rear Wall (Remove and Replace).
- Install the trunk floor front trim. See Trim - Front - Floor - Trunk (Remove and Replace).
- Install the RH trunk load floor bracket. See Bracket - Trunk Load Floor - RH (Remove and Replace).
- Install the trunk sill panel. See Trim - Sill - Trunk (Remove and Replace).
- Install the trunk load floor. See Trunk Load Floor - Rear (Remove and Replace).
- Install the parcel shelf. See Parcel Shelf - Rear Trunk (Remove and Replace).