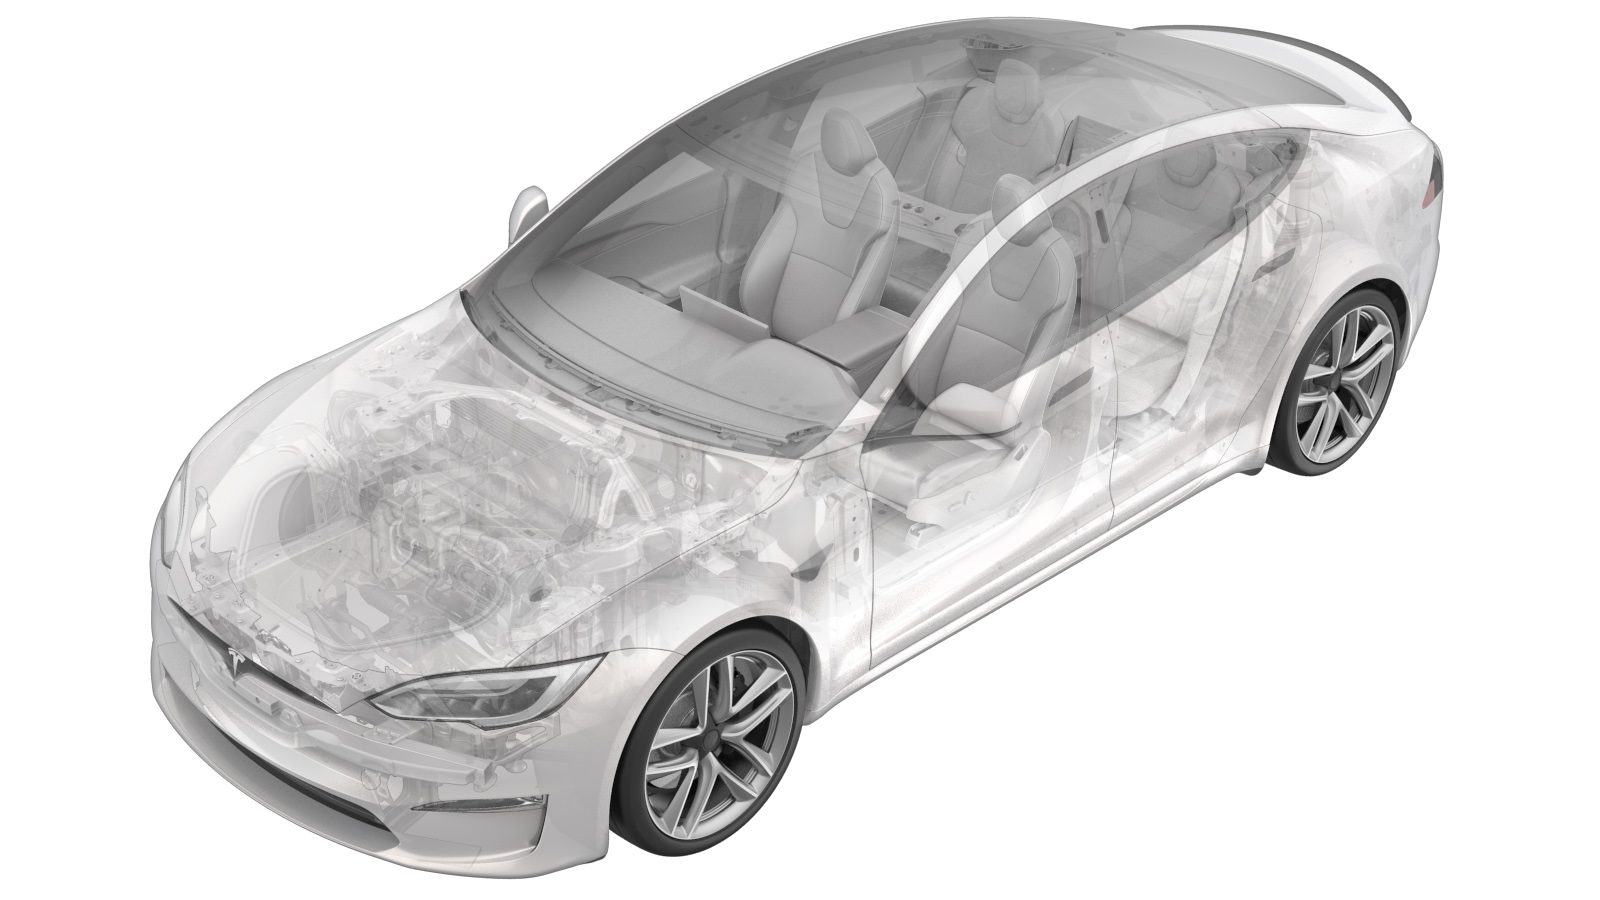
Taillight - RH (Remove and Replace)
 Correction code
17402202
0.42
NOTE: Unless otherwise explicitly
stated in the procedure, the above correction code and FRT reflect all of the work
required to perform this procedure, including the linked procedures. Do not stack correction codes unless
explicitly told to do so.
NOTE: See Flat Rate Times to learn
more about FRTs and how they are created. To provide feedback on FRT values, email ServiceManualFeedback@tesla.com.
NOTE: See Personal Protection to make sure proper PPE is worn when
performing the below
procedure.
Remove
-
Open the liftgate and remove the
parcel shelf and trunk load floor.
-
Release the 6 clips that attach the
trunk sill panel to the vehicle.
-
Release the clips that attach the RH
trunk bracket to the vehicle.
-
Remove the rear trunk floor.
-
Release the 4 clips that attach the
rear wall trim to the vehicle.
-
Release the clip that attaches the RH
side bolster trim to the vehicle.
-
Release the clips (x4) that attach the
RH lower C-pillar trim to the RH mid C-pillar trim.
-
Release the clips (x3) that attach the
RH mid C-pillar trim to the vehicle.
-
Release the clips (x7) that attach the
RH upper C-pillar trim and move the trim aside.
-
Release the clips (x3) that attach the
RH trunk side trim to the vehicle.
-
Disconnect the electrical harness from
the RH taillight.
CAUTIONDO NOT push down on the red locking tab. Pull the tab away from the connector until the connector is unlocked, and then continue pulling to release the connector.
-
Remove the nuts (x4) that attach the
RH taillight to the vehicle.
Note4x nuts, 8mm, 4 Nm
-
Remove the RH taillight from the
vehicle.
NoteMake note of any shims or spacers to retain fitment on install.CAUTIONUse caution not to damage painted surfaces.
-
Remove the screws (x3) that attach the
fixed door to the RH taillight.
Note3x screws, T20, 2.5 Nm
Install
-
Position the datums on the fixed door,
and then install the screws (x3) that attach the fixed door to the RH taillight.
-
Position the RH taillight to the
vehicle.
NoteInstall the stud to slotted hole for the fixed door, and then align the remaining 3 taillight studs.
-
Install the nuts (x4) that attach the
RH taillight to the vehicle.
Note4x nuts, 8mm, 4 Nm
-
Connect the RH taillight electrical
harness.
CAUTIONPush the red locking tab into the connector to engage the locking mechanism. DO NOT push down or pull up on the red locking tab.
-
Install the clips (x4) that attach the
RH trunk side trim to the vehicle.
-
Install the clips (x7) that attach the
RH upper C-pillar trim to the vehicle.
-
Install the clips (x3) that attach the
RH mid C-pillar trim to the vehicle.
-
Install the clips (x4) that attach the
RH lower C-pillar trim to the RH mid C-pillar trim.
-
Install the clip that attaches the RH
side bolster trim to the vehicle.
-
Install the clips (x4) that attach the
rear wall trim to the vehicle.
- Install the rear trunk floor.
-
Install the clips (x3) that attach the
RH trunk bracket to the vehicle.
-
Install the clips (x6) that attach the
trunk sill panel to the vehicle.
Note6x clips, 4x guides
-
Install the trunk load floor and the
rear parcel shelf, and then close the liftgate.