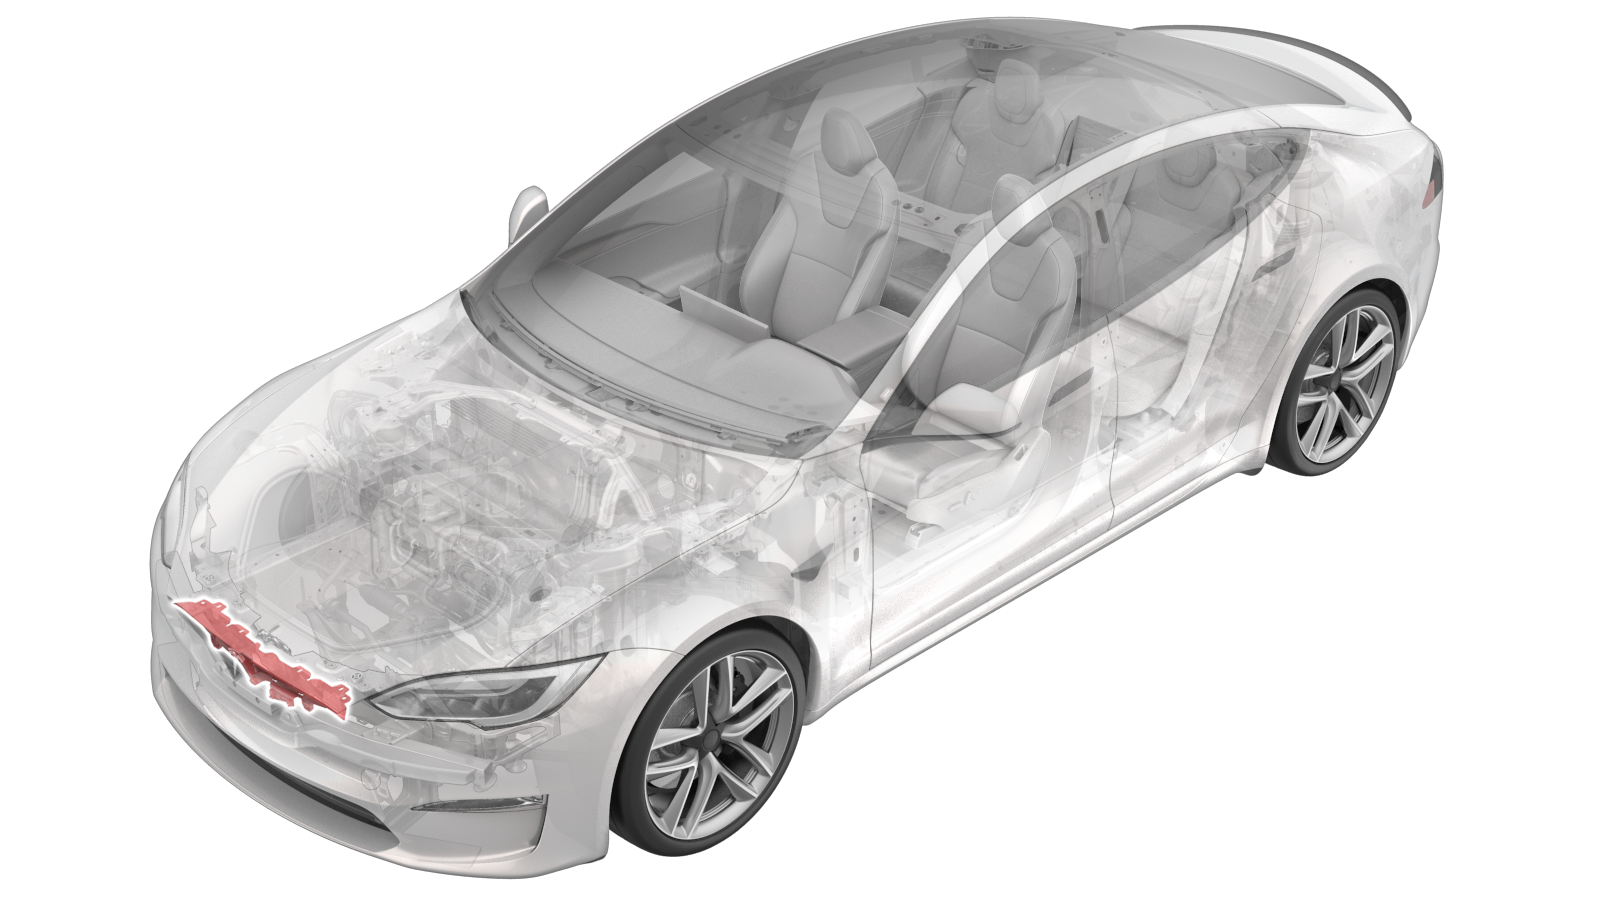
T Badge Support - Fascia - Front (Remove and Replace)
 Correction code
10011512
0.60
NOTE: Unless otherwise explicitly
stated in the procedure, the above correction code and FRT reflect all of the work
required to perform this procedure, including the linked procedures. Do not stack correction codes unless
explicitly told to do so.
NOTE: See Flat Rate Times to learn
more about FRTs and how they are
created.
NOTE: See Personal Protection to make sure proper PPE is worn when
performing the below
procedure.
Correction code
10011512
0.60
NOTE: Unless otherwise explicitly
stated in the procedure, the above correction code and FRT reflect all of the work
required to perform this procedure, including the linked procedures. Do not stack correction codes unless
explicitly told to do so.
NOTE: See Flat Rate Times to learn
more about FRTs and how they are
created.
NOTE: See Personal Protection to make sure proper PPE is worn when
performing the below
procedure.
Torque Specifications
| Description | Torque Value | Recommended Tools | Reuse/Replace | Notes |
|---|---|---|---|---|
| Screw that attaches the T badge support to the front fascia |
 3 Nm (2.2 lbs-ft) |
|
Reuse | |
| Screw that attaches T badge to T badge support |
3 Nm (2.2 lbs-ft) |
|
Reuse | |
| Screw that attaches BLE module to the T badge support |
3 Nm (2.2 lbs-ft) |
|
Reuse | |
| Screw that attaches the V bar to the T badge assembly |
3 Nm (2.2 lbs-ft) |
|
Reuse |
Remove
- Remove the front fascia assembly Fascia Assembly - Front (Remove and Install).
-
Disconnect the electrical harness from
the BLE module.
CAUTIONDO NOT push down on the red locking tab. Pull the tab away from the connector until the connector is unlocked, and then continue pulling to release the connector.
-
Remove the screw that attaches the T
badge support to the front fascia.
TIpUse of the following tool(s) is recommended:
- Torx T25 socket
- 4 in extension
- Flex head ratchet/flex head torque wrench
-
Release the T badge support tabs from
the front fascia, and then remove the T badge support from the front fascia.
-
Remove the screws that attach the T
badge to the T badge support.
TIpUse of the following tool(s) is recommended:
- Torx T25 socket
- 4 in extension
- Flex head ratchet/flex head torque wrench
-
Remove the two screws that attach the
front BLE module to the T badge support.
TIpUse of the following tool(s) is recommended:
- Torx T25 socket
- 4 in extension
- Flex head ratchet/flex head torque wrench
-
Remove the two screws that attach the
front fascia V bar to the T badge support.
TIpUse of the following tool(s) is recommended:
- Torx T25 socket
- 4 in extension
- Flex head ratchet/flex head torque wrench
-
Release the four clips that attach the
front fascia V bar to the T badge support, and then remove the V bar from the T badge
support.
Install
-
Position the front fascia V bar on the
T badge support, and then install the clips that attach the V bar to the T badge
support.
NoteAlign the V bar guides with the T badge support.
-
Install the two screws that attach the
front fascia V bar to the T badge support.3 Nm (2.2 lbs-ft)TIpUse of the following tool(s) is recommended:
- Torx T25 socket
- 4 in extension
- Flex head ratchet/flex head torque wrench
-
Position the front BLE module on the T
badge support, and then install the two screws that attach the module to the T badge
support.3 Nm (2.2 lbs-ft)TIpUse of the following tool(s) is recommended:
- Torx T25 socket
- 4 in extension
- Flex head ratchet/flex head torque wrench
-
Install the three screws that attach
the front fascia T badge to the T badge support.3 Nm (2.2 lbs-ft)TIpUse of the following tool(s) is recommended:
- Torx T25 socket
- 4 in extension
- Flex head ratchet/flex head torque wrench
-
Position the T badge support on the
front fascia, and then install the clips and datums that attach the T badge support to
the fascia.
-
Install the screw that attaches the T
badge support to the front fascia.3 Nm (2.2 lbs-ft)TIpUse of the following tool(s) is recommended:
- Torx T25 socket
- 4 in extension
- Flex head ratchet/flex head torque wrench
-
Connect the electrical harness to the
front BLE module.
CAUTIONPush the red locking tab into the connector to engage the locking mechanism. DO NOT push down or pull up on the red locking tab.
- Install the front fascia assembly Fascia Assembly - Front (Remove and Install).