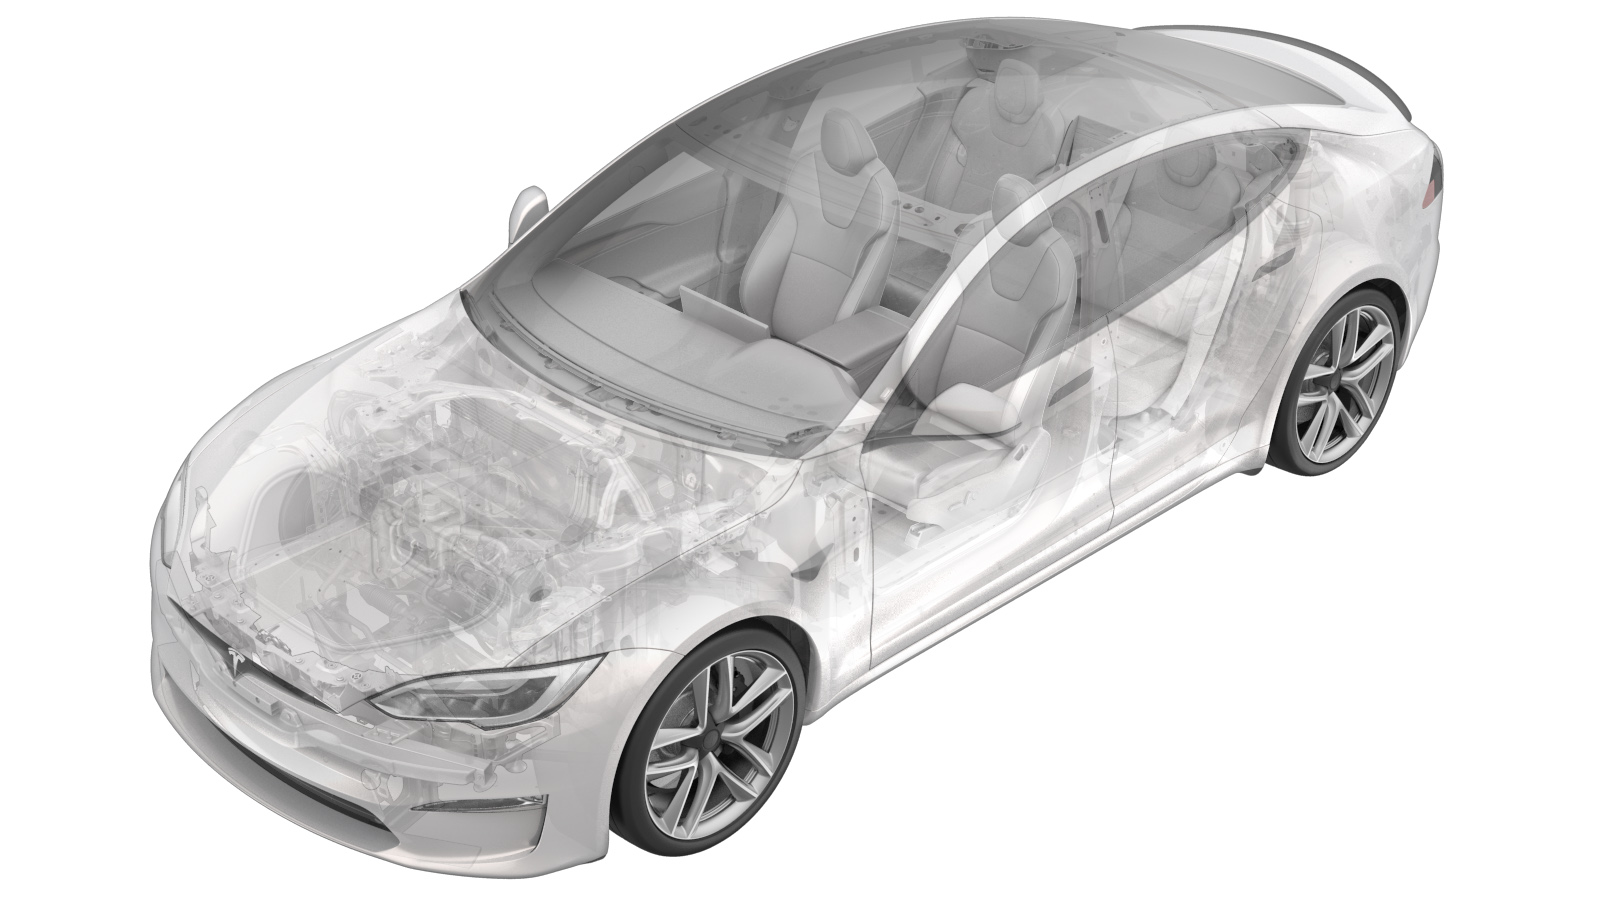
Antenna - GNSS (Remove and Replace)
 Correction code
21320102
0.12
NOTE: Unless otherwise explicitly
stated in the procedure, the above correction code and FRT reflect all of the work
required to perform this procedure, including the linked procedures. Do not stack correction codes unless
explicitly told to do so.
NOTE: See Flat Rate Times to learn
more about FRTs and how they are created. To provide feedback on FRT values, email ServiceManualFeedback@tesla.com.
NOTE: See Personal Protection to make sure proper PPE is worn when
performing the below
procedure.
- 2024-11-13: Updated images of the HW4 antenna.
Remove
- Enable Service Mode. See Service Mode (Enable and Disable).
- Remove the rear view mirror. See Mirror - Rear View (Remove and Replace).
- Remove the upper camera cover. See Upper Cover - Rear View Mirror (Remove and Replace).
-
Disconnect the electrical connector from the GNSS antenna.
Figure 1. HW3 GNSS antenna Figure 2. HW4 GNSS antenna -
Remove the screw that attaches the
GNSS antenna to the glare shield, and then slide the antenna out of the retaining tabs
(x2) to remove the antenna from the vehicle.
 0.8 Nm (7 lbs-in)NoteSlide the antenna to the LH side to release it from the bracket.TIpUse of the following tool(s) is recommended:
- T10 bit
Figure 3. HW3 GNSS antenna Figure 4. HW4 GNSS antenna
Install
-
Position the GNSS antenna on the glare
shield, secure the retaining tabs (x2), and then install the screw that attaches the
antenna to the glare shield.
 0.8 Nm (7 lbs-in)NoteSlide the antenna into the LH side of the bracket.TIpUse of the following tool(s) is recommended:
- T10 bit
Figure 5. HW3 GNSS antenna Figure 6. HW4 GNSS antenna -
Connect the electrical connector to the GNSS antenna.
Figure 7. HW3 GNSS antenna Figure 8. HW4 GNSS antenna -
Reset the Driver Assistance
System (DAS).
- Install the upper camera cover. See Upper Cover - Rear View Mirror (Remove and Replace).
- Install the rear view mirror. See Mirror - Rear View (Remove and Replace).
- Disable Service Mode. See Service Mode (Enable and Disable).