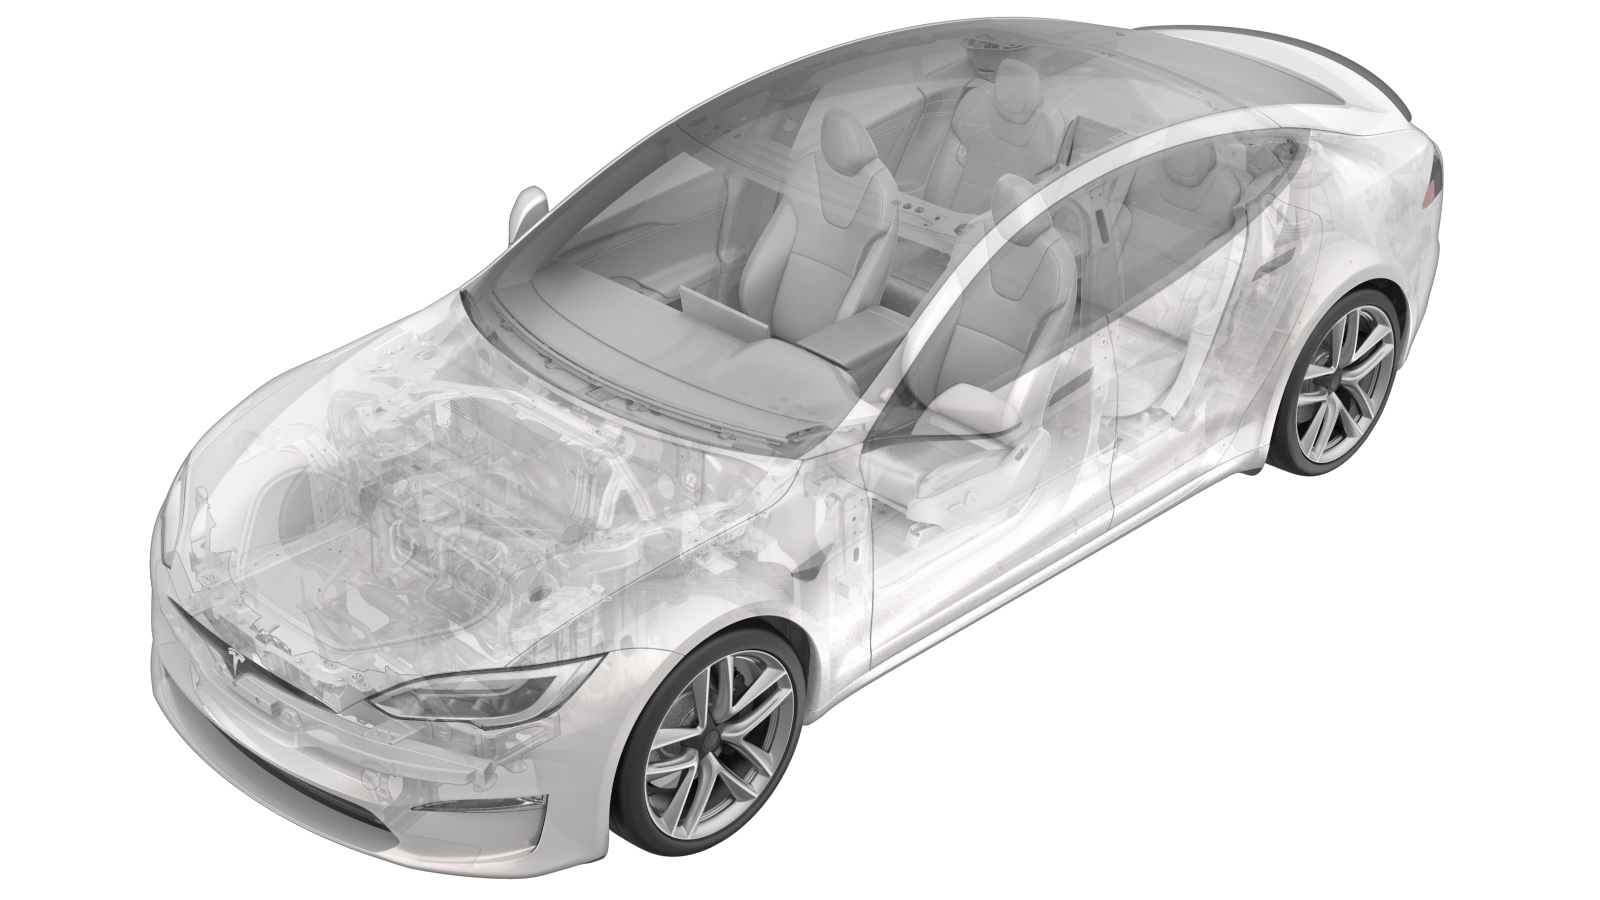
Side Panel - LH - Center Console (2025+) (Remove and Install)
 Correction code
New
FRT
0.5
NOTE: Unless
otherwise explicitly stated in the procedure, the above correction code and
FRT reflect all of the work required to perform this procedure, including
the linked procedures. Do
not stack correction codes unless explicitly told to do so.
NOTE: See Flat Rate Times to learn more about FRTs and how
they are created. To provide feedback on FRT values, email ServiceManualFeedback@tesla.com.
NOTE: See Personal Protection
to make sure wearing proper PPE when performing the below procedure.
NOTE: See Ergonomic Precautions for safe and
healthy working practices.
Remove
-
Remove the center console rear panel
assembly. See Panel - Rear - Center Console (2025+) (Remove and Install).
NoteIt's not necessary to separate the footwell lamp, lamp lens and rear USB from the rear panel assembly.
-
Remove the bolts (x2) that attach the
LH and RH rear console carrier to the body.
 12 Nm (8.8 lbs-ft)TIpUse of the following tool(s) is recommended:
- 10 mm socket
- Move the driver and front passenger seats fully rearward.
-
Remove the phone dock assembly. See
Phone Dock - Center Console (Remove and Replace).
NoteIt's not necessary to separate the inductive charger from the phone dock assembly.
-
Remove the IP service panel. See Service Panel - Instrument Panel (Remove and Replace).
NoteIt's not necessary to separate the cabin temperature sensor fan from the service panel assembly.
- Remove the LH and RH floor mats.
- Remove the LH and RH center console side carpets. See Carpet - Side Panel - Center Console - LH (Remove and Replace).
-
Remove the bolt that attaches the LH
toeboard lower bracket to the center console. Repeat this step for the RH bracket.
 10 Nm (7.4 lbs-ft)TIpUse of the following tool(s) is recommended:
- 10 mm socket
-
Release the harness clips (x2), and
then disconnect the center console electrical connectors (x4).
-
Remove the bolts (x2) that attach the
LH and RH console carrier center bracket.
 12 Nm (8.8 lbs-ft)TIpUse of the following tool(s) is recommended:
- 10 mm socket
- Recline the backrest for the driver and front passenger seats.
- Disconnect the LV battery power. See LV Power (Disconnect and Connect).
-
With an assistant, remove the console
assembly from the vehicle.
NoteLift at the rear of the center console, then rotate the front from under the instrument panel, and then remove the center console assembly through the front passenger door.NoteDo not to scratch the seats, instrument panel, or inner door panel.
-
Release the clips (x17) that attach
the LH center console side panel to the center console assembly.
Install
-
Install the clips (x17) that attach
the LH center console side panel to the center console assembly.
-
With an assistant, install the console
assembly on the vehicle:
NoteCarefully maneuver the front of the center console assembly under and into the instrument panel carrier and lower the rear of the center console into place.
-
Install the bolt that attaches the LH
toeboard lower bracket to the center console. Repeat this step for the RH bracket.
 10 Nm (7.4 lbs-ft)TIpUse of the following tool(s) is recommended:
- 10 mm socket
-
Fasten the harness clips (x2), and
then connect the center console electrical connectors (x4).
NoteMake sure all connector locks are engaged.
-
Install the bolts (x2) that attach the
LH and RH console carrier center bracket.
 12 Nm (8.8 lbs-ft)TIpUse of the following tool(s) is recommended:
- 10 mm socket
- Install the LH and RH center console side panel carpets. See Carpet - Side Panel - Center Console - LH (Remove and Replace).
- Install the LH and RH floor mats.
- Install the IP service panel. See Service Panel - Instrument Panel (Remove and Replace).
- Install the phone dock assembly. See Phone Dock - Center Console (Remove and Replace).
- Connect the LV battery power. See LV Power (Disconnect and Connect).
- Restore the driver and front passenger seats back to their original position.
-
Install the bolts (x2) that attach the
LH and RH rear console carrier to the body.
 12 Nm (8.8 lbs-ft)TIpUse of the following tool(s) is recommended:
- 10 mm socket
- Install the center console rear panel assembly. See Panel - Rear - Center Console (2025+) (Remove and Install).