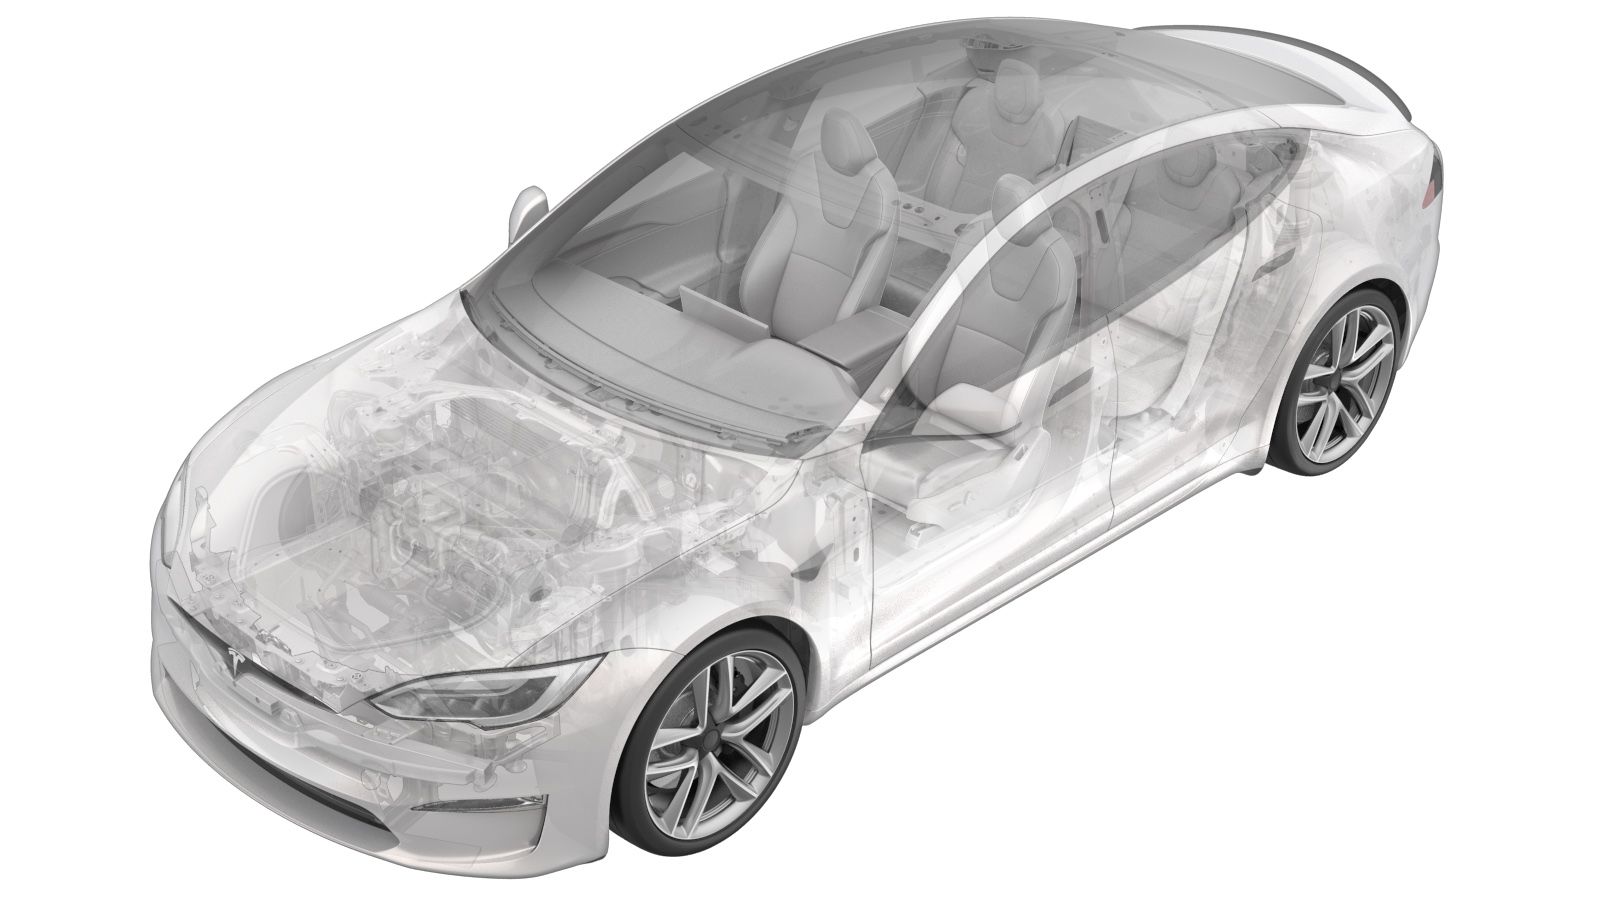
Touchscreen (HW3) (Remove and Replace)
 Correction code
21051202
0.30
NOTE: Unless otherwise explicitly
stated in the procedure, the above correction code and FRT reflect all of the work
required to perform this procedure, including the linked procedures. Do not stack correction codes unless
explicitly told to do so.
NOTE: See Flat Rate Times to learn
more about FRTs and how they are created. To provide feedback on FRT values, email ServiceManualFeedback@tesla.com.
NOTE: See Personal Protection to make sure proper PPE is worn when
performing the below
procedure.
- 2024-07-09: Added step to reinstall vehicle software after installing new touchscreen.
- 2023-10-03: Added step for checking vehicle firmware version.
- 2023-03-31: Added steps for the electrical connectors for the tilt motors (if equipped).
Remove
- Verify that the vehicle firmware version is 2023.12.100 or later. If not, update the vehicle firmware. See Firmware Update.
- Open the RH front door and lower the RH front window.
- Move RH front seat backward.
- Disconnect LV power. See LV Power (Disconnect and Connect).
- Remove the instrument panel service panel, but do not remove the cabin temperature sensor fan from the service panel. See Service Panel - Instrument Panel (Remove and Replace).
-
Remove the bolts (x2) that attach the
touchscreen bracket to the IP carrier.
Note10mm
-
Disconnect the electrical connectors
(x2) for the touchscreen tilt motors, if equipped.
-
Release the tabs (x3) that attach the
touchscreen shroud to the touchscreen, and then remove the shroud from the
vehicle.
NoteSlide the display outwards until the shroud fully clears the IP and support. Release the bottom tabs and pull upward.
-
Release the harness clip, and then
disconnect the coax and power connectors from the touchscreen.
NoteSupport the touchscreen and slide it rearward to access the connectors.
- Remove the touchscreen from the vehicle.
-
Place the touchscreen on a soft and
clean working surface.
-
Remove the bolt that attaches the
ground strap to the touchscreen.
CAUTIONReplace the bolt if it is damaged. Failure to properly reconnect the ground strap will result in display functionality issues.Note4 Nm, T20
-
Remove and discard the bolts (x2) that
attach the display mechanism to the touchscreen housing.
Note10mm, 10 Nm
-
Remove the display mechanism from the
touchscreen housing.
Install
-
Position the display mechanism on the
touchscreen housing.
NoteMake sure a plastic washer is installed on the top of each lower display mechanism arm.
-
Install new bolts (x2) that attach the
display mechanism to the touchscreen housing.
Note10mm, 10 Nm
-
Position the ground strap on the
touchscreen, and then install the bolt that attaches the ground strap to the
touchscreen.
CAUTIONReplace the bolt if it is damaged. Failure to properly reconnect the ground strap will result in display functionality issues.Note4 Nm, T20
-
Position the touchscreen on the IP
carrier, and then route the display harness behind the LH side of the display mechanism.
-
Connect the coax and power connectors
to the touchscreen, and then install the clip that attaches the harness to the display
mechanism arm.
NoteReplace the clip if it is damaged.
-
Position the touchscreen shroud behind
the touchscreen, and then install the tabs (x3) that attach the shroud to the
touchscreen.
NoteSlide the display downward until the tabs fully engage.
-
Install the bolts (x2) that attach the
touchscreen bracket to the IP carrier.
Note11.5 NmNoteStart the RH bolt first.
-
Connect the electrical connectors (x2)
for the touchscreen tilt motors, if equipped.
- Install the instrument panel service panel and phone dock. See Service Panel - Instrument Panel (Remove and Replace).
- Connect LV power. See LV Power (Disconnect and Connect).
- Reinstall the vehicle software. See Firmware Reinstall - Touchscreen.
- Move the RH front seat to its original position.
- Raise the RH front window.