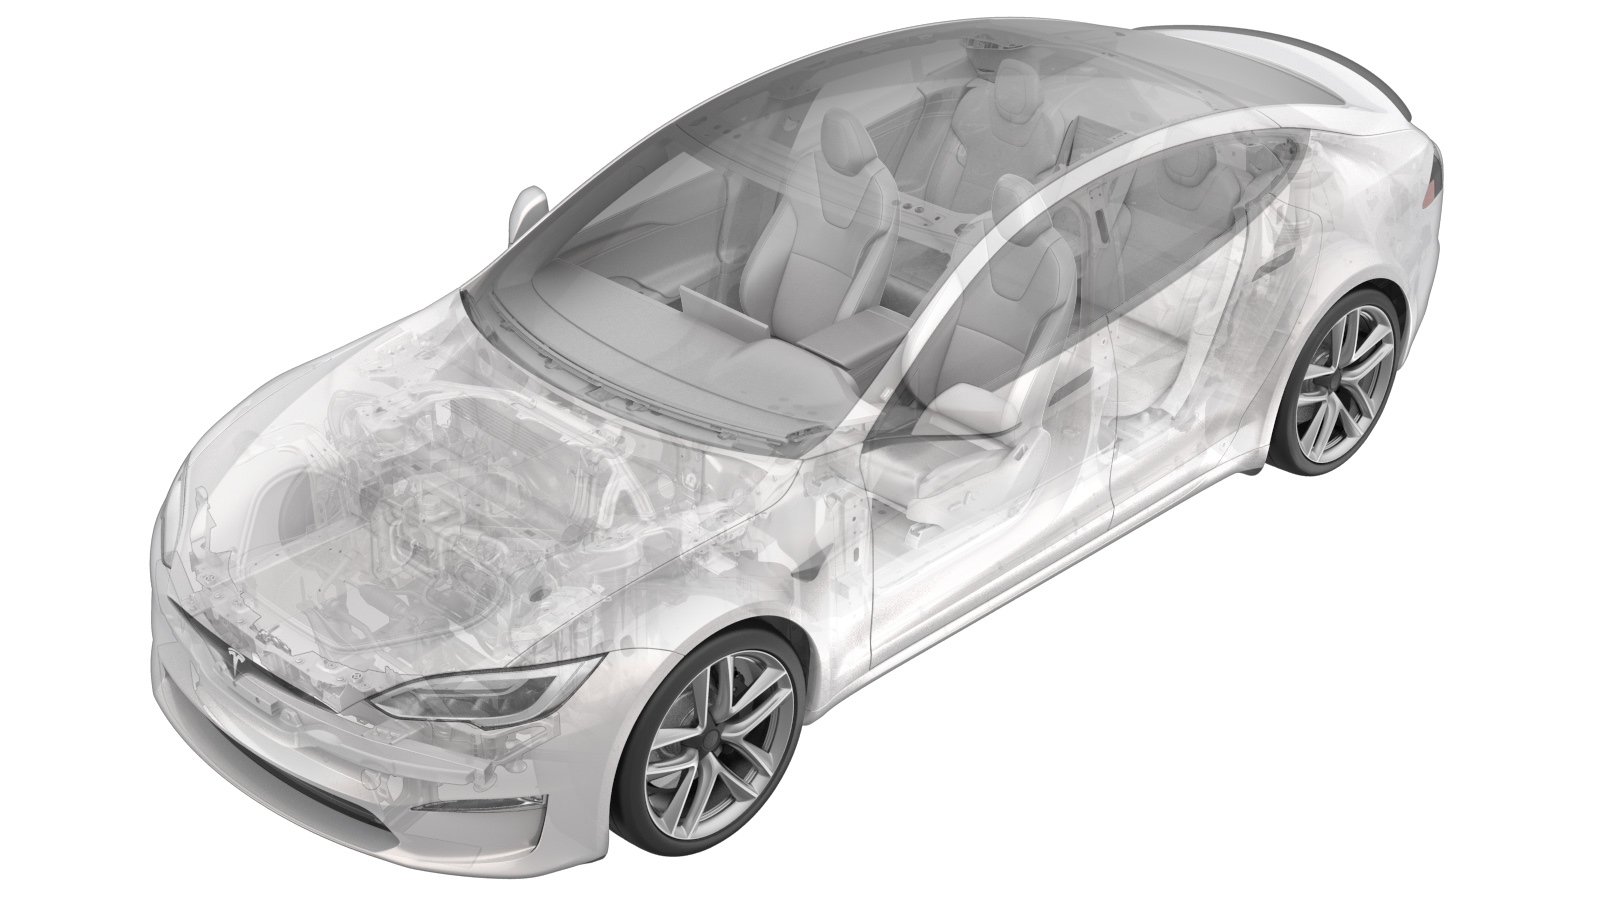
Bracket - Front End Module (FEM) - LH (Remove and Replace)
 Correction code
10101032
0.90
NOTE: Unless otherwise explicitly
stated in the procedure, the above correction code and FRT reflect all of the work
required to perform this procedure, including the linked procedures. Do not stack correction codes unless
explicitly told to do so.
NOTE: See Flat Rate Times to learn
more about FRTs and how they are created. To provide feedback on FRT values, email ServiceManualFeedback@tesla.com.
NOTE: See Personal Protection to make sure proper PPE is worn when
performing the below
procedure.
Remove
- Remove the LH headlight. See Headlight - LH (Remove and Replace).
-
Gently release the clips (x2) that
attach the frunk harness to the LH lamp brace.
CAUTIONThe lamp brace tabs for harness clips are very fragile.
-
Remove the bolts (x4) that attach the
LH lamp brace to the carrier, and then remove the brace from the vehicle.
 4 Nm (2.9 lbs-ft)TIpUse of the following tool(s) is recommended:
- 10 mm socket
-
Release the clip that attaches the
frunk harness to the upper washer tank mount.
-
Remove the nuts (x3) that attach the
washer tank to the vehicle, and then move the washer tank away from the frame rail.
 5 Nm (3.7 lbs-ft)TIpUse of the following tool(s) is recommended:
- 10 mm socket
-
Remove the bolts (x2) that attach the
LH FEM bracket to the vehicle, and then slide the bracket rearward and off of the front
carrier datum to remove it from the vehicle.
 30 Nm (22.1 lbs-ft)TIpUse of the following tool(s) is recommended:
- TP40 socket
Install
-
Position the LH FEM bracket onto the vehicle, and then install the bolts (x2) that
attach the bracket to the vehicle.
 30 Nm (22.1 lbs-ft)NoteSlide bracket to the front of the vehicle over the front carrier datum.TIpUse of the following tool(s) is recommended:
- TP40 socket
-
Position the washer tank to the frame rail, and then install the nuts (x3) that
attach the washer tank to the vehicle.
 5 Nm (3.7 lbs-ft)TIpUse of the following tool(s) is recommended:
- 10 mm socket
-
Install the clip that attaches the frunk harness to the upper washer tank
mount.
-
Position the LH lamp brace onto the carrier, and then install the bolts (x4) that
attach the brace to the carrier.
 4 Nm (2.9 lbs-ft)TIpUse of the following tool(s) is recommended:
- 10 mm socket
-
Gently install the clips (x2) that attach the frunk harness to the LH lamp
brace.
CAUTIONThe lamp brace tabs for harness clips are very fragile.
- Install the LH headlight. See Headlight - LH (Remove and Replace).