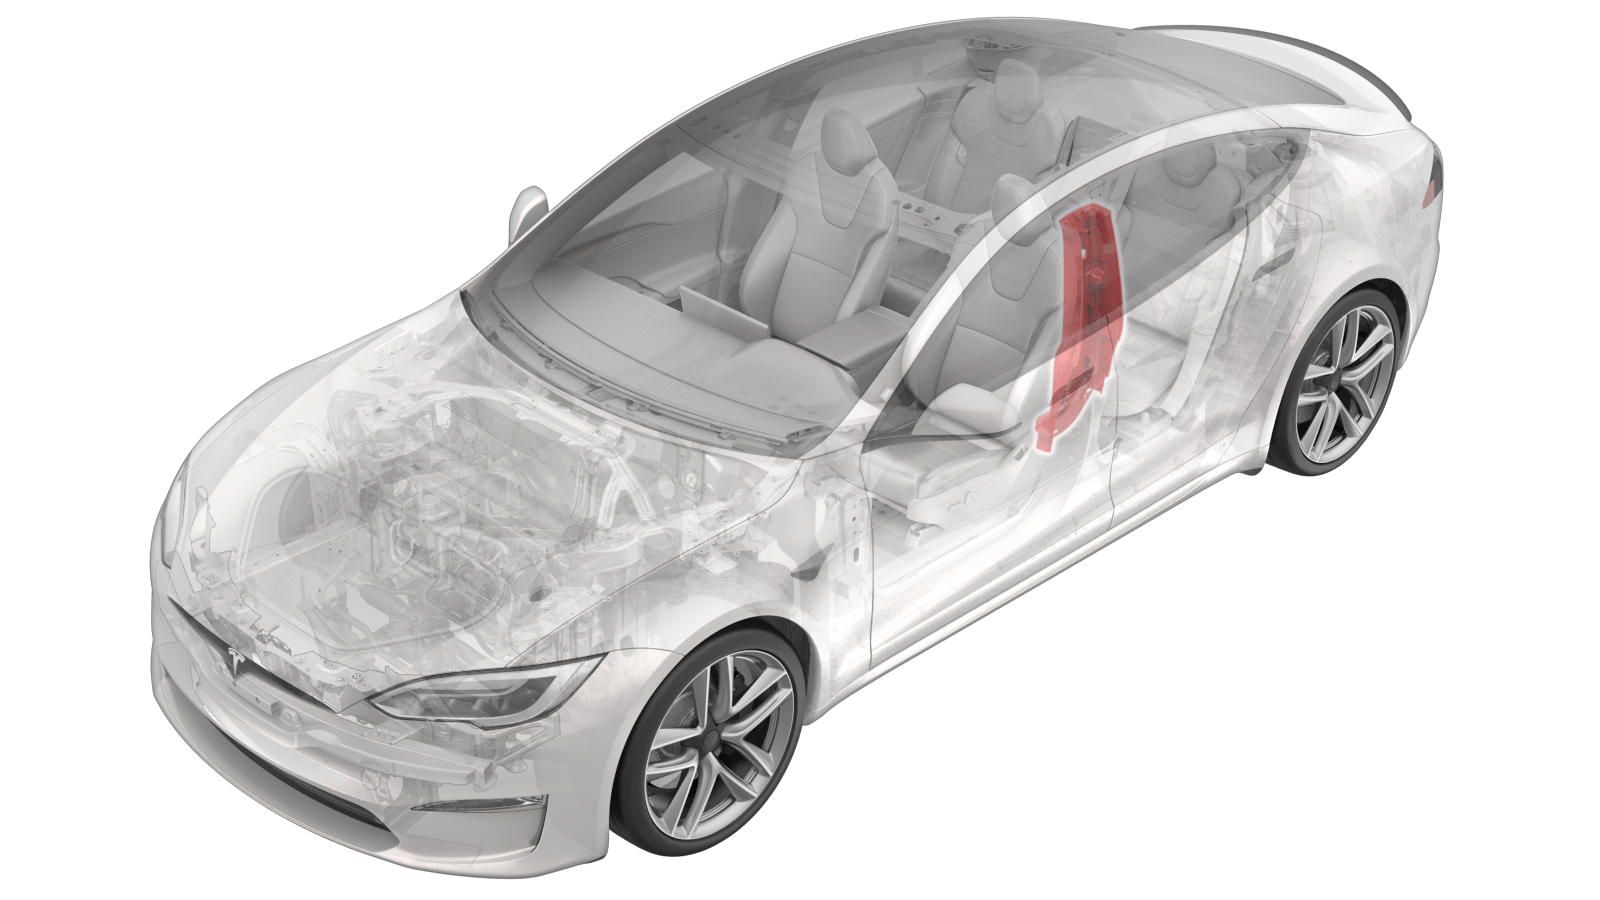
Trim - B-Pillar - Upper - LH (Remove and Replace)
 Correction code
15183002
0.18
NOTE: Unless otherwise explicitly
stated in the procedure, the above correction code and FRT reflect all of the work
required to perform this procedure, including the linked procedures. Do not stack correction codes unless
explicitly told to do so.
NOTE: See Flat Rate Times to learn
more about FRTs and how they are
created.
NOTE: See Personal Protection to make sure proper PPE is worn when
performing the below
procedure.
Correction code
15183002
0.18
NOTE: Unless otherwise explicitly
stated in the procedure, the above correction code and FRT reflect all of the work
required to perform this procedure, including the linked procedures. Do not stack correction codes unless
explicitly told to do so.
NOTE: See Flat Rate Times to learn
more about FRTs and how they are
created.
NOTE: See Personal Protection to make sure proper PPE is worn when
performing the below
procedure.
- 2023-06-19: Updated steps for releasing and installing seat belt linkage.
Remove
- Open the LH doors.
- Move the driver seat fully forward.
-
Use a flathead screwdriver to
rotate the lock mechanism on the front seat belt linkage counterclockwise to
release it from the pretensioner, and then slide the linkage off the
pretensioner and set it aside.
CAUTIONDO NOT rotate clockwise to avoid damage to the mechanism.NoteThe linkage design may vary, but will function the same.NoteThe lock screw will remain in the horizontal position when released.NoteA light audible click will be heard when the linkage is released.
-
Release the clips (x6) that attach the
top portion of the LH lower B-pillar trim to the B-pillar.
NoteIt is not necessary to release the entire trim.
-
Release the clips (x7) that attach the
LH upper B-pillar trim to the B-pillar, and then route the seatbelt through the trim to
remove it from the vehicle.
Install
-
Position the LH upper B-pillar trim
onto the B-pillar, route the seatbelt through the trim, and then fasten the clips (x7)
that attach the trim to the B-pillar.
NoteReplace any damaged or broken trim clips.
-
Fasten the clips (x6) that attach the
top portion of the LH lower B-pillar trim to the B-pillar.
-
Install the front seat belt
linkage to the pretensioner:
- Move the driver seat to its original position.
- Close the LH doors.