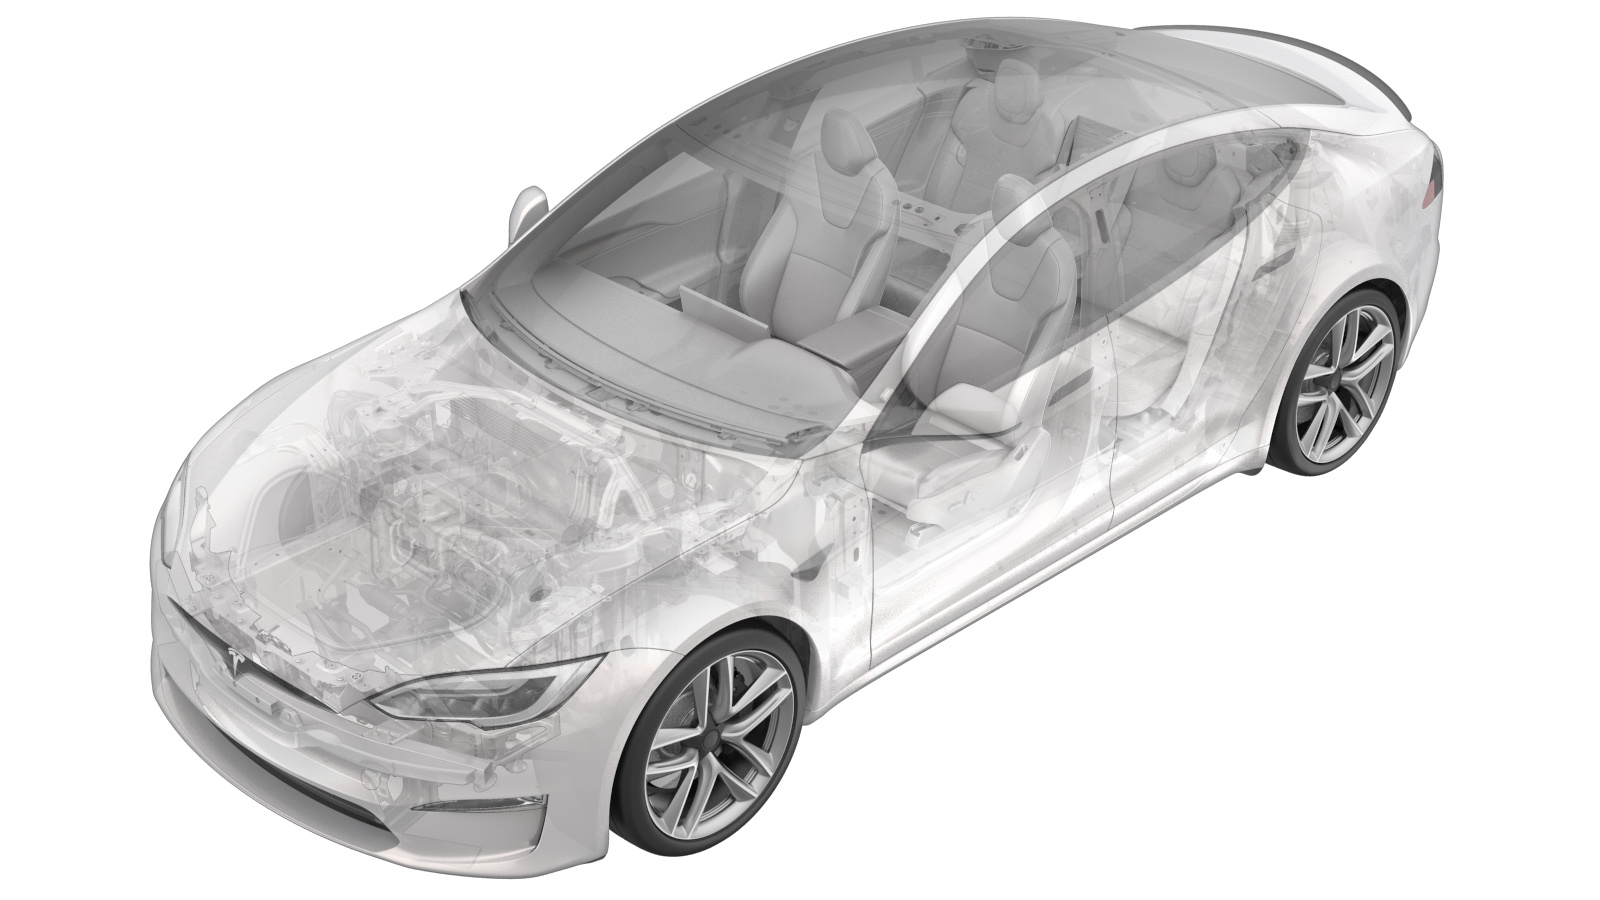
Harness - Ancillary - Front - LH (Remove and Replace)
 Correction code
17107702
17107802
0.36
NOTE: Unless
otherwise explicitly stated in the procedure, the above correction code and
FRT reflect all of the work required to perform this procedure, including
the linked procedures. Do
not stack correction codes unless explicitly told to do so.
NOTE: See Flat Rate Times to learn more about FRTs and how
they are created. To provide feedback on FRT values, email ServiceManualFeedback@tesla.com.
NOTE: See Personal Protection
to make sure wearing proper PPE when performing the below procedure.
NOTE: See Ergonomic Precautions for safe and
healthy working practices.
- 2025-03-24: Released new procedure.
-
Open LH front door
-
Raise and support vehicle
NotePrepare to raise vehicle, Set air suspension to "Jack Mode", Position lift arm pads on vehicle jack pads
-
Open hood
NoteSelect Controls > Frunk Open
-
Remove rear underhood apron
Note8x clips
-
Remove LH underhood apron
Note10x clips
-
Remove RH underhood apron
Note10x clips
-
Remove front underhood apron
Note7x clips
-
Remove frunk access panel
Note3x clips, 3x hooks, 1x connector
-
Remove frunk carpet
-
Remove frunk assembly
Note4x bolts, 10mm, 5 Nm
-
Disconnect active noise cancellation harness connector from frunk harness
Note1x connector, Release locking tab, 1x harness clip, Release clip securing active noise cancellation harness connector onto body
-
Remove LH front wheel cap
NoteLift every other spoke at a time until cap is released from rim
-
Loosen LH front wheel
Note5x nuts, 21mm, 175 Nm
-
Raise vehicle partially and lower onto locks
NoteSet vehicle to comfortable working height, Make sure there's an audible click of the locks on both sides before lowering, otherwise vehicle may tilt to the side
-
Remove LH front wheel
Note5x nuts, 21mm, 175 Nm
-
Release clips securing active noise cancellation harness onto bracket
Note2x harness clip
-
Disconnect active noise cancellation harness connector from sensor and remove harness from vehicle
Note1x connect, Release locking tab
-
Connect active noise cancellation harness onto sensor
Note1x connect, Secure locking tab
-
Position active noise cancellation harness into place
NoteEnsure the harness is routed above the lower links and below the tie rod and halfshaft
-
Install clips securing active noise cancellation harness onto bracket
Note2x harness clip
-
Install LH front wheel
Note5x nuts, 21mm, 175 Nm, Start lug nuts by hand before using power tool
-
Lower vehicle until tires are touching ground
NoteRaise lift off locks, then hold lock release lever to keep locks free while vehicle is lowered
-
Torque LH front wheel
Note5x nuts, 21mm, 175 Nm
-
Install LH front wheel cap
NoteAlign valve stem with cap
-
Connect active noise cancellation harness connector to frunk harness
Note1x connector, Secure locking tab, 1x harness clip, Install clip securing active noise cancellation harness connector onto body
-
Install frunk assembly
Note4x bolts, 10mm, 5 Nm
-
Install frunk carpet
NoteVerify carpet is properly seated under the seal
-
Install frunk access panel
Note3x clips, 3x hooks, 1x connector
-
Install front underhood apron
Note7x clips
-
Install RH underhood apron
Note10x clips
-
Install LH underhood apron
Note10x clips
-
Install rear underhood apron
Note8x clips
-
Close hood
NotePress firmly in green highlighted areas (see image), Damage may result from pressure elsewhere on hood
-
Remove vehicle from lift
NoteLower lift arms fully and remove them from under vehicle, Remove air suspension from "Jack Mode"
-
Close LH front door
NoteClose doors