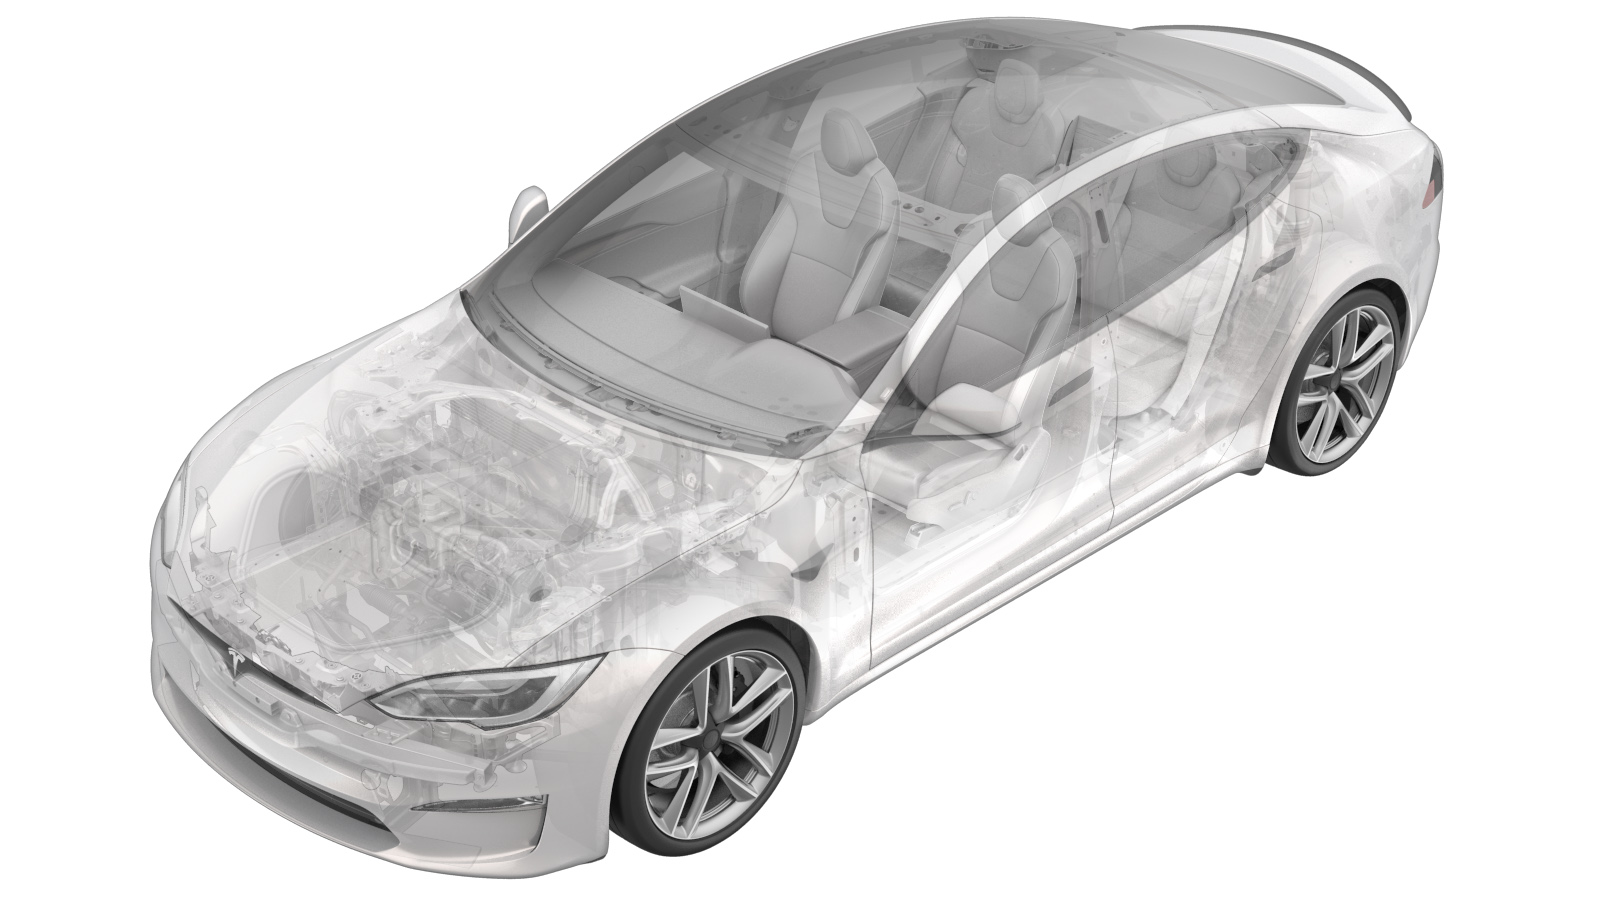
Flap - ISOFIX - Pair (Retrofit)
 Correction code
13050006
0.40
NOTE: Unless
otherwise explicitly stated in the procedure, the above correction code and
FRT reflect all of the work required to perform this procedure, including
the linked procedures. Do
not stack correction codes unless explicitly told to do so.
NOTE: See Flat Rate Times to learn more about FRTs and how
they are created. To provide feedback on FRT values, email ServiceManualFeedback@tesla.com.
NOTE: See Personal Protection
to make sure wearing proper PPE when performing the below procedure.
NOTE: See Ergonomic Precautions for safe and
healthy working practices.
- Open all four doors
- Lower LH front window
- Move LH front seat forward
- Move RH front seat forward
-
Remove LH side bolster trim
Note1x clip, 1x tab, Start by releasing upper portion
-
Remove RH side bolster trim
Note1x clip, 1x tab, Start by releasing upper portion
-
Remove 2nd row seat cushion assembly
Note2x clips, 2x connectors, Disengage locking clips and lift up on seat cushion, Release connections, If 2nd row seats are folded down then fold up for time being
-
Remove 2nd row LH side isofix bracket
Note2x bolts, 11mm, 26 Nm, Discard after removal
-
Remove 2nd row RH side isofix bracket
Note2x bolts, 11mm, 26 Nm, Discard after removal
-
Prepare LH and RH 2nd row isofix flap for installation
Note4x tabs, Trim off locator tabs along yellow line, Note: this results in no self location of the assembly while fitting mounting screws.
-
Trim back LH NVH foam
NoteTest fit isofix assembly and cut off trim from impressions left in NVH surface
-
Trim back RH NVH foam
NoteTest fit isofix assembly and cut off trim from impressions left in NVH surface
-
Install new LH 2nd row isofix assembly
Note2x patch bolts, 11mm, 26 Nm, Install new fasteners
-
Install new RH 2nd row isofix assembly
Note2x patch bolts, 11mm, 26 Nm, Install new fasteners
-
Install new 2nd row seat cushion assembly
Note2x clips, 2x connectors, Secure connections and slide seat belt buckles through seat cushion, Tuck seat cushion and foam into place, Engage clips
-
Install LH side bolster trim
Note1x clip, 1x tab, Replace clip if damaged, Hook bottom portion and then secure the top
-
Install RH side bolster trim
Note1x clip, 1x tab, Replace clip if damaged, Hook bottom portion and then secure the top
- Move RH front seat to original position
- Move LH front seat to original position
- Raise LH front window
- Close all four doors