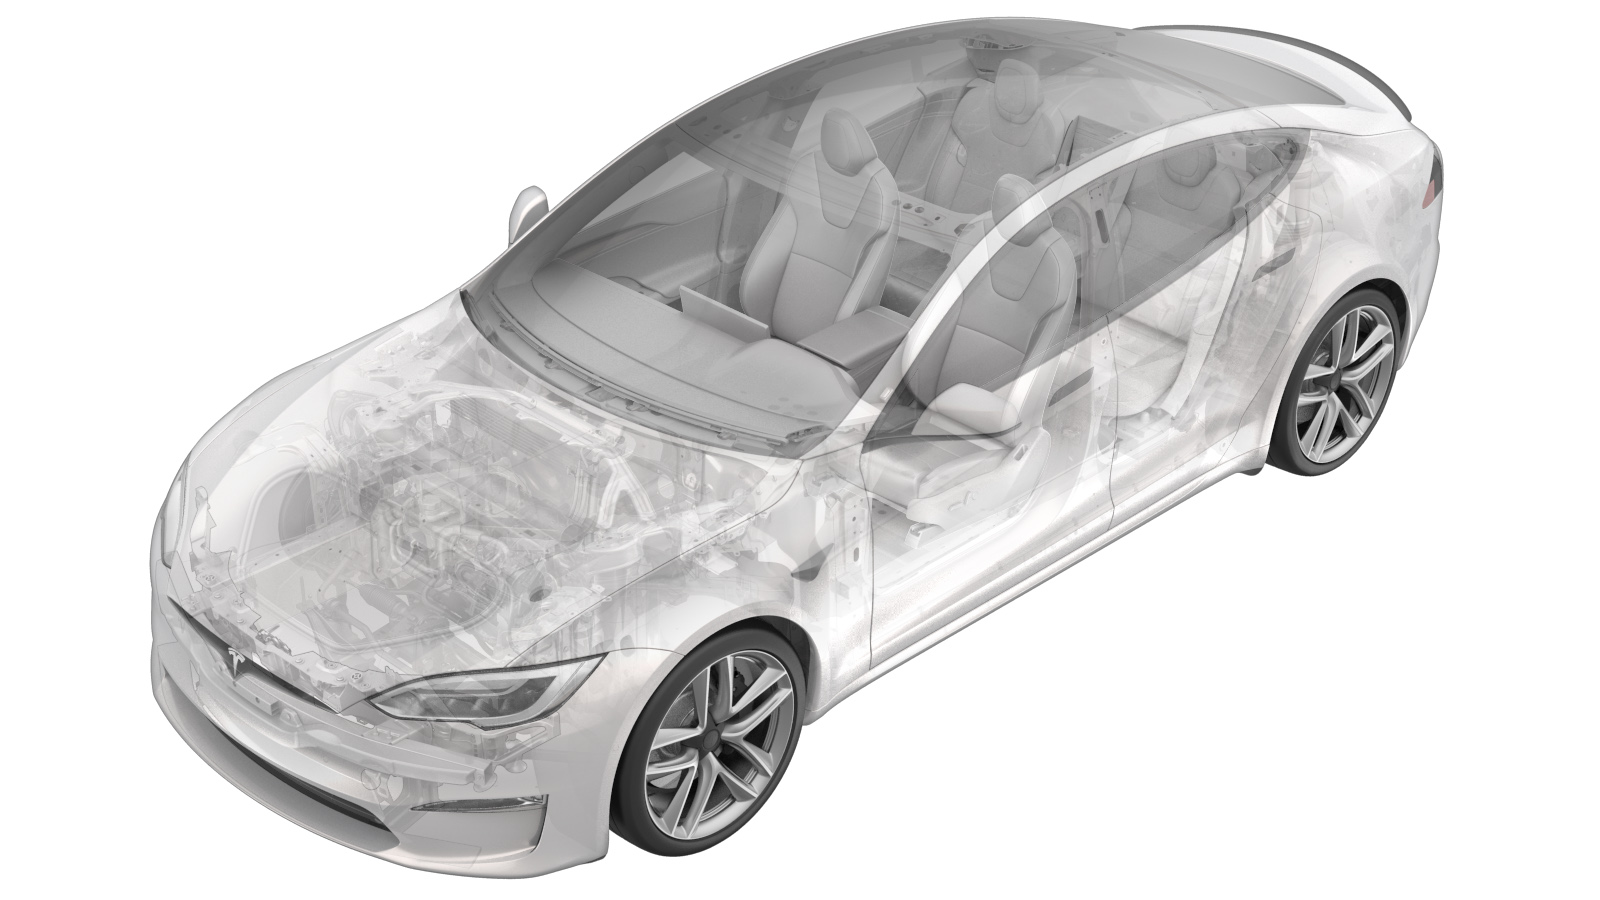
Brightwork - Body Side - LH (Remove and Replace)
 Correction code
12200502
0.60
NOTE: Unless otherwise explicitly
stated in the procedure, the above correction code and FRT reflect all of the work
required to perform this procedure, including the linked procedures. Do not stack correction codes unless
explicitly told to do so.
NOTE: See Flat Rate Times to learn
more about FRTs and how they are created. To provide feedback on FRT values, email ServiceManualFeedback@tesla.com.
NOTE: See Personal Protection to make sure proper PPE is worn when
performing the below
procedure.
Remove
- Open the LH front door and lower the LH front window.
- Open the LH rear door and lower the LH rear window.
- Open the liftgate.
-
Apply masking tape around the
brightwork at the rear quarter glass to protect the paint from damage.
-
Release the upper portion of the
primary front and rear side body seals.
-
Remove the screws (x12) that attach
the body side brightwork to the body.
 2.5 Nm (1.8 lbs-ft)TIpUse of the following tool(s) is recommended:
- Torx T20 bit
-
Carefully separate the body side
brightwork by working from the front to the rear of the vehicle.
NoteIf there is foam in the front of the brightwork, refer to bulletin SB-13-12-005, A-Pillar Wind Noise.NoteApply masking tape to the front edge of the brightwork to prevent scratching the vehicle.
-
With an assistant, carefully release
the clips (x3) that attach the lower portion of the body side brightwork to the body
starting at the end of the brightwork, and then work your way in. Separate the
brightwork from the rear quarter glass, and then remove the brightwork from the
vehicle.
Notex1 datumCAUTIONDo not damage the body side brightwork. If any damage occurs during removal, replace the brightwork.NoteUse double sided tape to secure the upper portion of the brightwork, and then use a soft wire to assist with the release of the double sided tape.
Install
-
Remove and replace the grommets (x12)
for the body side brightwork screws.
-
Clean the rear quarter glass and
surrounding area of any residual debris with an Isopropyl Alcohol (IPA) wipe.
NoteAllow 1 minute for the IPA to dry before continuing to the next step.
-
Apply 3M double sided tape onto the LH
rear quarter glass assembly.
NoteMeasure out and apply 415 mm of 3M double sided tape onto the upper quarter glass seal, and then peel the backing.
-
With an assistant, position the body
side brightwork into position for installation, and then engage the clips (x3) into the
rear quarter glass.
Note1x datumNoteMake sure when pressure is applied, the brightwork is positioned correctly as this is a one time use of the double sided tape.
-
Install the screws (x12) that attach
the body side brightwork to the body.
 2.5 Nm (1.8 lbs-ft)TIpUse of the following tool(s) is recommended:
- Torx T20 bit
-
Install the upper portion of the
primary front and rear side body seals.
NoteMake sure the primary seals are properly seated along the interior trim.
-
Remove the masking tape from the
vehicle.
- Raise the LH rear window and close the LH rear door.
- Close the liftgate.
- Raise the LH front window and close the LH front door.