2026-09-25
Halfshaft - Front Drive Unit - RH (Remove and Replace)
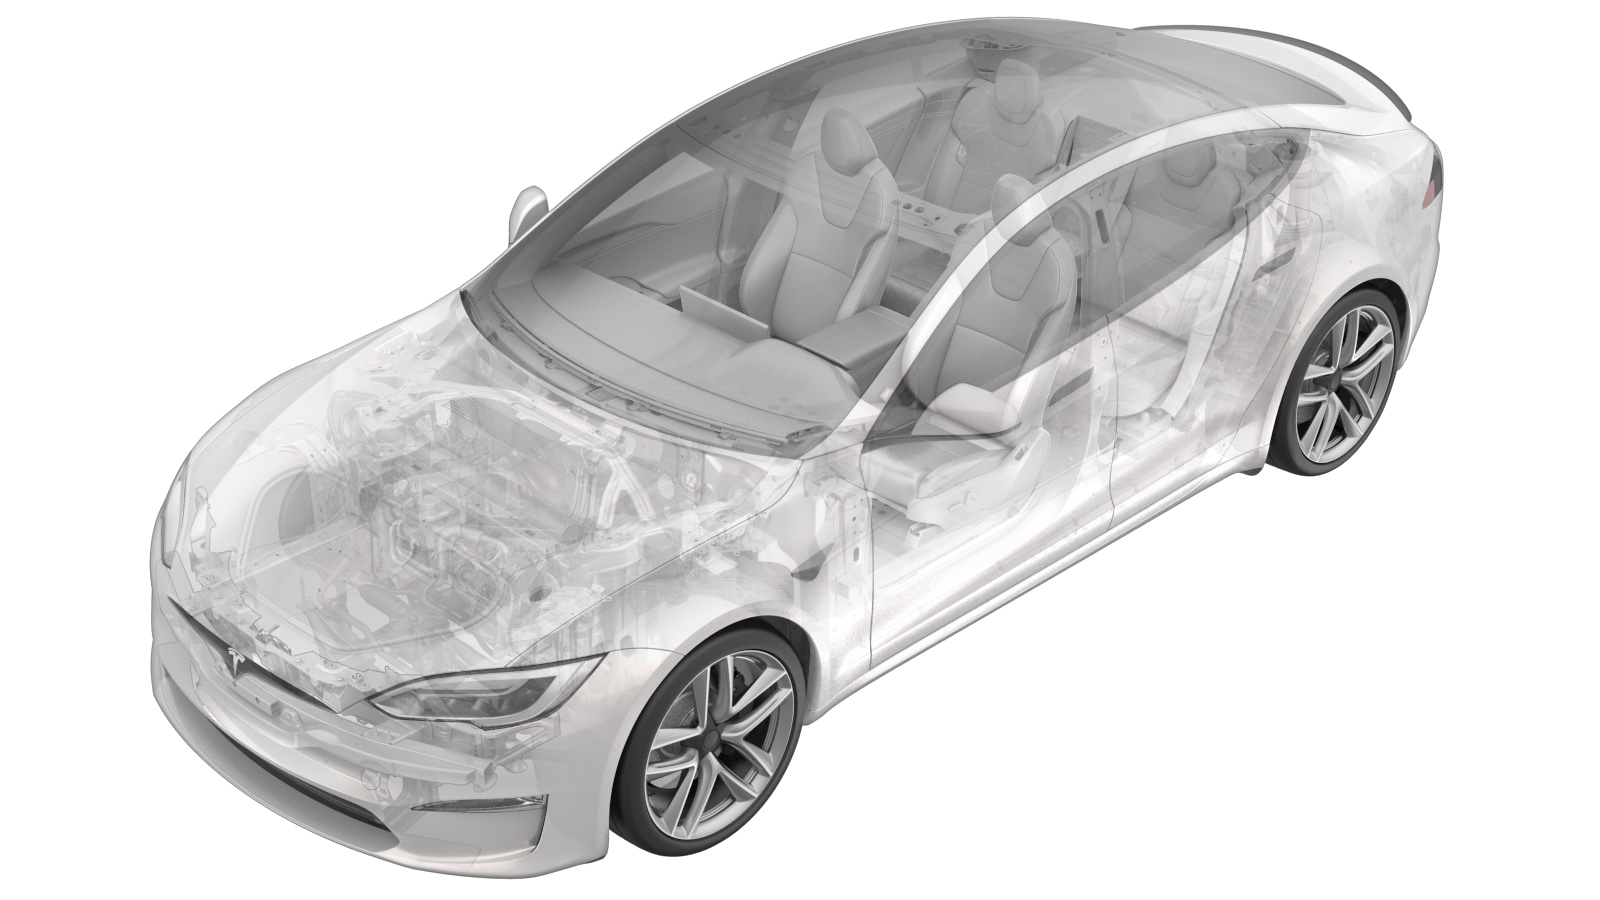 Correction code
39302112
1.26
NOTE: Unless otherwise explicitly
stated in the procedure, the correction code and its associated FRT reflect all of the
work required to perform this procedure, including the linked procedures. Do not stack correction codes unless
explicitly told to do so.
NOTE: See Flat Rate Times to learn
more about FRTs and how they are
created.
NOTE: See Personal Protection to make sure proper PPE is worn when
performing the below
procedure.
Correction code
39302112
1.26
NOTE: Unless otherwise explicitly
stated in the procedure, the correction code and its associated FRT reflect all of the
work required to perform this procedure, including the linked procedures. Do not stack correction codes unless
explicitly told to do so.
NOTE: See Flat Rate Times to learn
more about FRTs and how they are
created.
NOTE: See Personal Protection to make sure proper PPE is worn when
performing the below
procedure.
Warning
This procedure is a DRAFT.
Although it has been validated, Warnings and Cautions might be missing. Follow safety
requirements and use extreme caution when working on or near High Voltage systems and
components.
CAUTION
If performing this
procedure as a result of a collision, see the Collision Repair
Manual to verify whether the steering gear must be
replaced as well.
Remove
-
Raise and support vehicle.
NoteSet air suspension to "Jack Mode" if equipped.
-
Remove lug nut covers from RH front wheel.
Note5x covers.
-
Remove RH front wheel center cap.
Note1x cap.
-
Loosen RH front axle nut.
Note1x nut, 32mm, 245 Nm.
-
Loosen RH front wheel.
Note5x nuts, 21mm, 175 Nm.
-
Raise vehicle partially and lower onto locks.
NoteSet vehicle to comfortable working height, Make sure there's an audible click of the locks on both sides before lowering, otherwise vehicle may tilt to the side.
-
Remove RH front wheel.
Note5x nuts, 21mm, 175 Nm.
-
Remove bolts securing RH front brake caliper to knuckle assembly.
Note2x bolts, 21mm, 135 Nm.
-
Remove RH front brake caliper from knuckle and use an S-hook to hang onto vehicle.
NoteIf the anti-rattle clips were removed, make sure the brake pads are properly supported.
-
Release RH ANC sensor and damper bracket from air spring module.
Note1x bolt, 10mm, 6 Nm, Route around links and hang, Take note of how the harness is routed for installation.
-
Remove nut securing front stabar link to RH front stabar and move aside.
Note1x nyloc nut, 15mm, 70 Nm, Counter hold ball joint with T40, Discard after removal, May need to move the stabilizer bar up/down to get the correct angle needed to remove end link.
-
Remove nut securing the RH tie rod end to the knuckle.
Note1x nyloc nut, 21mm, 102 Nm, Discard after removal.
-
If installed, remove and discard
the bolt that attaches the brake rotor to the hub.
NoteA new bolt will not be installed.TipUse of the following tool(s) is recommended:
- 13 mm socket
-
Remove axle nut and discard the washer securing RH front drive axle to hub assembly.
NoteIf washers are not present, procure a set so they can be installed later in this procedure.Note1x nut, 32mm, 245 Nm.
-
Install the hub puller onto the RH front brake rotor.
Note2x lug nuts, 2x hub puller washers.
-
Use hub puller to free RH front halfshaft from hub splines.
-
Remove hub puller from RH front hub assembly.
-
Release the RH front upper control arm from the suspension assembly.
Note1x patch nut, 15mm, 1x bolt, T50, 60 Nm, Discard nut after removal.
-
Remove RH front halfshaft from RH front hub assembly .
-
Raise vehicle fully and lower lift onto locks.
NoteSet vehicle to comfortable working height, Make sure there's an audible click of the locks on both sides before lowering, otherwise vehicle may tilt to the side.
-
Remove clips securing front aero shield.
Note5x push clips.
-
Remove bolts securing front aero shield and remove from vehicle.
Note9x bolts, 10mm, 6 Nm.
-
Install the axle removal tool around the inner joint of the RH front halfshaft.
NotePosition cable around axle and use slide hammer to release from DU.
-
Remove the RH front halfshaft from the drive unit and remove from the vehicle.
Install
-
Install RH front axle shaft into the FDU.
NoteEnsure the axle is fully seated into the drive unit, An audible click is heard when the C-Clip is fully engaged.
-
Apply Molykote M-77 to outboard side of RH front axle shaft.
NoteClean if necessary, Apply no more than 1 gram to axle only.
-
Apply Loctite 222 onto front aero shield bolts and install fasteners securing front aero shield to vehicle.
Note9x bolts, 10mm, 6 Nm.
-
Install clips securing front aero shield.
Note5x push clips.
-
Lower vehicle partially and set lift onto locks.
NoteRaise lift off locks, then hold lock release lever to keep locks free while vehicle is lowered, Set vehicle to comfortable working height.
-
Align the splines of the RH
front halfshaft with those of the RH front hub, and then install the
halfshaft into the hub..
-
Install only the axle nut
onto the halfshaft, and then use a ratchet and socket to manually tighten
the nut to pull the halfshaft into the hub until it seats..
NoteDo not use power tools to tighten the nut as it might strip the threads..
-
Remove the axle nut from the
halfshaft, install a new washer onto the halfshaft, and then reinstall the
axle nut hand tightened..
NoteThe axle nut is torqued in a later step..
-
Secure RH front knuckle to upper control arm.
Note1x bolt, T50, 1x patch nut, 15mm, 60 Nm, Install new nut.
-
Remove RH front brake caliper from brake caliper S-hook .
-
Install RH front brake caliper onto knuckle assembly.
Note2x bolts, 18mm, 120 Nm, Install bolts securing LH front brake caliper onto knuckle assembly.
-
Position RH tie rod and install nut.
Note1x nyloc nut, 21mm, 102 Nm, Install new nut.
-
Position stabar and install nut securing RH endlink to stabar assembly.
Note1x nyloc nut, 15mm, 70 Nm, Install new nut, Counter hold stud with 5mm socket.
-
Route ANC sensor and damper bracket and secure to RH front air spring module.
Note1x bolt, 10mm, 6 Nm, Harness routes above lower links and below tie rod/axle.
-
Install RH front wheel.
Note5x nuts, 21mm, 175 Nm, Start lug nuts by hand before using power tool.
-
Lower vehicle until tires are touching the ground.
NoteRaise lift off locks, then hold lock release lever to keep locks free while vehicle is lowered.
-
Torque RH front axle nut.
Note1x nut, 32mm, 245 Nm, 1x washer.
-
Install RH front wheel center cap.
Note1x cap, Verify emblem is aligned with valve stem.
-
Torque RH front wheel.
Note5x nuts, 21mm, 175 Nm.
-
Install RH front lug nut covers.
Note5x covers.
- Remove vehicle from lift.