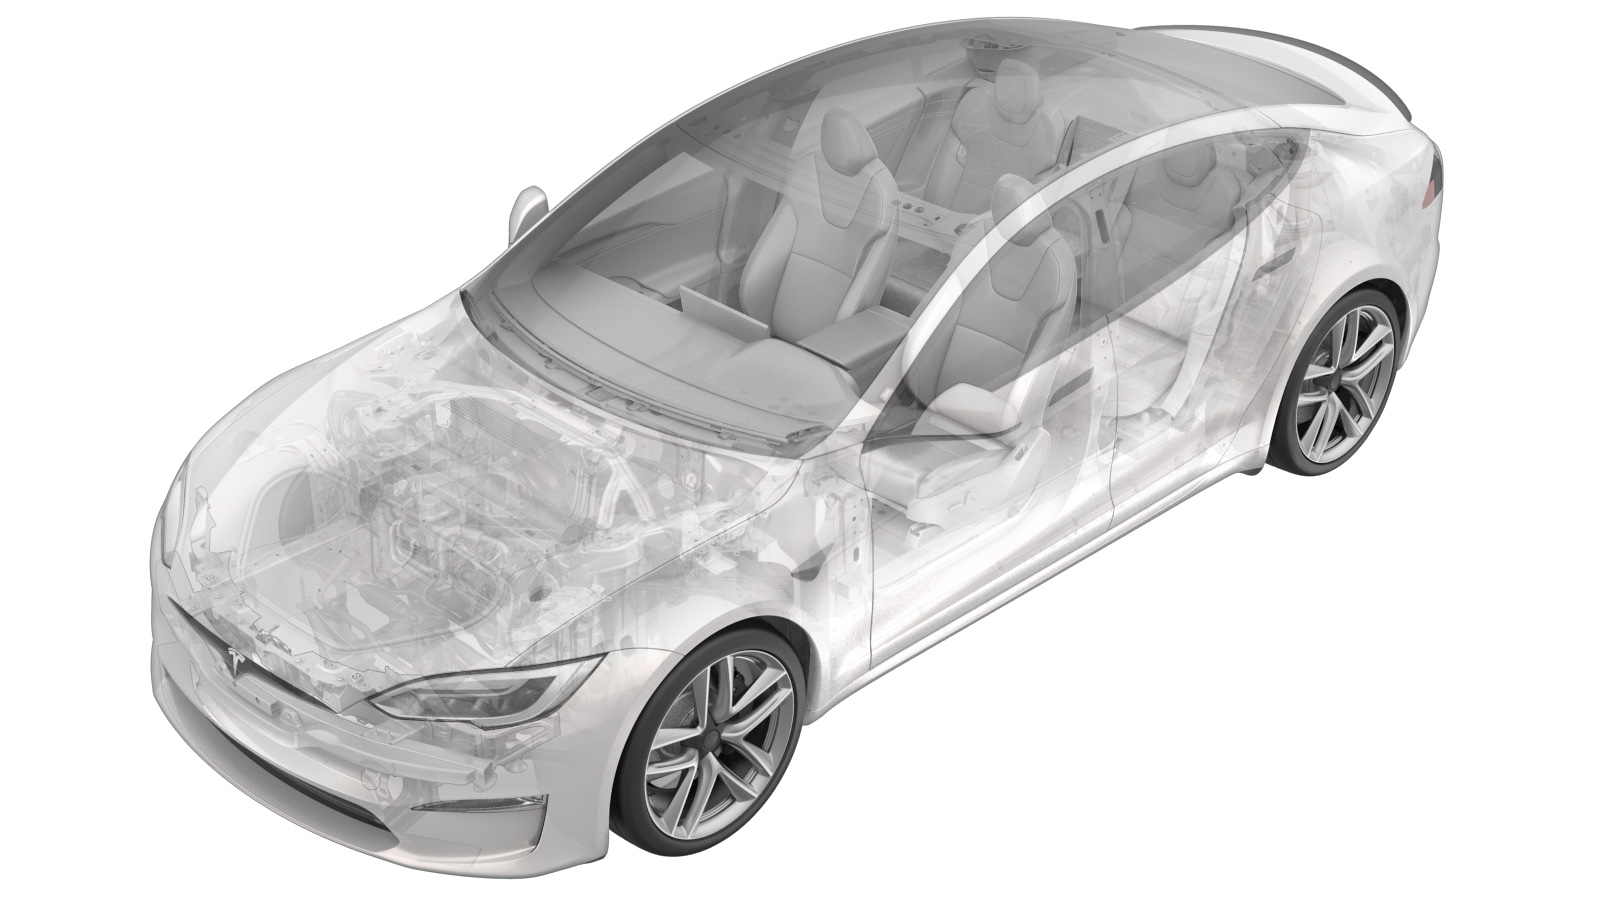
Glass - Rear Quarter - LH (Remove and Install)
 Correction code
10203001
2.34
NOTE: Unless otherwise explicitly
stated in the procedure, the above correction code and FRT reflect all of the work
required to perform this procedure, including the linked procedures. Do not stack correction codes unless
explicitly told to do so.
NOTE: See Flat Rate Times to learn
more about FRTs and how they are
created.
NOTE: See Personal Protection to make sure proper PPE is worn when
performing the below
procedure.
Correction code
10203001
2.34
NOTE: Unless otherwise explicitly
stated in the procedure, the above correction code and FRT reflect all of the work
required to perform this procedure, including the linked procedures. Do not stack correction codes unless
explicitly told to do so.
NOTE: See Flat Rate Times to learn
more about FRTs and how they are
created.
NOTE: See Personal Protection to make sure proper PPE is worn when
performing the below
procedure.
Remove
- Open all the doors and lower all the windows.
- Open the liftgate.
- Remove the rear trunk parcel shelf. See Parcel Shelf - Rear Trunk (Remove and Replace).
- Remove the RH upper B-pillar trim. See Trim - B-Pillar - Upper - LH (Remove and Replace).
-
Fold the RH 2nd row seat to the down
position.
NoteIf the 2nd row lower seat cushion is not present, protect the seat as required.
- Remove the RH 2nd row seat outer side bolster. See Bolster - Outer - Seat - 2nd Row - LH (Remove and Replace).
-
Release the clips (x4) that attach the
RH lower C-pillar trim to the RH mid C-pillar trim.
-
Release the clips (x3) that attach the
RH mid C-pillar trim to the vehicle, and then remove the trim from the vehicle.
-
Release the clips (x7) that attach the
RH upper C-pillar trim to the vehicle, and then move the trim aside.
-
Push open the RH rear coat hook.
-
Pry open to release the tabs (x2) that
attach the RH rear coat hook screw cover.
-
Remove the screw that attaches the RH
rear coat hook to the headliner.
 2.5 Nm (1.8 lbs-ft)TIpUse of the following tool(s) is recommended:
- Torx T25 socket
- Move LH front seat forward
- Repeat step 4 through step 12 for the LH side of the vehicle.
-
Remove the bolts (x2) that attach the
rear of the headliner to the body.3 Nm (2.2 lbs-ft)NoteThe bolts are located on the LH and RH sides of the headliner.TIpUse of the following tool(s) is recommended:
- Torx T30 socket
-
Release the clips (x5) that attach the
rear of the headliner to the rear of the vehicle.
- Remove the LH body side brightwork. See Brightwork - Body Side - LH (Remove and Replace).
-
Release the LH side rocker seal from
below the LH rear quarter glass, and then tape the seal onto the body.
-
Remove the bolts (x2) that attach the
LH rear quarter glass to the body.10 Nm (7.4 lbs-ft)TIpUse of the following tool(s) is recommended:
- 10 mm socket
- Set up a pair of T-handles with square wire 6 feet long.
-
Wrap the square wire around the rear
edge of the LH rear quarter glass between the body and the seal, and then use a sawing
motion to cut through the urethane to remove the glass from the vehicle.
TIpUse a trim tool to help guide the wire between the molding and glass.TIpUse an equalizer blade most of the way to help avoid damage to the quarter glass.NoteUse an equalizer blade to remove any remaining urethane still holding the glass in place.CAUTIONIf the glass is being re-used, be extremely cautious while using the square wire, as the wire tends to get caught in the quarter glass seal causing damage.
-
Clean excess urethane and adhesive
from the quarter glass.
NoteBe careful when cleaning off urethane as it can be easy to cut into the rubber assembly of the quarter glass itself.
-
Use an IPA wipe to clean the LH rear
quarter glass surface area.
NoteAllow 1 minute dry time.
-
Clean the remaining urethane from the
body using a winged scraper set.
-
Use an IPA wipe to clean the quarter
panel surface area.
NoteAllow 1 minute dry time.
-
Remove the body patches (x2) from the
quarter panel.
Install
-
Apply primer to the urethane path and
any areas where the paint was damaged during the removal of the LH rear quarter glass.
Allow the primer to dry for at least 2 minute.
-
Remove the body patches (x2) from the quarter panel.
-
Prepare the caulking gun and
urethane.
NoteThe urethane opening must be 7 mm wide and 12 mm tall.
-
Apply urethane to the LH rear quarter
glass, following the original path.
NoteIf quarter glass is being reused, apply urethane surrounding the datum location. This will eliminate potential wind noise.
-
Position the LH rear quarter glass
onto the vehicle.
NoteStart by positioning the datum into place. Verify the threads for bolt installation are aligned with the body. Apply pressure to the surrounding areas. Use tape to hold glass in place. Reference urethane being applied to confirm dry time.
-
Install the bolts (x2) that attach the LH rear quarter glass to the body.10 Nm (7.4 lbs-ft)TIpUse of the following tool(s) is recommended:
- 10 mm socket
-
Install the clips (x5) that attach the
rear of the headliner to the vehicle.
NoteVerify the clips are properly seated prior to installation. Replace any damaged or missing clips as needed.
-
Install the bolts (x2) that attach the rear of the headliner to the body.3 Nm (2.2 lbs-ft)NoteThe bolts are located on the LH and RH sides of the headliner.TIpUse of the following tool(s) is recommended:
- Torx T30 socket
-
Install the screw that attaches the RH rear coat hook to the headliner.2.5 Nm (1.8 lbs-ft)TIpUse of the following tool(s) is recommended:
- Torx T25 socket
-
Install the RH rear coat hook screw cover.
-
Push to close the RH rear coat hook.
-
Move the RH upper C-pillar trim into position, and then install the clips (x7) that
attach the trim to the vehicle.
NoteReplace any damaged clips as needed.
-
Position the RH mid C-pillar trim into the vehicle, and then install the clips (x3)
that attach the trim to the vehicle.
NoteReplace any damaged clips as needed.
-
Install the clips (x4) that attach the RH lower C-pillar trim to the RH mid C-pillar
trim.
-
Fold the RH 2nd row seat to the
vertical position.
NoteRemove the seat cushion protection if present.
- Install the RH 2nd row seat outer side bolster. See Bolster - Outer - Seat - 2nd Row - LH (Remove and Replace).
- Install the RH upper B-pillar trim. See Trim - B-Pillar - Upper - LH (Remove and Replace).
- Move front passenger seat to its original position.
- Repeat step 9 through step 17 for the LH side of the vehicle.
-
Install the LH rocker panel seal to
the quarter panel area.
NoteApply promoter to the double sided tape. If damage is present on double sided tape, replace with new piece.
- Remove the masking tape from the LH rear quarter glass.
- Install the LH body side brightwork. See Brightwork - Body Side - LH (Remove and Replace).
- Install the rear trunk parcel shelf. See Parcel Shelf - Rear Trunk (Remove and Replace).
- Close the liftgate.
- Raise all the windows and close all the doors.