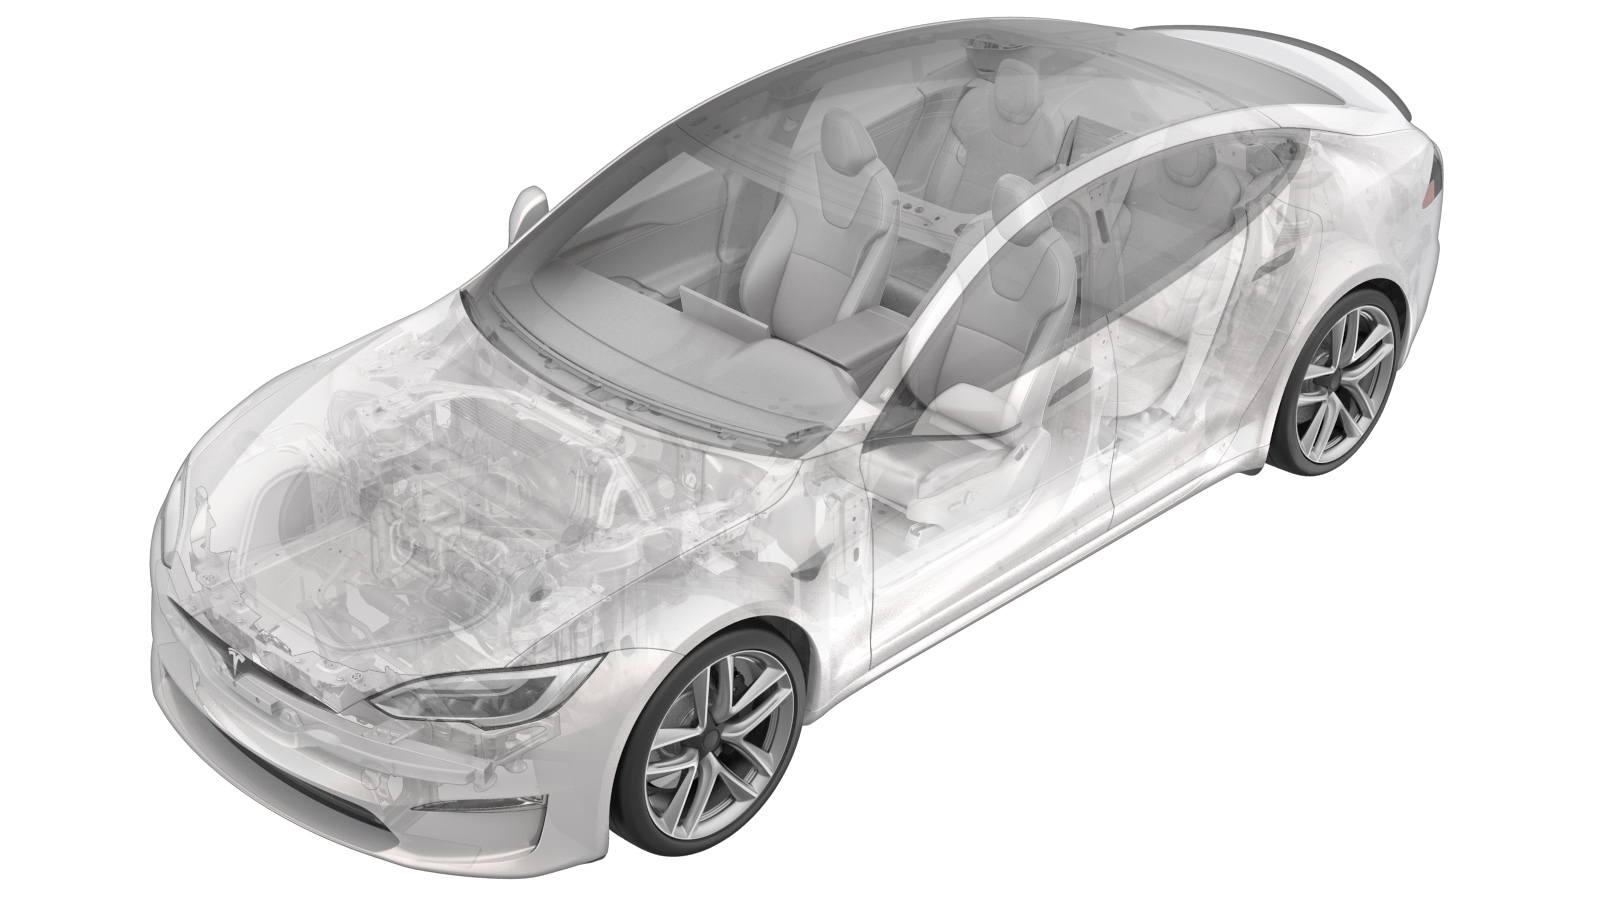
Bracket - Carrier - Compressor - Air Suspension (Remove and Replace)
 Correction code
31102022
0.66
NOTE: Unless otherwise explicitly
stated in the procedure, the above correction code and FRT reflect all of the work
required to perform this procedure, including the linked procedures. Do not stack correction codes unless
explicitly told to do so.
NOTE: See Flat Rate Times to learn
more about FRTs and how they are created. To provide feedback on FRT values, email ServiceManualFeedback@tesla.com.
NOTE: See Personal Protection to make sure proper PPE is worn when
performing the below
procedure.
Remove
- Raise and support the vehicle. See Raise Vehicle - 2 Post Lift.
- Remove the front fascia assembly. See Fascia Assembly - Front (Remove and Install).
-
Disconnect the electrical connectors
(x2) from the air compressor.
-
Release the clip that attaches the air
compressor wiring harness to the compressor carrier.
-
Remove the bolts and spring seats (x3)
that attach the air compressor carrier to the compressor bracket.
CAUTIONThe air compressor will be free hanging after bolts and springs are removed. Support the assembly with hangers or bungee cords.
-
Remove the bolts (x4) that attach the
air compressor carrier to the air compressor.
Note4x bolts, T30
Install
-
Install the bolts (x4) that attach the
air compressor to the compressor carrier.
NoteT30, 5.5 Nm
-
Install the bolts and spring seats
(x3) that attach the compressor carrier to the compressor bracket.
NoteT30, 5 Nm
-
Position the clip that attaches the
air compressor electrical harness to the compressor carrier.
-
Connect the electrical harnesses (x2)
to the air compressor.
- Install the front fascia assembly. See Fascia Assembly - Front (Remove and Install).
- Remove the vehicle from the lift.