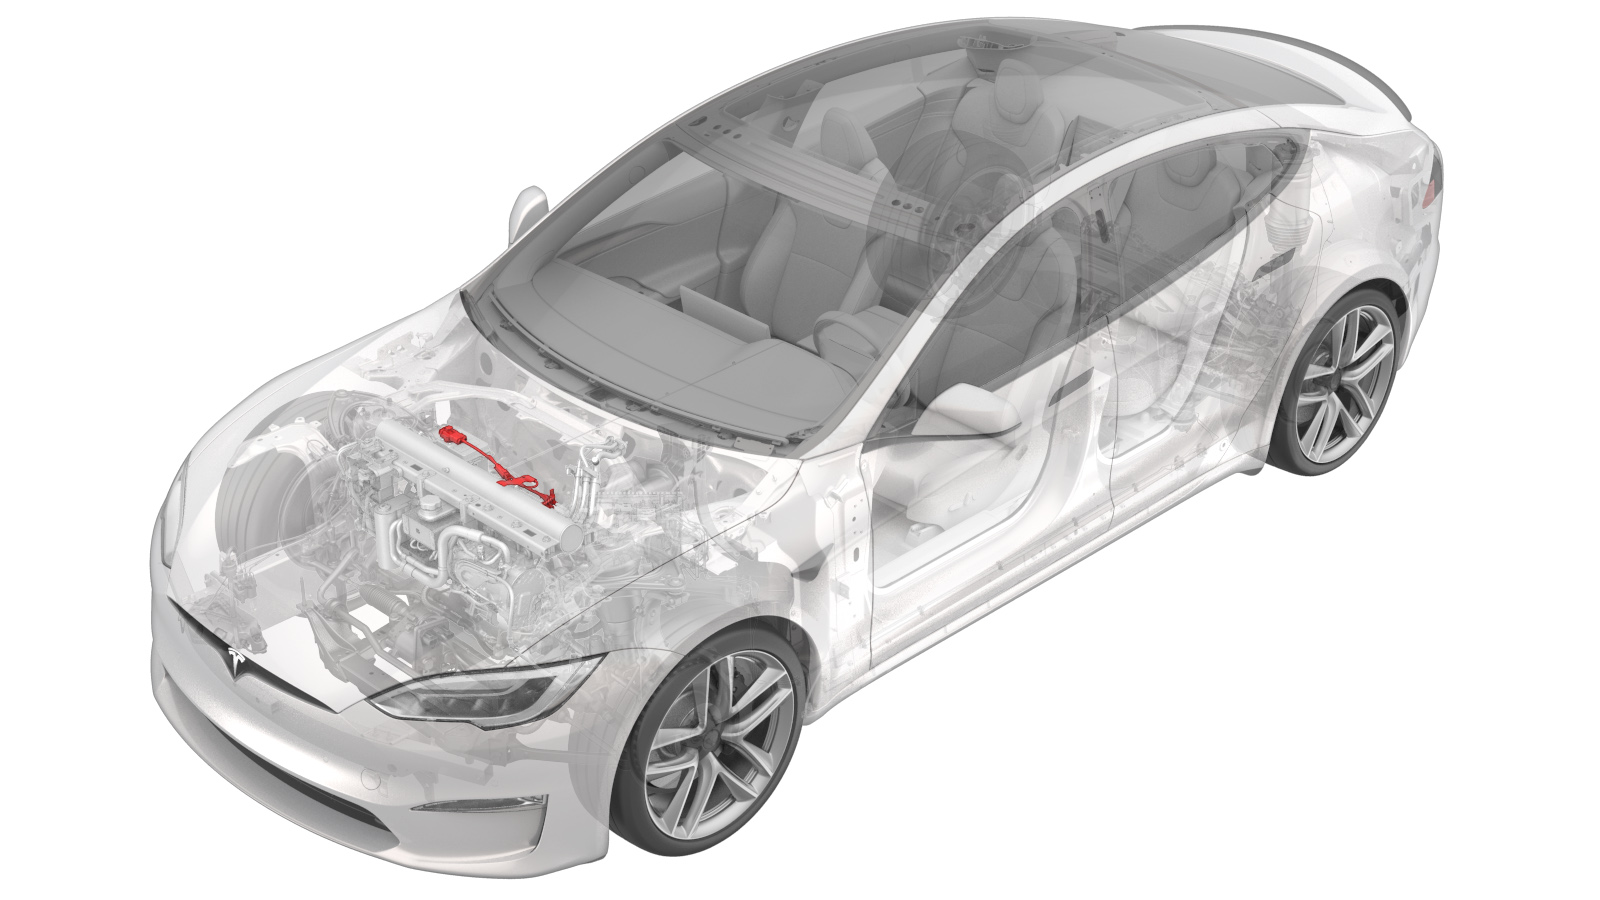
Battery - LV (Remove and Replace)
 Correction code
17011222
0.18
NOTE: Unless otherwise explicitly
stated in the procedure, the above correction code and FRT reflect all of the work
required to perform this procedure, including the linked procedures. Do not stack correction codes unless
explicitly told to do so.
NOTE: See Flat Rate Times to learn
more about FRTs and how they are created. To provide feedback on FRT values, email ServiceManualFeedback@tesla.com.
NOTE: See Personal Protection to make sure proper PPE is worn when
performing the below
procedure.
- 2024-11-20: Added a note to remind of checking the 12V/LV battery temperature before performing the procedure.
- 2024-08-14: Added step to maneuver LV battery for clearance to remove HEPA filter cover.
- 2024-04-10: Added a Note to perform the recovery of the LV battery per Toolbox article prior to its replacement.
- 2023-10-25: Replaced Toolbox CAN redeploy with Service Mode UI software reinstall.
Torque Specifications
| Description | Torque Value | Recommended Tools | Reuse/Replace | Notes |
|---|---|---|---|---|
| Bolts (x3) that attach the LV battery to the vehicle |
9 Nm (6.6 lbs-ft) |
|
Reuse |
Remove
- Enable Service Mode. See Service Mode (Enable and Disable).
- Remove the rear underhood apron. See Underhood Apron - Rear (Remove and Replace).
- Disconnect LV power. See LV Power (Disconnect and Connect).
-
Disconnect the electrical harness from
the air quality sensor connector.
-
Release the clip that attaches the
supermanifold to battery pump hose to the LV battery.
-
Remove the bolts (x3) that attach the
LV battery to the air suspension reservoir, and then
maneuver the LV battery downward and behind the air reservoir to allow clearance for
HEPA filter cover removal.
TIpUse of the following tool(s) is recommended:
- 10 mm socket
- Flex head ratchet/flex head torque wrench
- 4 in extension
- 10 mm ratcheting combination flex head wrench
-
Carefully release the tabs (x4) and
datums (x2), and then carefully lift the HEPA filter assembly cover out of the
vehicle.
CAUTIONTake care not to damage the mounting clips.
-
Remove the LV battery from the
vehicle.
Install
- Position the LV battery into the vehicle.
-
Install the tabs (x4) and datums (x2)
that attach the HEPA filter assembly cover.
-
Install the LV battery to the air
suspension reservoir, and then install the bolts (x3) that attach the LV battery to the
reservoir.
 9 Nm (6.6 lbs-ft)TIpUse of the following tool(s) is recommended:
- 10 mm socket
- Flex head ratchet/flex head torque wrench
- 4 in extension
- 10mm ratcheting combination flex head wrench
-
Install the clip that attaches the
supermanifold to battery pump hose to the LV battery.
-
Connect the electrical harness to the
air quality sensor connector.
-
Connect the LV power. See LV Power (Disconnect and Connect).
NoteIf the vehicle does not power up after the LV battery is connected, power up the vehicle with an approved external power supply.
- Connect the LV maintainer. See LV Maintainer (Connect and Disconnect).
- Perform a software reinstall. See Firmware Reinstall - Touchscreen.
- Disconnect the LV maintainer. See LV Maintainer (Connect and Disconnect).
- Install the rear underhood apron. See Underhood Apron - Rear (Remove and Replace).
- Disable Service Mode. See Service Mode (Enable and Disable).