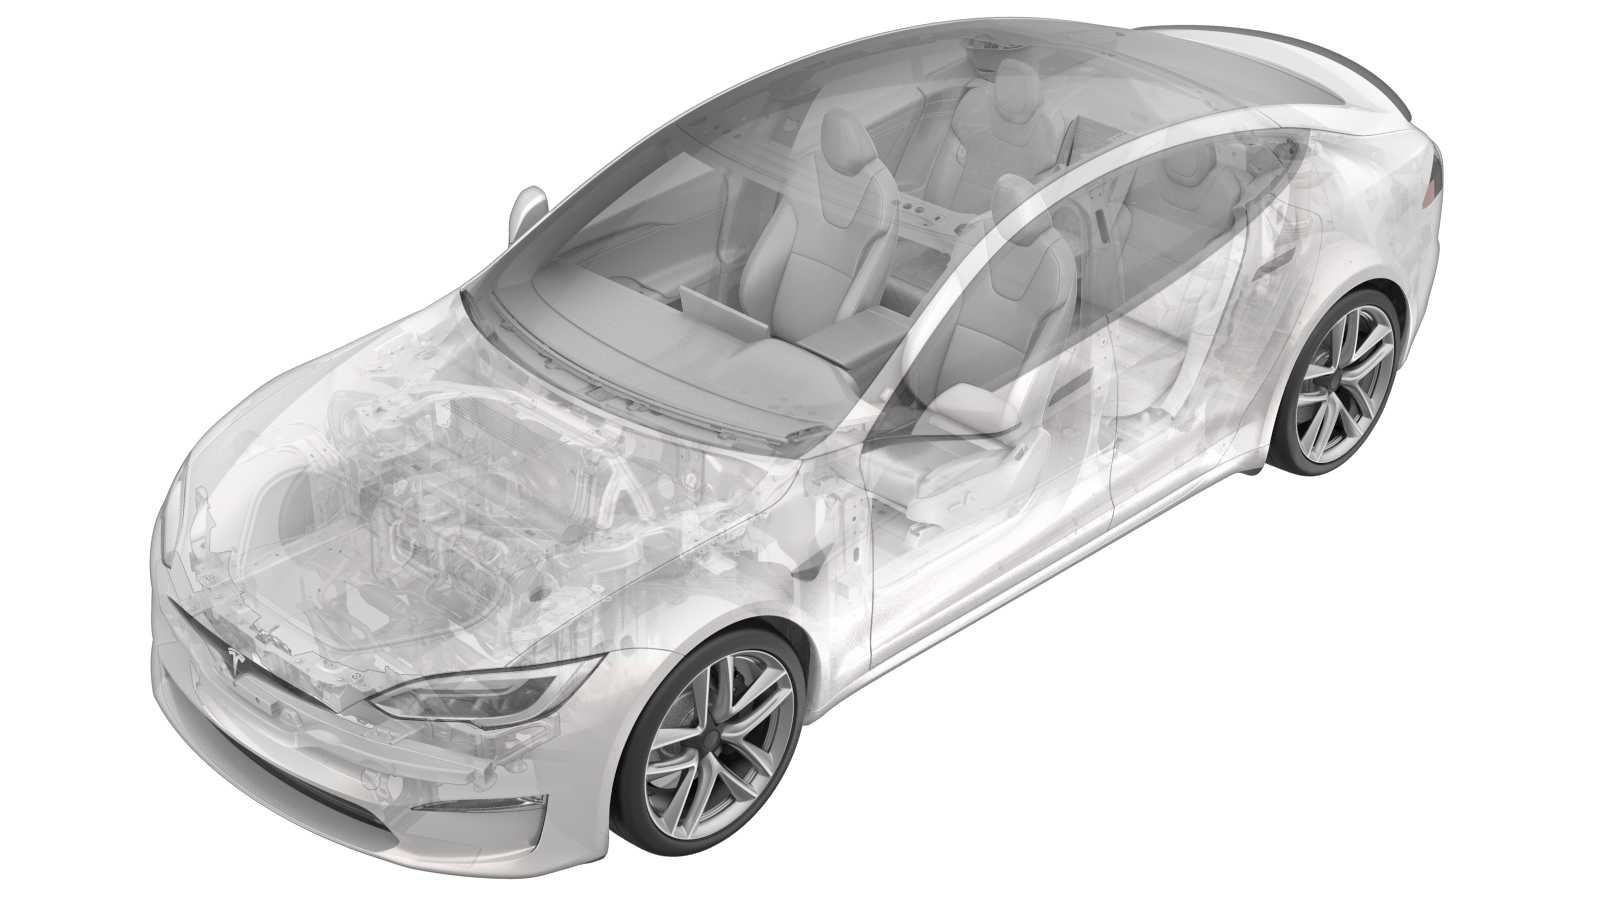
Active Grille Shutter (Remove and Replace)
 Correction code
18500602
0.72
NOTE: Unless otherwise explicitly
stated in the procedure, the above correction code and FRT reflect all of the work
required to perform this procedure, including the linked procedures. Do not stack correction codes unless
explicitly told to do so.
NOTE: See Flat Rate Times to learn
more about FRTs and how they are created. To provide feedback on FRT values, email ServiceManualFeedback@tesla.com.
NOTE: See Personal Protection to make sure proper PPE is worn when
performing the below
procedure.
Remove
- Remove the front fascia assembly. See Fascia Assembly - Front (Remove and Install).
-
Release the connector lock, and then
disconnect the active grille shutter actuator connector.
-
Release the ambient temperature sensor
grommet from the active grille shutter.
-
Disconnect the ambient temperature
sensor connector, and then route the connector through the grommet opening in the
shroud.
-
Release the locking tabs (x12) and
clips (x2) that secure the active grille shutter to the cooling fan module assembly, and
then remove the active grille shutter through the front of the vehicle.
Install
-
Position the active grille shutter to
the cooling fan module assembly, and then secure the locking tabs (x12) and clips (x2)
that secure the active grille shutter to the vehicle.
NoteAlign the datums before engaging the tabs. Make sure the shutter slides inside the tab, not outside.
-
Route the connector through the grommet opening in the shroud, and then connect the
ambient temperature sensor connector.
-
Secure the ambient temperature sensor grommet to the active grille shutter.
-
Connect the active grille shutter actuator connector, and then engage the locking
tab.
- Install the front fascia assembly, but do not install the underhood storage unit or aprons yet. See Fascia Assembly - Front (Remove and Install).
-
Perform the following
routine using Service Mode or Toolbox (see 0005 - Service Modes):
TEST-SELF_VCFRONT_X_THERMAL-PERFORMANCEvia Toolbox: (link)via Service Mode: Thermal ➜ Actions ➜ Test Thermal Performancevia Service Mode Plus:
- Drive Inverter ➜ Front Drive Inverter Replacement ➜ Thermal System Test
- Drive Inverter ➜ Rear Drive Inverter Replacement ➜ Thermal System Test
- Drive Inverter ➜ Rear Left Drive Inverter Replacement ➜ Thermal System Test
- Drive Inverter ➜ Rear Right Drive Inverter Replacement ➜ Thermal System Test
- Drive Unit ➜ Front Drive Unit Replacement ➜ Thermal System Test
- Drive Unit ➜ Rear Drive Unit Replacement ➜ Thermal System Test
NoteIf the thermal test fails, follow Toolbox article #206000. - Finish the front fascia installation. See Fascia Assembly - Front (Remove and Install).