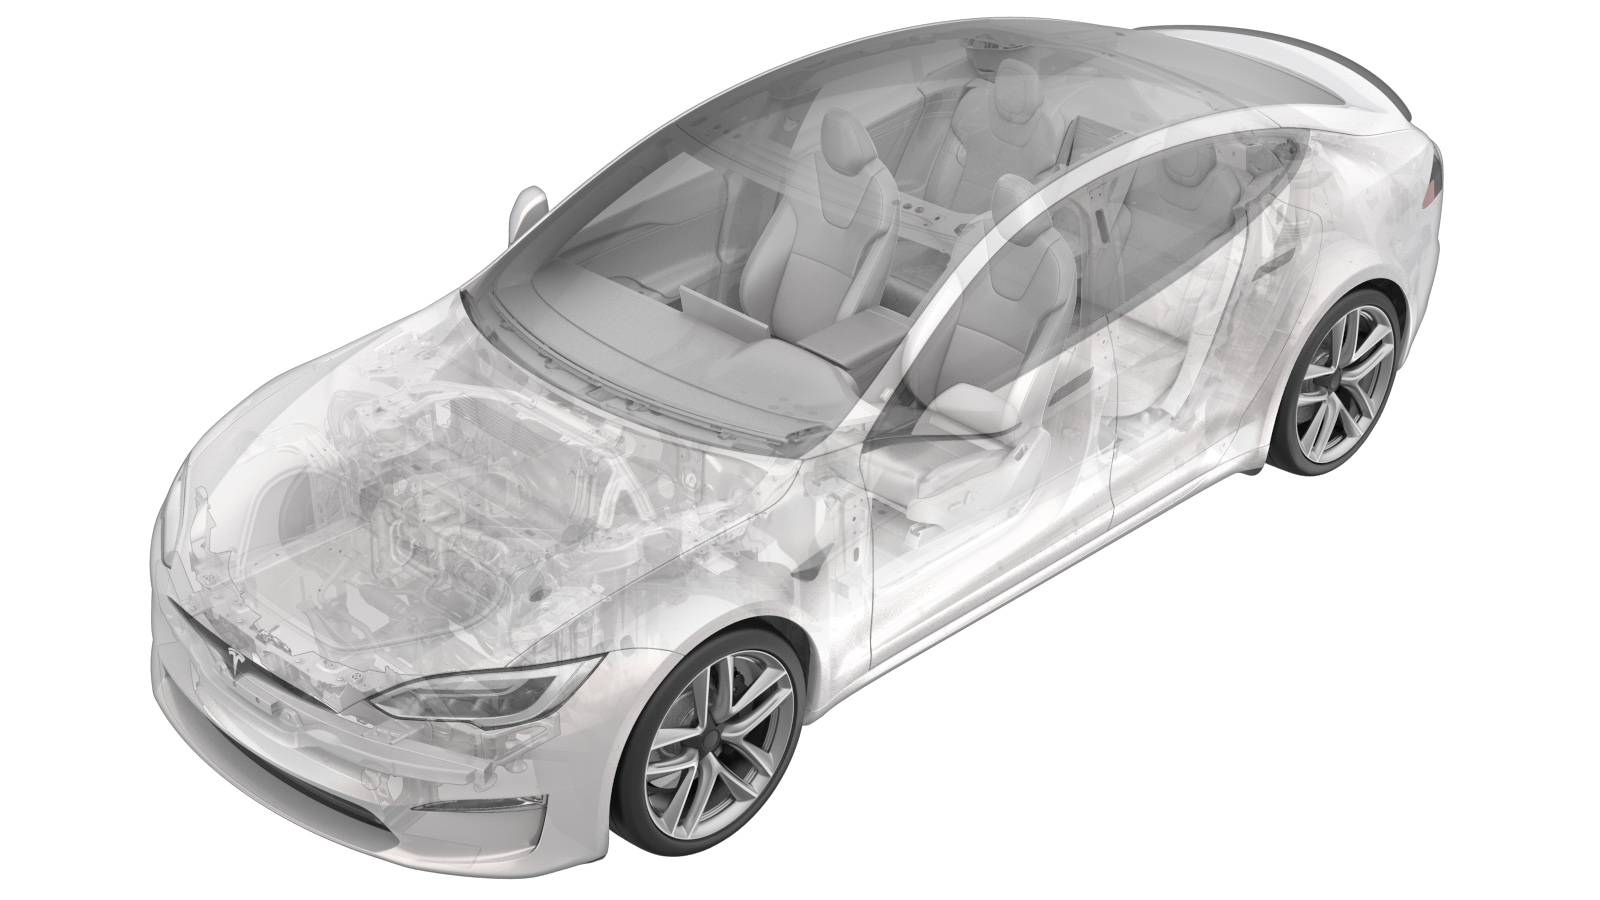
Decor - Center Console (Remove and Replace)
 Correction code
15190042
0.60
NOTE: Unless otherwise explicitly
stated in the procedure, the above correction code and FRT reflect all of the work
required to perform this procedure, including the linked procedures. Do not stack correction codes unless
explicitly told to do so.
NOTE: See Flat Rate Times to learn
more about FRTs and how they are created. To provide feedback on FRT values, email ServiceManualFeedback@tesla.com.
NOTE: See Personal Protection to make sure proper PPE is worn when
performing the below
procedure.
Remove
- Remove the center console assembly. See Center Console Assembly (Remove and Install).
- Remove the LH and RH center console side panels. See Side Panel - Center Console - LH (Remove and Replace).
-
Release the center console decor
electrical harness from the center console assembly.
NoteElectrical connectors (x6). Clips (x2). 2 electrical connectors wrapped in felt tape.
-
Remove the screws (x18) that attach
the center console decor to the center console assembly.
 1 Nm (.7 lbs-ft)TIpUse of the following tool(s) is recommended:
- Torx T20 bit
-
Remove the screws (x2) that attach the
rear brightstrip to the center console assembly.
 1 Nm (.7 lbs-ft)TIpUse of the following tool(s) is recommended:
- Torx T20 bit
NoteRemoval of the screws allow flexibility to disengage the decor. -
Disconnect the electrical connector,
and then remove the center console decor from the center console assembly.
NoteLift up at the front, and then slide out of the rear brightstrip.
Install
-
Connect the electrical connector, and
then install the center console decor to the center console assembly.
NoteSlide into the rear brightstrip and down into the center console assembly.NoteMake sure all 6 datums engage and the brightstrip is aligned.
-
Install the screws (x2) that attach
the rear brightstrip to the center console assembly.
 1 Nm (.7 lbs-ft)TIpUse of the following tool(s) is recommended:
- Torx T20 bit
NoteConfirm the alignment of the decor with the rear brightwork. -
Install the screws (x18) that attach
the center console decor to the center console assembly.
 1 Nm (.7 lbs-ft)TIpUse of the following tool(s) is recommended:
- Torx T20 bit
-
Connect the electrical connectors (x6)
and clips (x2) to the center console decor electrical harness.
Note2 electrical connectors are wrapped in felt tape. Wrap the electrical connectors in felt tape.
- Install the LH and RH center console side panels. See Side Panel - Center Console - LH (Remove and Replace).
- Install the center console assembly. See Center Console Assembly (Remove and Install).