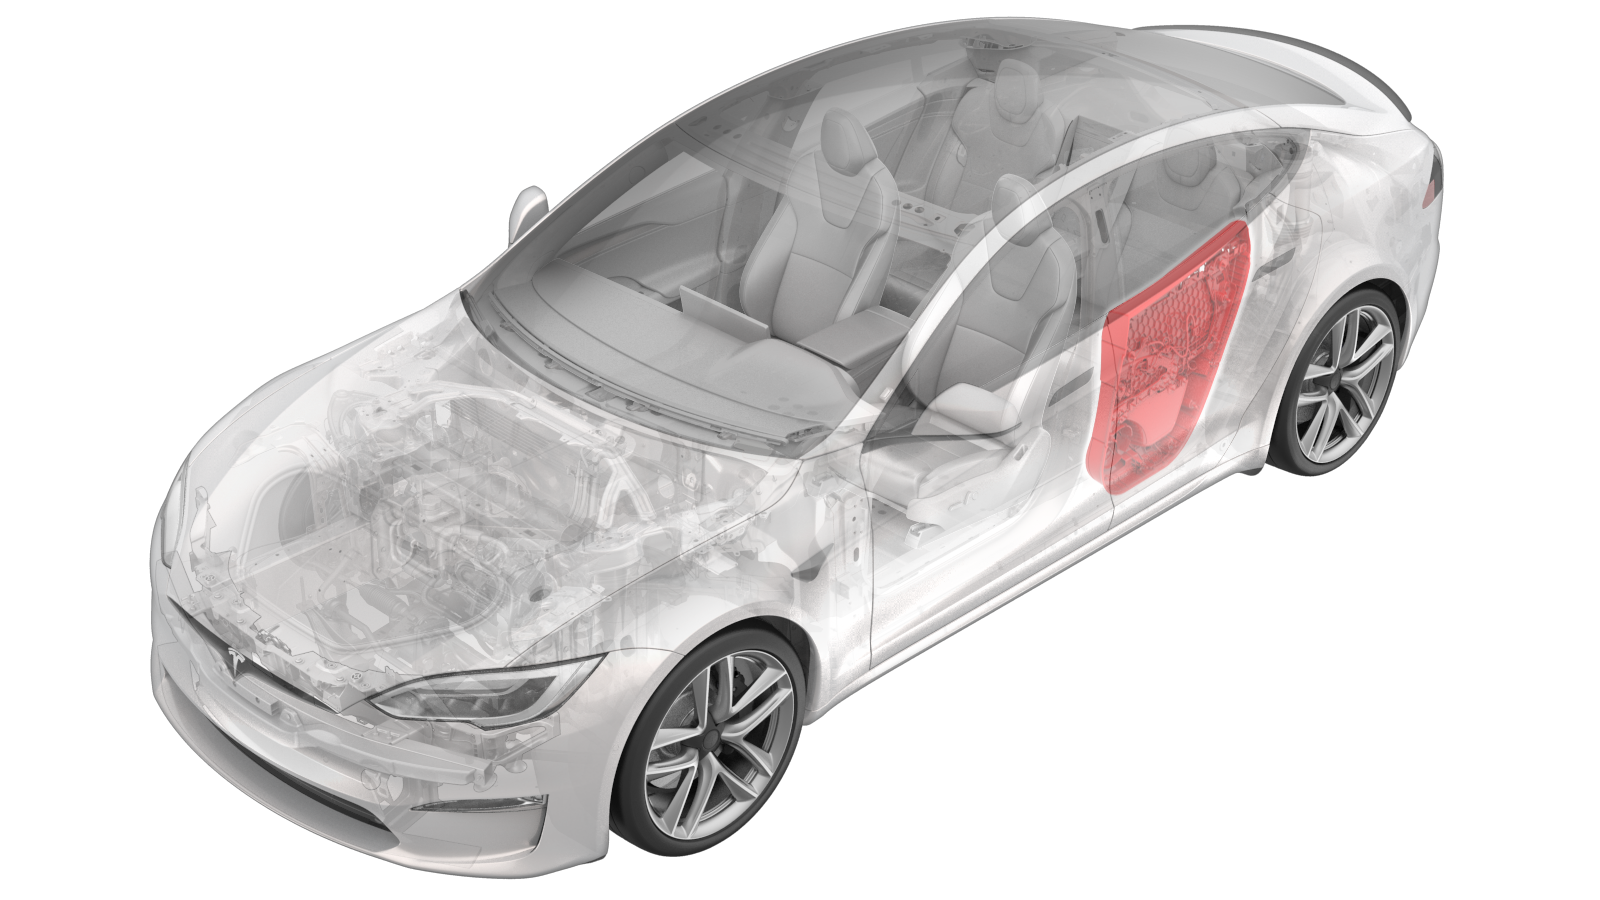
Panel - Door Trim - Rear - LH (Remove and Replace)
 Correction code
15132002
0.12
NOTE: Unless otherwise explicitly
stated in the procedure, the above correction code and FRT reflect all of the work
required to perform this procedure, including the linked procedures. Do not stack correction codes unless
explicitly told to do so.
NOTE: See Flat Rate Times to learn
more about FRTs and how they are created. To provide feedback on FRT values, email ServiceManualFeedback@tesla.com.
NOTE: See Personal Protection to make sure proper PPE is worn when
performing the below
procedure.
Torque Specifications
| Description | Torque Value | Recommended Tools | Reuse/Replace | Notes |
|---|---|---|---|---|
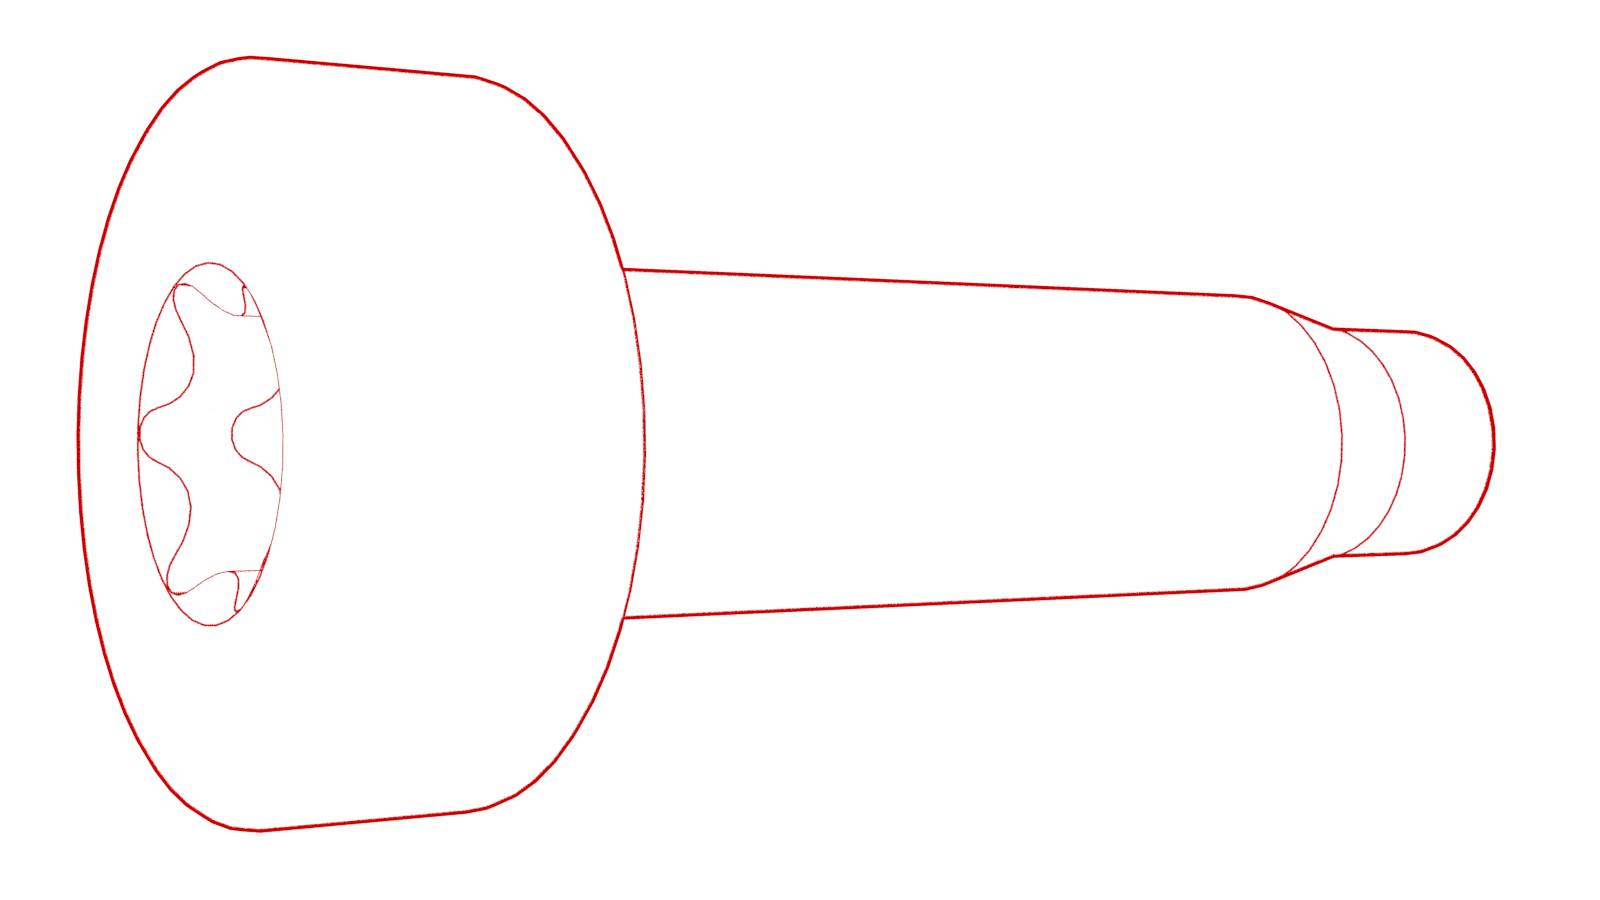
| Bolts that attach the LH rear door panel under armrest and door trim handle to the door panel assembly |
 6 Nm (4.4 lbs-ft) |
|
Reuse |
Remove
-
Remove the service covers, and then
remove the bolts (x2) that attach the LH rear door panel under armrest and door trim
handle to the door panel assembly.
TIpUse of the following tool(s) is recommended:
- Torx T30 socket
- 2 in extension
-
Release the clips (x7) that attach the
LH rear door panel to the door, and then pull up on the top of the door trim to release
it from the assembly.
CAUTIONDo not pull the panel away from the door assembly as there is still an electrical connector connected.
-
Disconnect the LH rear door electrical connector.
-
Remove the remaining clip retainers
from the rear door.
NoteThe number of retainers will vary with each removal.
Install
-
Connect the LH rear door panel
electrical connector, and then position the panel onto the door assembly.
NotePerform a push-pull test to verify that the connector is fully attached.
-
Slide the top portion of the LH rear
door panel into the door seal, and then swing the bottom of the panel into position.
Press the panel into the door assembly to fasten the clips (x7).
- Install the bolts (x2) that attach the LH rear door panel under armrest and door trim handle to the door panel assembly, and then install the service covers.
-
 6 Nm (4.4 lbs-ft)
TIpUse of the following tool(s) is recommended:- Torx T30 socket
- 2 in extension
- Enable Service Mode. See Service Mode (Enable and Disable).
-
Reinstall vehicle firmware through the touchscreen as follows:
- Disable Service Mode. See Service Mode (Enable and Disable).