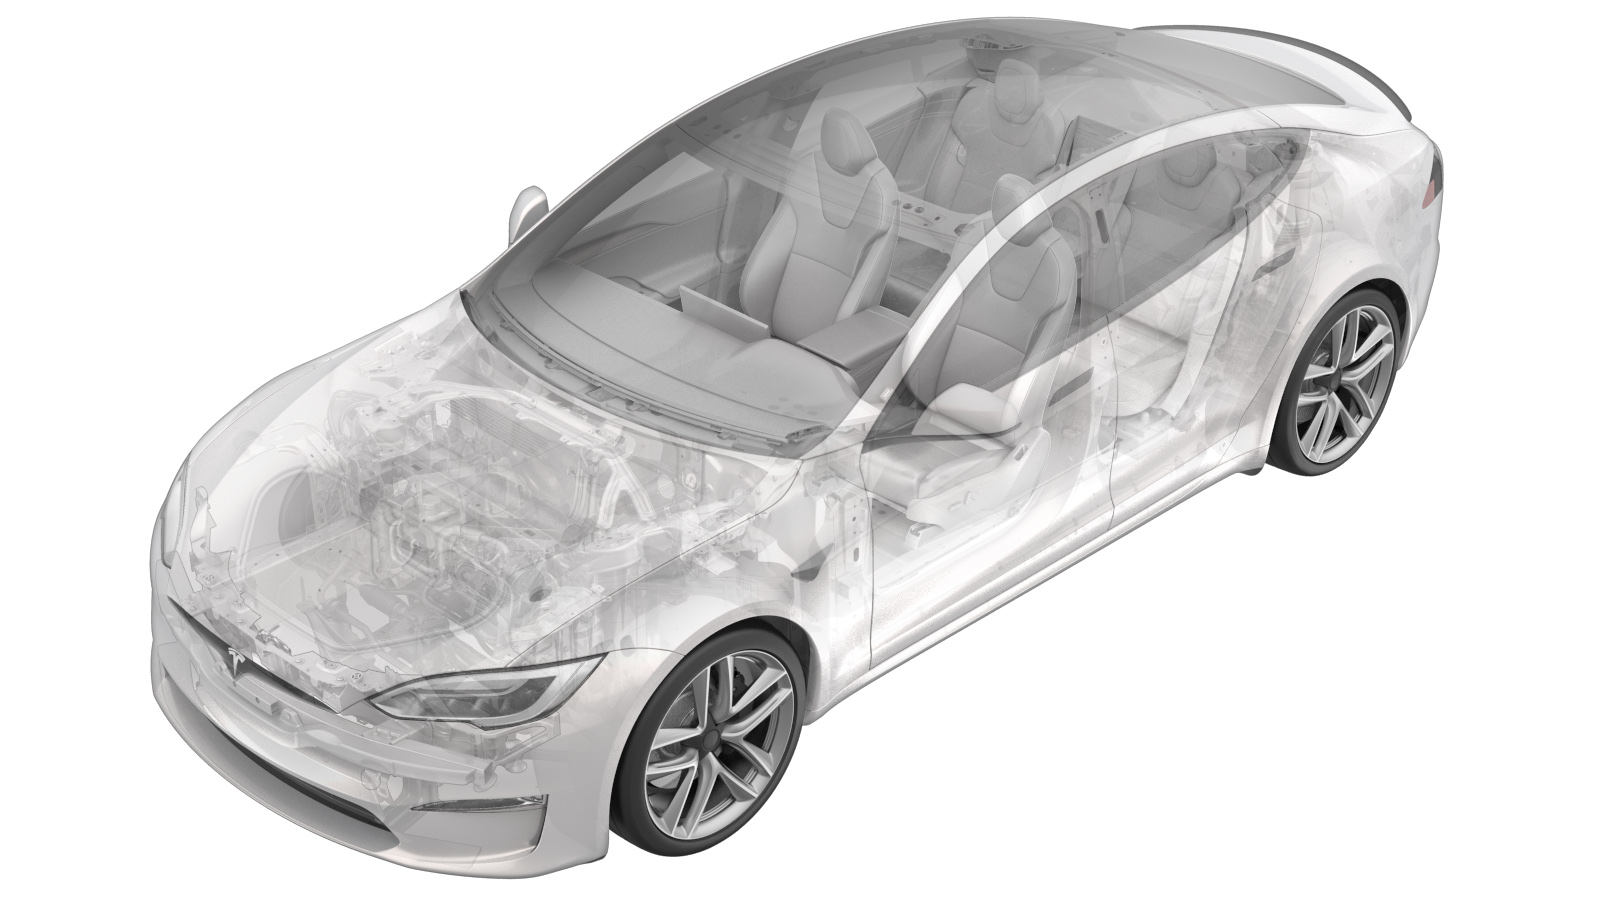
Seal - Body - Side - Rear - Primary - LH (Remove and Replace)
 Correction code
11700502
0.30
NOTE: Unless otherwise explicitly
stated in the procedure, the above correction code and FRT reflect all of the work
required to perform this procedure, including the linked procedures. Do not stack correction codes unless
explicitly told to do so.
NOTE: See Flat Rate Times to learn
more about FRTs and how they are created. To provide feedback on FRT values, email ServiceManualFeedback@tesla.com.
NOTE: See Personal Protection to make sure proper PPE is worn when
performing the below
procedure.
Remove
- Remove the LH B-pillar applique. See Applique - B-Pillar - LH (Remove and Replace).
-
Remove the clip that attaches the LH
primary rear side body seal to the B-Pillar.
-
Remove the LH primary rear side body
seal from the vehicle.
Install
-
Use IPA wipes to clean any residue from LH primary rear side body seal area on the
body.
NoteAllow at least 1 min for dry time.
-
Align the LH primary rear side body
seal onto the vehicle, secure the clip to the B-pillar, and then remove the adhesive
backing and adhere the seal to the body along the installation path.
NoteMake sure the seal is seated properly along the bright molding, quarter glass, and interior trim.
-
Install the LH B-pillar applique. See Applique - B-Pillar - LH (Remove and Replace).
NoteIt is not necessary to perform service redeploy after installation.
- Close the LH rear door.
- Recalibrate the windows. See Window Regulator (Recalibrate).
- Confirm that the window operates correctly and without any abnormal noise.
- Connect a laptop with Toolbox to the vehicle.
- In Toolbox, click the Dashboards tab, and then search for "Service Tools".
-
Click the Clear Calibration Pillars
button.
NoteConfirm that there is a successfully cleared calibration message.
-
Exit the vehicle, and then click
DAS Image
Capture.
NoteThe vehicle needs to be unoccupied in order for the ride height to maintain specifications.
-
Review the images and make sure all
the cameras are able to capture the image correctly.
- Disconnect Toolbox and remove the laptop from the vehicle.
- Raise the LH front window and close the LH front door.
- Inform the customer that the vehicle will need to be driven to complete the calibration procedure. During this time, DAS functions will be completely unavailable.