Applique - Liftgate (Global) (Remove and Replace)
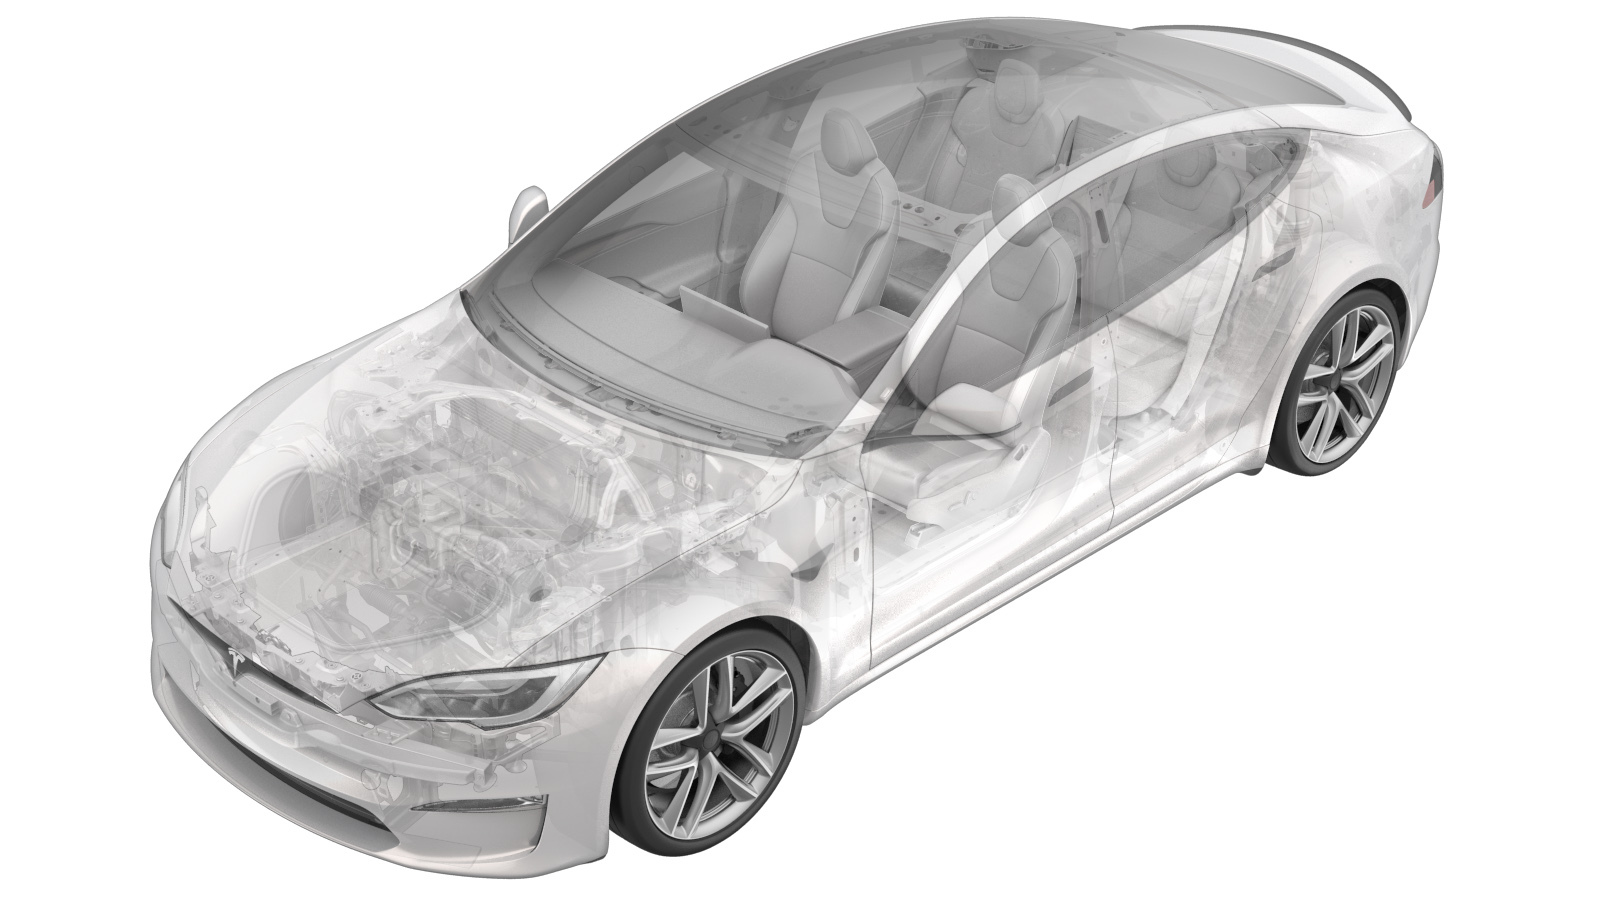 Correction code
12207022
0.12
NOTE: Unless otherwise explicitly
stated in the procedure, the correction code and its associated FRT reflect all of the
work required to perform this procedure, including the linked procedures. Do not stack correction codes unless
explicitly told to do so.
NOTE: See Flat Rate Times to learn
more about FRTs and how they are
created.
NOTE: See Personal Protection to make sure proper PPE is worn when
performing the below
procedure.
Correction code
12207022
0.12
NOTE: Unless otherwise explicitly
stated in the procedure, the correction code and its associated FRT reflect all of the
work required to perform this procedure, including the linked procedures. Do not stack correction codes unless
explicitly told to do so.
NOTE: See Flat Rate Times to learn
more about FRTs and how they are
created.
NOTE: See Personal Protection to make sure proper PPE is worn when
performing the below
procedure.
Remove
-
Carefully release the clips (x5) that
attach the liftgate applique to the liftgate, and then remove the applique from the
vehicle.
NoteUse a plastic trim tool to release the clips.
Install
-
Clean the mating surfaces of the
liftgate applique with an Isopropyl Alcohol (IPA) wipe.
NoteClean away any residue.NoteUse your thumb to help roll off the adhesive.NoteAllow 1 minute for the IPA to dry before continuing to the next step.
-
Install the applique tape onto the
applique bracket.
CAUTIONBe wary not to cover the rear facing camera.NotePeel away the tape when the liftgate applique is to be installed
-
Install the liftgate applique.
Notex5 clips.NotePeel away the tape when ready to install the applique.NoteAlign the applique using pin. Start by fastening the center clips, and then work your way out.NoteUse the seam roller to seat the adhesive areas.