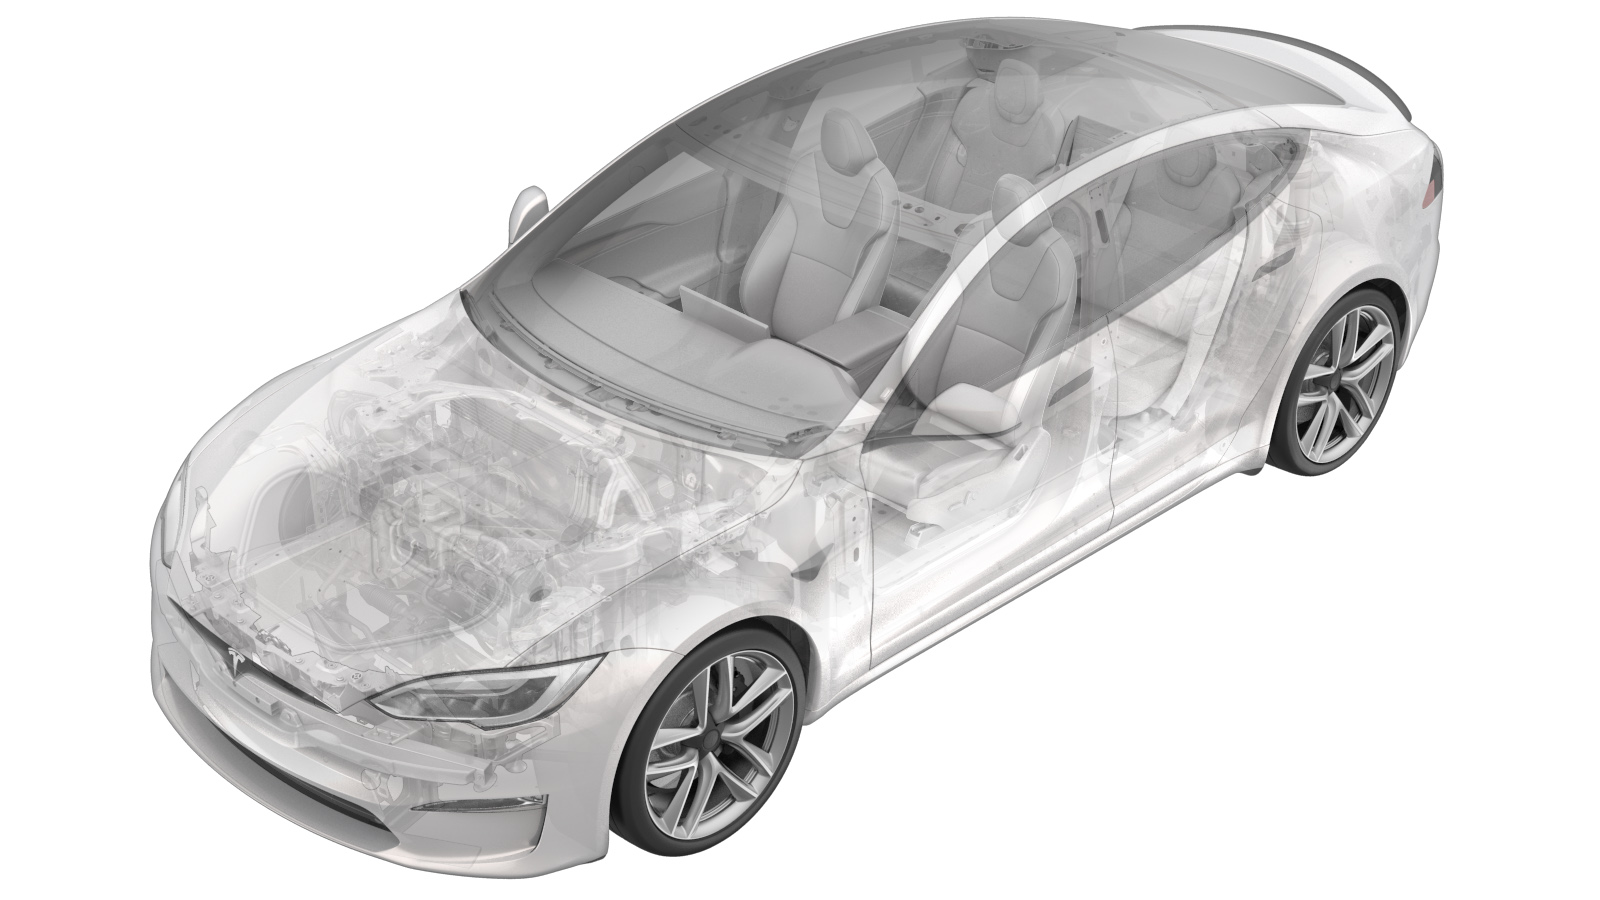
Motor - Seat Track - Driver Seat (Remove and Replace)
 Correction code
13011202
0.60
NOTE: Unless otherwise explicitly
stated in the procedure, the above correction code and FRT reflect all of the work
required to perform this procedure, including the linked procedures. Do not stack correction codes unless
explicitly told to do so.
NOTE: See Flat Rate Times to learn
more about FRTs and how they are created. To provide feedback on FRT values, email ServiceManualFeedback@tesla.com.
NOTE: See Personal Protection to make sure proper PPE is worn when
performing the below
procedure.
- 2024-03-19: Changed the steps of removing the seat assembly and disconnecting the seat harnesses to steps of tilting the seat backwards, and changed the steps of replacing with single seat track motor to steps of replacing with seat track motor bridge assembly.
Remove
- Open the LH doors and lower the LH windows.
- Move the 1st row driver seat backward.
-
Remove and discard the bolts (x2) that
attach the front of the 1st row LH seat tracks to the floor panel.
TIpUse of the following tool(s) is recommended:
- Torx Plus T45 socket
- Move the 1st row driver seat forward.
-
Remove and discard the bolts (x2) that
attach the rear of the 1st row LH seat tracks to the floor panel.
TIpUse of the following tool(s) is recommended:
- Torx Plus T45 socket
- Remove the LH 1st row seat track front covers. See Cover - Front - Seat Track - 1st Row Seat (Remove and Replace).
- Tilt the seat back to gain access to the underside of the driver seat.
-
Disconnect the driver seat track motor
electrical connector.
-
Release the clip that attaches the
driver seat harness to the track bridge.
-
Release the seat wire harness fixing clip from the bottom of seat.
-
Release the seat wire harness fixing clip from the vehicle body.
-
Remove and discard the outboard bolts
(x2) that attach the seat track to the seat cushion frame.
TIpUse of the following tool(s) is recommended:
- Torx T50 socket
-
Pry up on the bridge track motor tab,
and then slide the outboard seat track away to release it from the bridge motor.
-
Pry up on the tab, and then slide the
track motor bridge away from the inboard track to release it.
Install
-
Install the track motor bridge into
the inboard seat track.
NoteThe track motor cable is keyed square and must be aligned with inboard track. Turn the cable by hand to align as needed. Slide the track motor bridge into the inboard track until it is fully seated.
-
Install the outboard seat track to the
track motor bridge.
NoteThe track motor cable is keyed square and must be aligned with outboard track. Turn the cable by hand to align as needed. Slide the outboard track into the track motor bridge until it is fully seated.
-
Install new outboard bolts (x2) that
attach the seat track to the seat cushion frame.
 23 Nm (17.0 lbs-ft)TIpUse of the following tool(s) is recommended:
- Torx T50 socket
-
Connect the driver seat track motor
electrical connector.
-
Fasten the clip that attaches the
driver seat harness to the track bridge.
-
Secure the seat wire harness fixing clip to the bottom of seat.
-
Secure the seat wire harness fixing clip to the vehicle body.
- Reposition the LH front seat onto the LH front seat risers.
- Install the LH 1st row seat track front covers. See Cover - Front - Seat Track - 1st Row Seat (Remove and Replace).
-
Install new bolts (x2) that attach the
rear of the 1st row LH seat tracks to the floor panel.
 34 Nm (25.1 lbs-ft)TIpUse of the following tool(s) is recommended:
- Torx Plus T45 socket
- Move the driver seat rearward.
-
Install new bolts (x2) that attach the
front of the 1st row LH seat tracks to the floor panel.
 34 Nm (25.1 lbs-ft)TIpUse of the following tool(s) is recommended:
- Torx Plus T45 socket
- Perform a seat calibration. See Seat - 1st Row (Calibration).
- Raise the LH windows and close the LH doors.