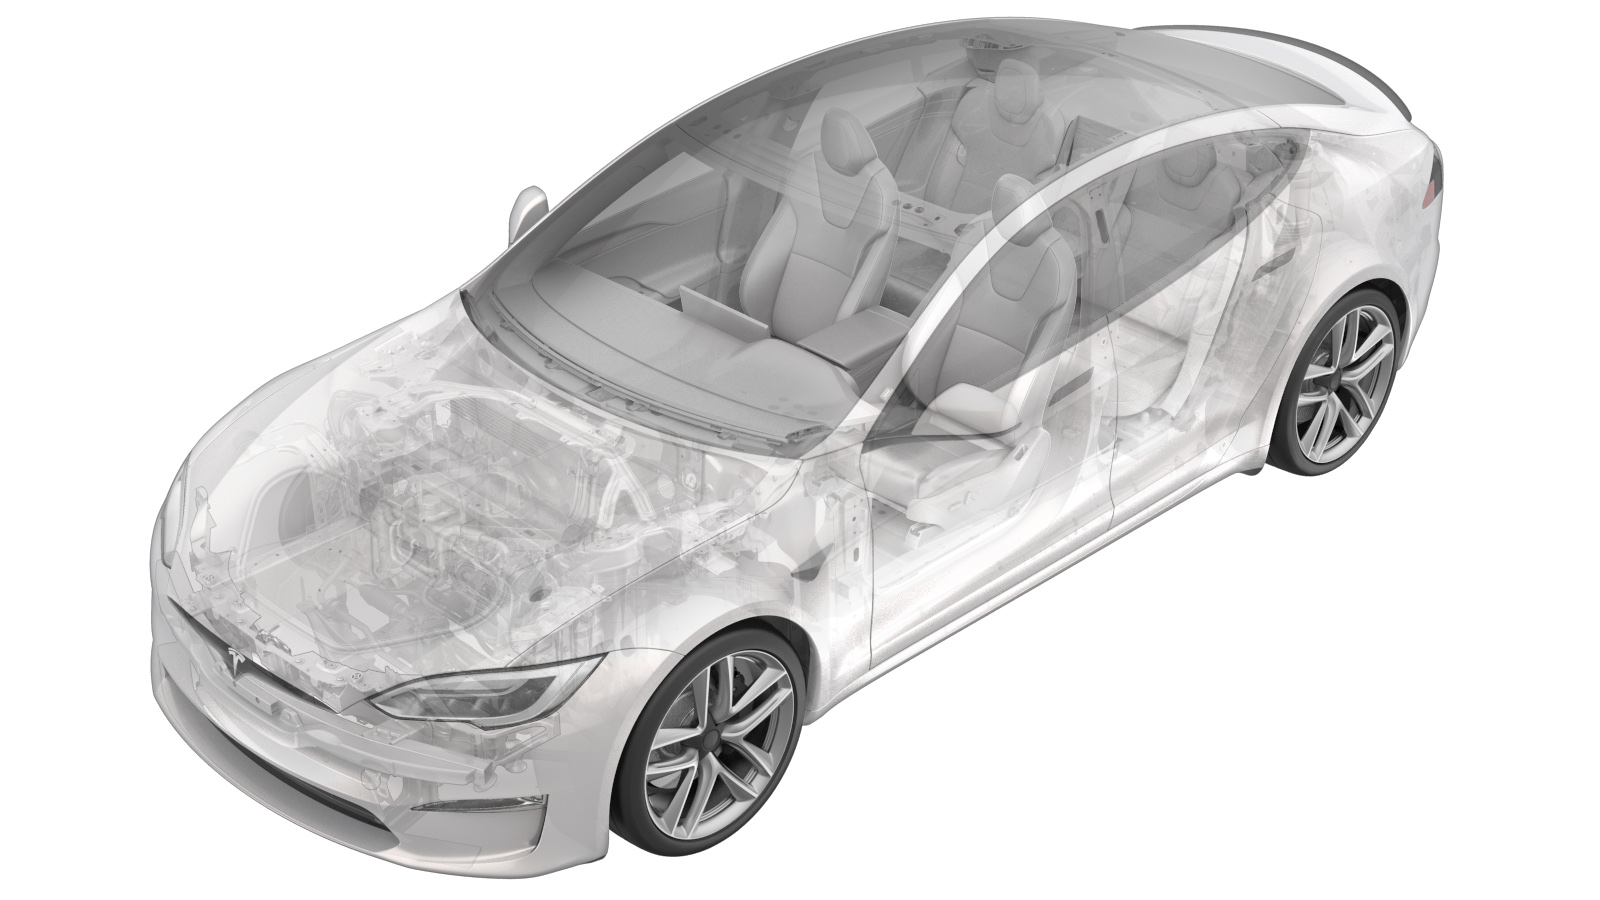
Cover - Rear Access - HV Battery (Remove and Replace)
 Correction code
16101022
4.20
NOTE: Unless otherwise explicitly
stated in the procedure, the above correction code and FRT reflect all of the work
required to perform this procedure, including the linked procedures. Do not stack correction codes unless
explicitly told to do so.
NOTE: See Flat Rate Times to learn
more about FRTs and how they are created. To provide feedback on FRT values, email ServiceManualFeedback@tesla.com.
NOTE: See Personal Protection to make sure proper PPE is worn when
performing the below
procedure.
- 2025-05-07: Add callout for Threebond rear access cover sealant and remove images of urethane.
- 2023-06-01: Added steps to remove and install the mica insulator panel.
Only technicians who have been trained in High Voltage Awareness and have completed all required certification courses (if applicable) are permitted to perform this procedure. Proper personal protective equipment (PPE) and insulating HV gloves with a minimum rating of class 0 (1000V) must be worn at all times a high voltage cable, busbar, or fitting is handled. Refer to Tech Note TN-15-92-003, High Voltage Awareness Care Points
for additional glove and safety information.
Remove
- Move the vehicle to a 2 post lift. See Raise Vehicle - 2 Post Lift.
- Perform a cooling system thermal fill drain. See Thermal Fluid - Cooling System (Fill/Drain).
- Remove the LH and RH rocker panel scuff plates. See Scuff Plate - Rocker Panel - LH (Remove and Replace).
- Remove the LH and RH rocker panel moldings. See Molding - Rocker Panel - LH (Remove and Replace).
-
Position the 2 post lift pads for HV
battery removal.
- Remove the rear underhood apron. See Underhood Apron - Rear (Remove and Replace).
- Disconnect LV power. See LV Power (Disconnect and Connect).
- Remove the mid aero shield panel. See Panel - Aero Shield - Rear (Remove and Replace).
- Perform Vehicle HV Disablement Procedure. See Vehicle HV Disablement Procedure.
- Remove the pyrotechnic battery disconnect. See Pyrotechnic Battery Disconnect (Remove and Replace).
- Remove the HV Battery. See HV Battery (AWD) (Remove and Install).
-
Remove and discard the bolts (x8) that
attach the HV battery rear access cover to the HV battery.
Figure 1. Vehicles built before September 19, 2022 Figure 2. Vehicles built September 19, 2022 and later -
Vehicles built before September 19,
2022 only - Use non-conductive plastic chisels to break the seal and separate the
HV battery rear access cover from the HV battery.
NoteBe careful not to severely bend or deform the access cover, nor damage the internal components therein.
-
Vehicles built September 19, 2022 and later only - Remove the HV battery rear
access cover.
-
Vehicles built before September 19, 2022 only - If installed, remove the mica
insulator panel from the rear access opening.
NoteIt may be necessary to crease the panel to remove it from the opening.
Install
-
Vehicles built September 19, 2022 and
later only - Use an IPA wipe to clean the sealing surfaces of the HV battery rear
access panel and the rear bay of the HV battery, allow them at least one minute to dry,
and then go to step 7.
-
Vehicles built before September 19,
2022 - Use non-conductive plastic chisels or other non-marring tools to remove the
sealant from the HV battery and HV battery rear access cover.
- Use an ESD-safe vacuum to remove debris, wipe the sealing surfaces with an alcohol wipe, and then allow to dry.
-
If removed previously, install the mica insulator panel into the rear access
opening.
NoteMake sure that the mica panel is completely tucked behind the HV battery top cover sheet metal.NoteIt may be necessary to crease the panel to install it into the opening.
- Load a cartridge of sealant (Threebond - 1089956-00-A) into the caulking gun and cut the tip of the sealant enough to follow the previous bead line.
-
Apply the sealant onto the sealing
surface of the HV battery in a continuous smooth bead.
-
Carefully set the HV battery rear
access cover onto the HV battery.
Figure 3. Vehicles built before September 19, 2022 Figure 4. Vehicles built September 19, 2022 and later -
Install new bolts (x8) to attach the
HV battery rear access cover to the HV battery, and then tighten the bolts in a
criss-cross pattern.
 4.5 Nm (3.3 lbs-ft)
Figure 5. Vehicles built before September 19, 2022 Figure 6. Vehicles built September 19, 2022 and later - Measure the voltage across the pyrotechnic battery disconnect mount points, and then install the pyrotechnic battery disconnect. See Pyrotechnic Battery Disconnect (Remove and Replace).
- Perform an HV battery air leak test. See HV Battery Air Leak Test (On Table).
- Install the HV Battery. See HV Battery (AWD) (Remove and Install).
- Install the mid aero shield panel. See Panel - Aero Shield - Rear (Remove and Replace).
- Connect LV power. See LV Power (Disconnect and Connect).
- Install the rear underhood apron. See Underhood Apron - Rear (Remove and Replace).
- Install the LH and RH rocker panel moldings. See Molding - Rocker Panel - LH (Remove and Replace).
- Install the LH and RH rocker panel scuff plates. See Scuff Plate - Rocker Panel - LH (Remove and Replace).
- Remove the vehicle from the 2 post lift. See Raise Vehicle - 2 Post Lift.