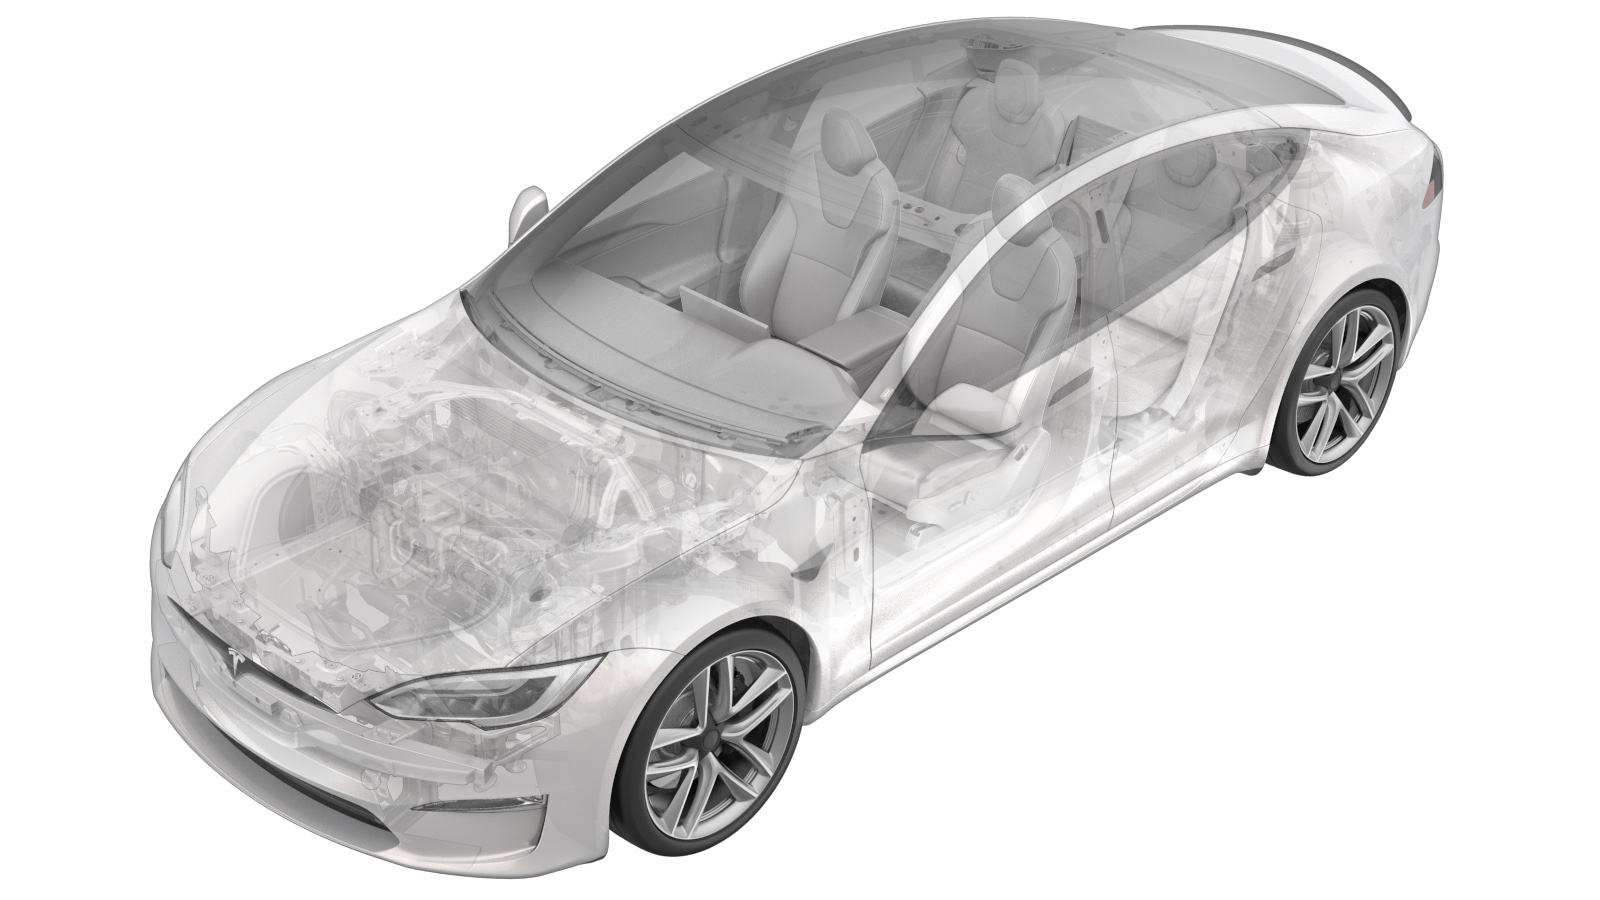
Acoustic Blanket - Compressor (Remove and Replace)
 Correction code
18203502
1.20
NOTE: Unless otherwise explicitly
stated in the procedure, the above correction code and FRT reflect all of the work
required to perform this procedure, including the linked procedures. Do not stack correction codes unless
explicitly told to do so.
NOTE: See Flat Rate Times to learn
more about FRTs and how they are created. To provide feedback on FRT values, email ServiceManualFeedback@tesla.com.
NOTE: See Personal Protection to make sure proper PPE is worn when
performing the below
procedure.
- 2023-10-26: Reorganized the procedure.
High Voltage Awareness Care Pointsfor additional safety information.
Remove
- Remove the underhood storage unit. See Underhood Storage Unit (Remove and Replace).
- Perform Vehicle HV Disablement Procedure. See Vehicle HV Disablement Procedure.
- Remove the A/C compressor bracket. See Bracket - Compressor (Remove and Replace).
-
Remove the acoustic blanket.
Install
- Clean the A/C compressor surface with IPA wipes and allow the surface to dry before continuing.
-
Make 2 cuts on the acoustic blanket as
indicated by the red lines so that the blanket will fit around the A/C pipes.
NoteDo not remove the adhesive backing yet.
-
Without removing the adhesive backing,
perform a test fitting of the acoustic blanket on the A/C compressor, making sure the
blanket properly fits around all mounts, pipes, and electrical connections.
- Install the A/C compressor bracket. See Bracket - Compressor (Remove and Replace).
- Connect the LV power. See LV Power (Disconnect and Connect).
- Install the underhood storage unit. See Underhood Storage Unit (Remove and Replace)