2025-03-17
Handle - Exterior Release - Door - Front - LH (Adjust)
 Correction code
11452000
NOTE: Unless otherwise explicitly stated in the procedure, the above correction code and FRT reflect all of the work required to perform this procedure, including the linked procedures. Do not stack correction codes unless explicitly told to do so.
NOTE: See Flat Rate Times to learn more about FRTs and how they are created. To provide feedback on FRT values, email ServiceManualFeedback@tesla.com.
NOTE: See Personal Protection to make sure wearing proper PPE when performing the below procedure.
Correction code
11452000
NOTE: Unless otherwise explicitly stated in the procedure, the above correction code and FRT reflect all of the work required to perform this procedure, including the linked procedures. Do not stack correction codes unless explicitly told to do so.
NOTE: See Flat Rate Times to learn more about FRTs and how they are created. To provide feedback on FRT values, email ServiceManualFeedback@tesla.com.
NOTE: See Personal Protection to make sure wearing proper PPE when performing the below procedure.
- 1080552-00-A Gauge, Taper Step
Warning
The side impact airbag
deployment depends on the front door sensor's ability to detect a side impact from air
pressure. Make sure that there are no uncovered holes in the front door shells.
Additionally, always reinstall plugs or tape when servicing or inspecting the front doors
and their components.
Procedure
-
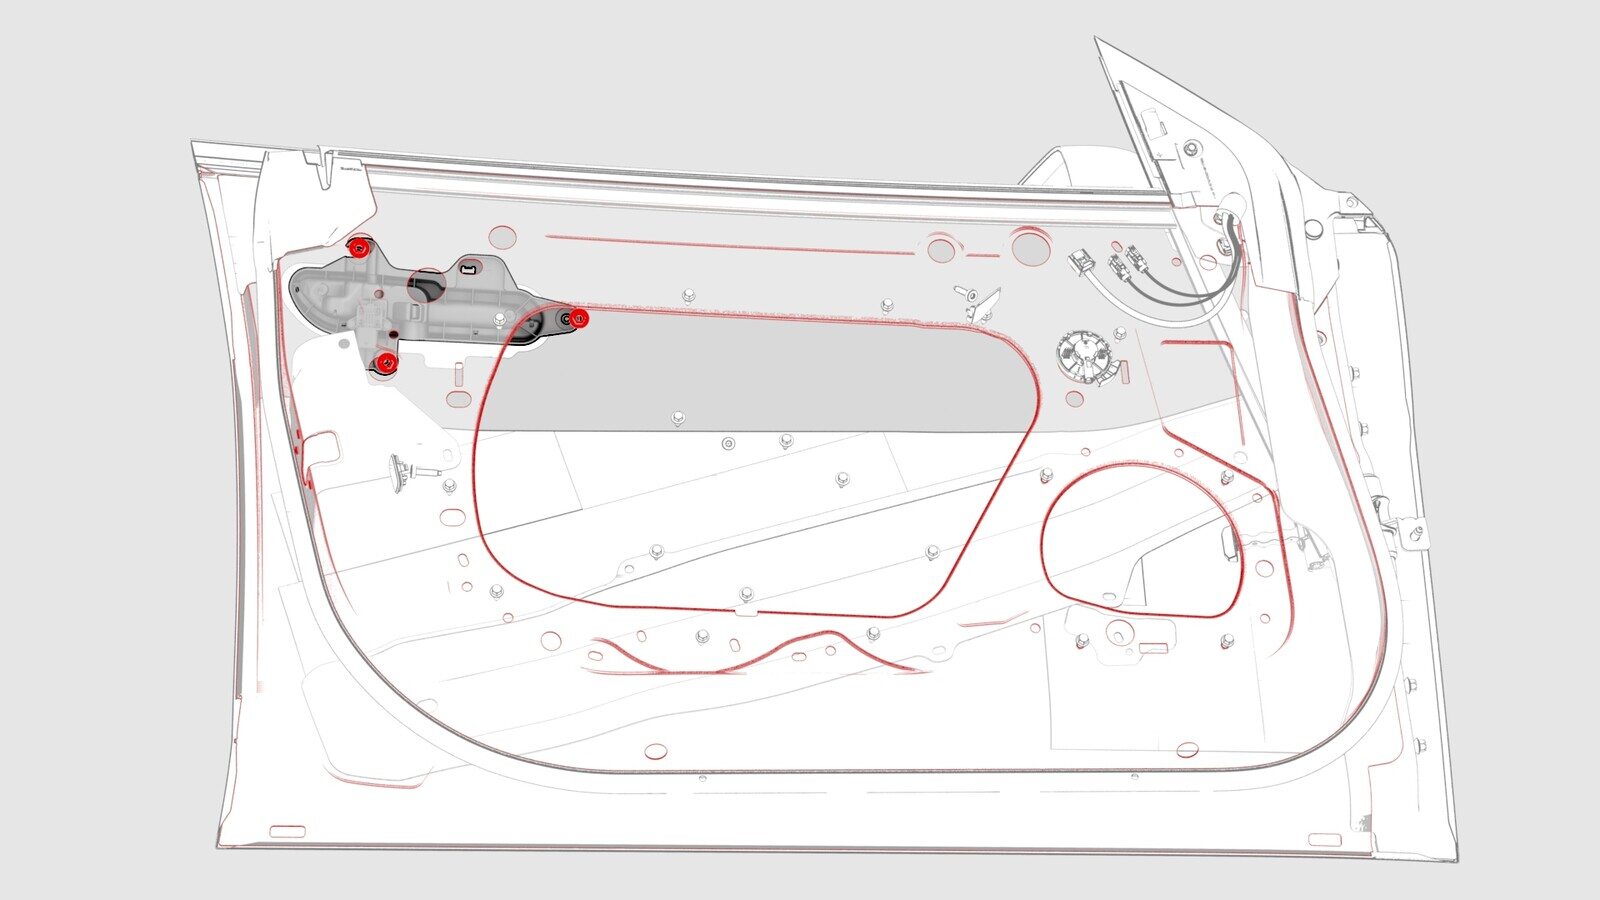
Use the taper step gauge to check the gap and flush of the handle to the door surface.
- Gap: 1mm +1.5/-0.0mm
- Flush: 0.5mm +2.5/-0.5mm
NotePerform this procedure only when the gap or flush is outside of specification. - Remove the LH front door exterior release handle. See Door Handle Outer- Passive- RH (Remove and Replace).
- Exercise the handle mechanism, pulling the handle to the maximum position and releasing it, 5 times.
- If the handle binds or slows down during the exercise, replace the handle.
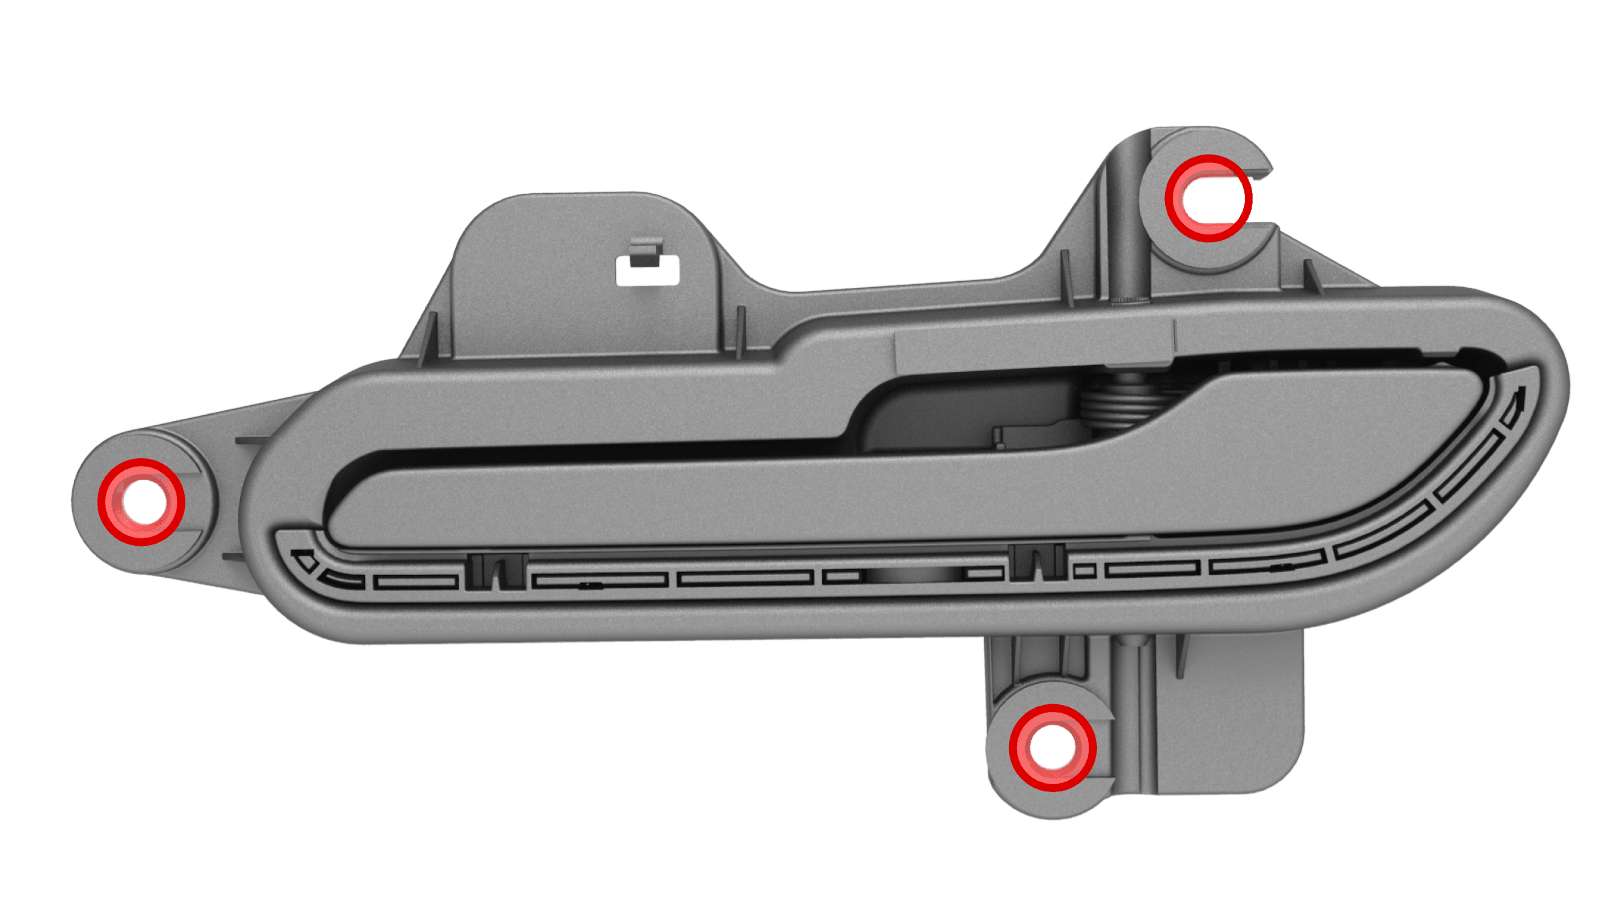
- Remove the shims from the handle, noting which shims are for which mounting hole.
-
Enlarge the handle mounting holes (x3) to 10mm diameter.
NoteThe shims might need to be enlarged as well.
-
Remove the temporary setting feature tab from the handle.
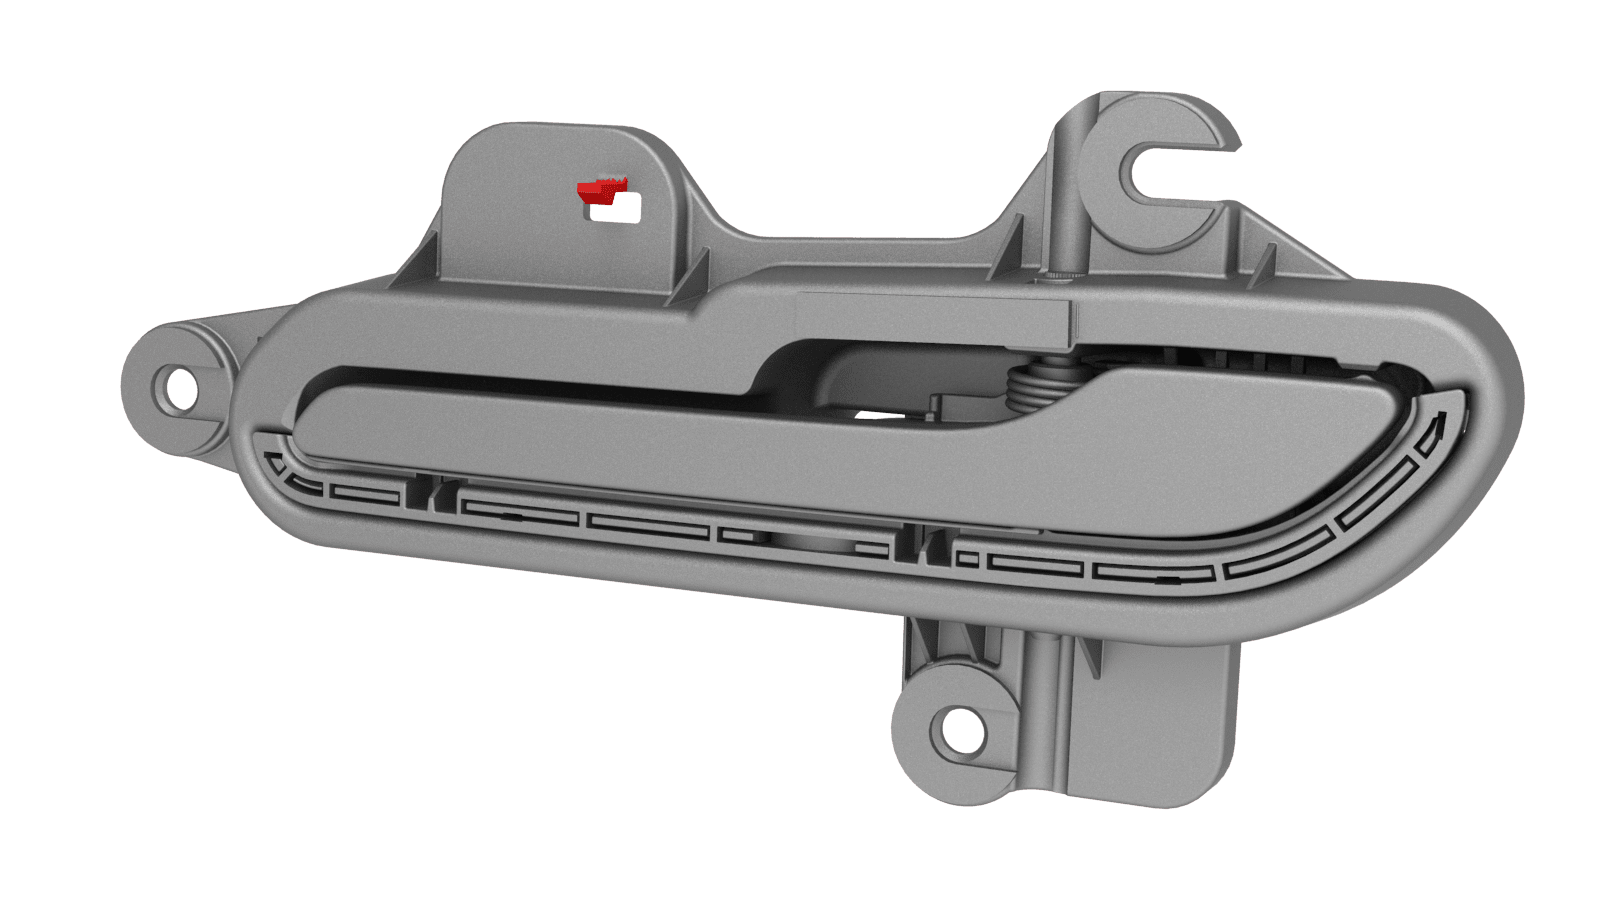
-
Return the shims to the handle.
NoteUse grease to temporarily hold the shims in place on the handle.
-
Install the handle onto the door, and then install and hand-tighten the nuts that attach the handle to the door.
-
Use the taper step gauge to check the gap and flush of the handle to the door surface.
- Gap: 1mm +1.5/-0.0mm
- Flush: 0.5mm +2.5/-0.5mm
-
Insert shims between the handle and door inside surface at the handle mounting studs to adjust the gap and flush of the handle, if necessary.
NoteDo not stack any more than two shims per mounting stud.
-
When the gap and flush are within specification, tighten the nuts that attach the handle to the door.
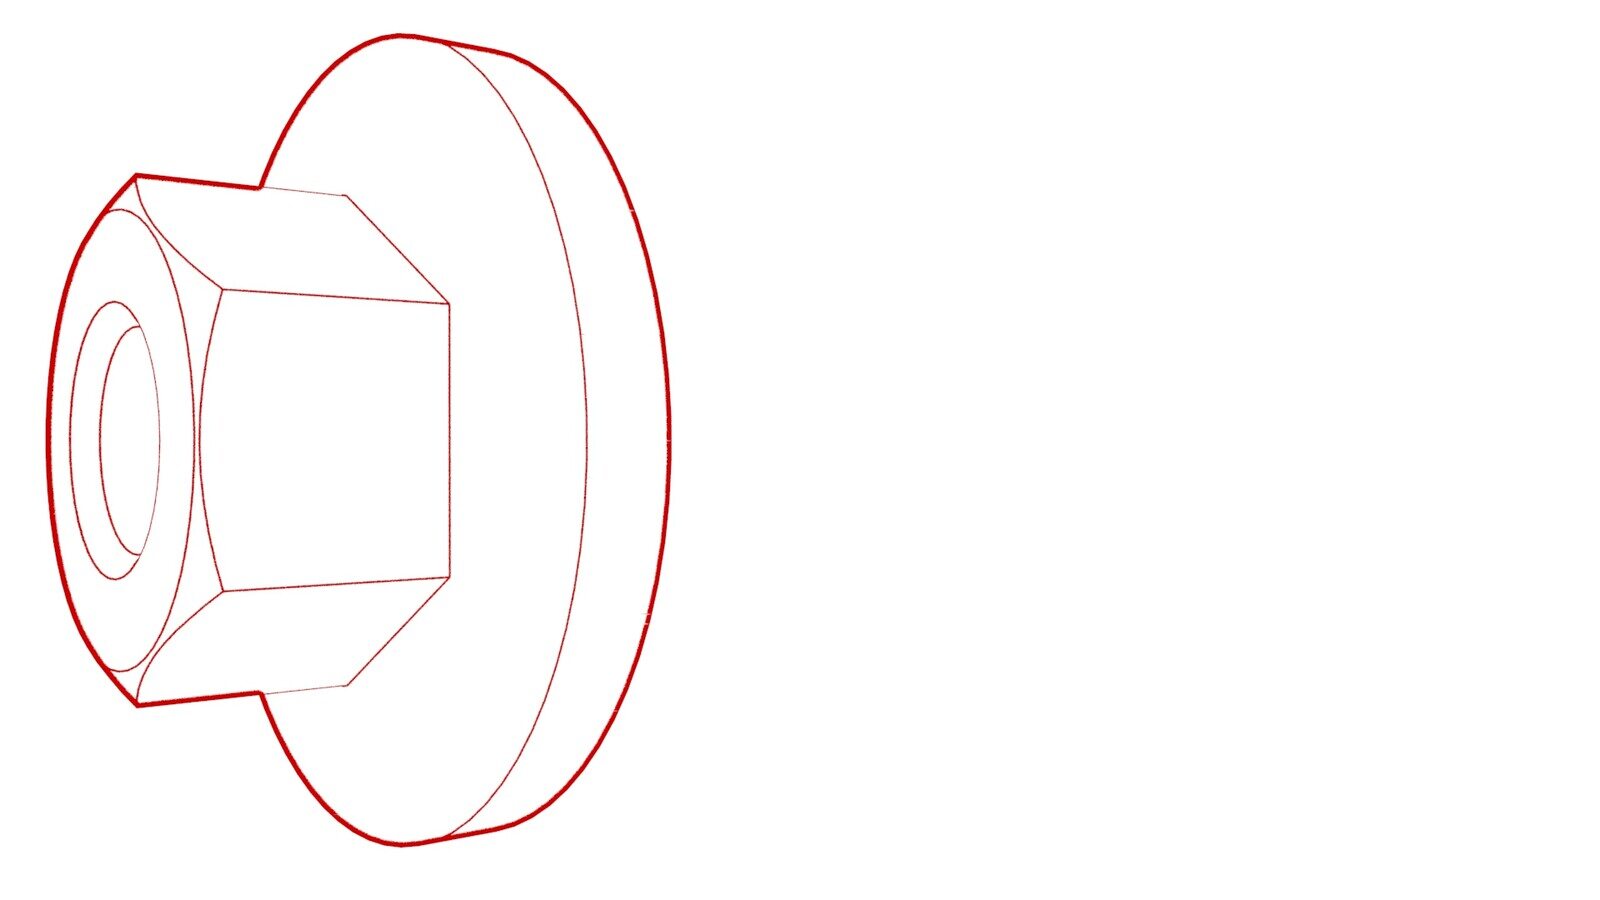 7 Nm (5.2 lbs-ft)
 - Exercise the handle mechanism, pulling the handle to the maximum position and releasing it, 5 times.
- If the handle binds or slows down during the exercise, replace the handle.
-
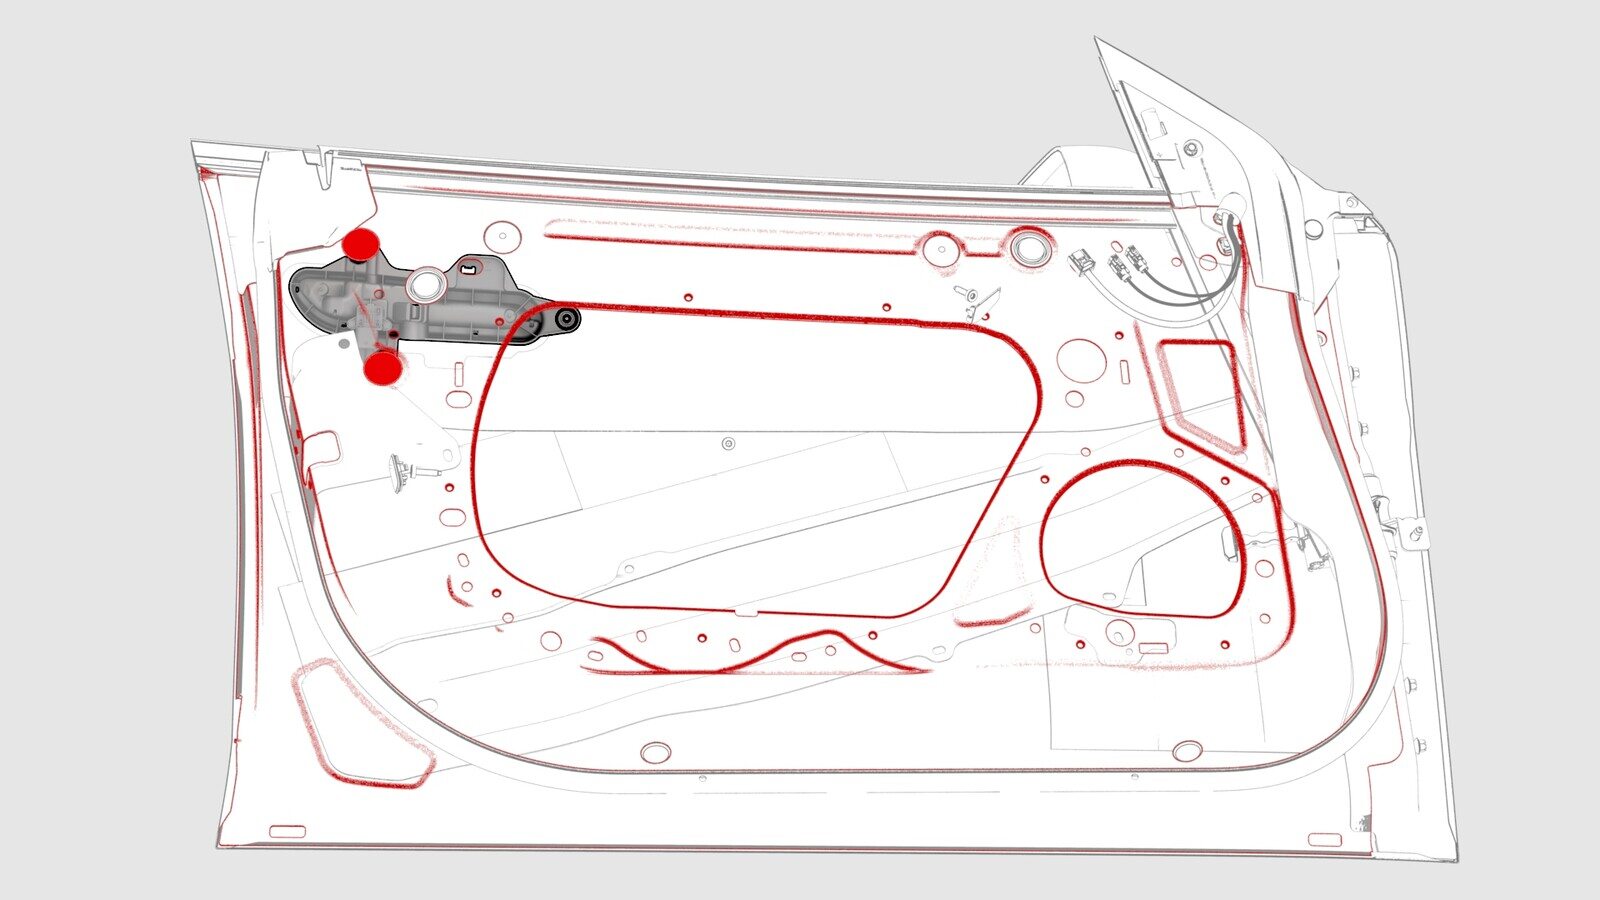
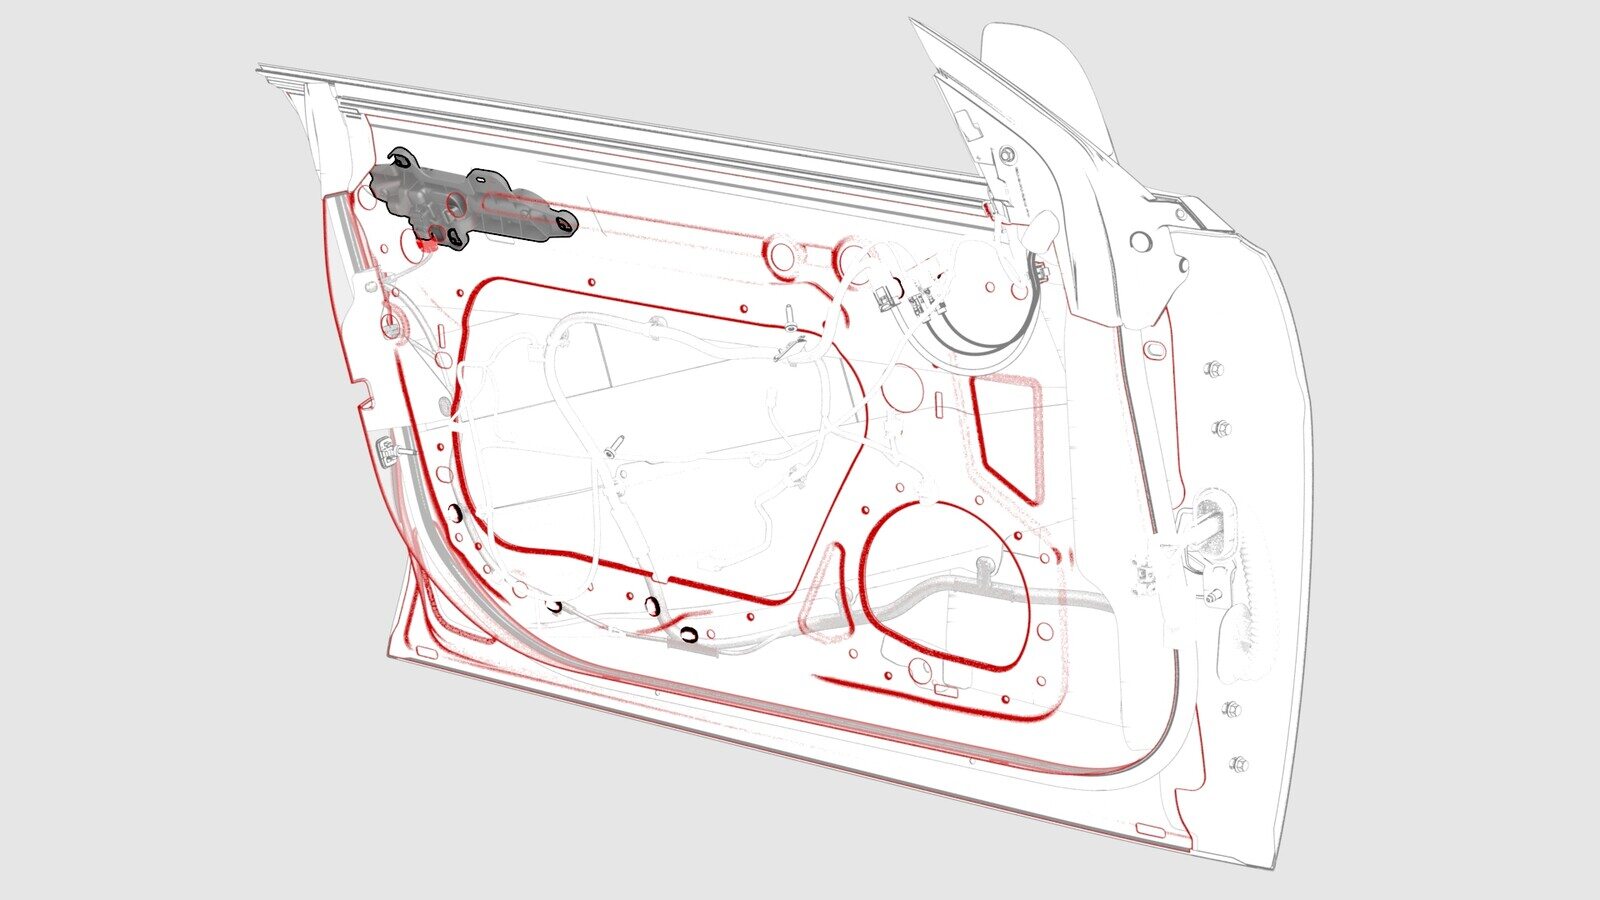
Install the plugs (x2) that cover access to the LH front door exterior release handle nuts.
-
Connect the wiring harness to the LH front door exterior release handle connector.
- Install the LH front door closeout panel assembly. See Window Regulator Closeout Front Door - LH (Remove and Replace).