Underhood Storage Unit (Remove and Replace)
 Correction code
15240702
NOTE: Unless otherwise explicitly
stated in the procedure, the above correction code and FRT reflect all of the work
required to perform this procedure, including the linked procedures. Do not stack correction codes unless
explicitly told to do so.
NOTE: See Flat Rate Times to learn
more about FRTs and how they are
created.
NOTE: See Personal Protection to make sure proper PPE is worn when
performing the below
procedure.
Correction code
15240702
NOTE: Unless otherwise explicitly
stated in the procedure, the above correction code and FRT reflect all of the work
required to perform this procedure, including the linked procedures. Do not stack correction codes unless
explicitly told to do so.
NOTE: See Flat Rate Times to learn
more about FRTs and how they are
created.
NOTE: See Personal Protection to make sure proper PPE is worn when
performing the below
procedure.
- 2023-04-04: Added check for proper routing of and possible damage to HVIL harness branch.
Torque Specifications
| Description | Torque Value | Recommended Tools | Reuse/Replace | Notes |
|---|---|---|---|---|
| Bolts that attach the underhood storage unit to the vehicle |
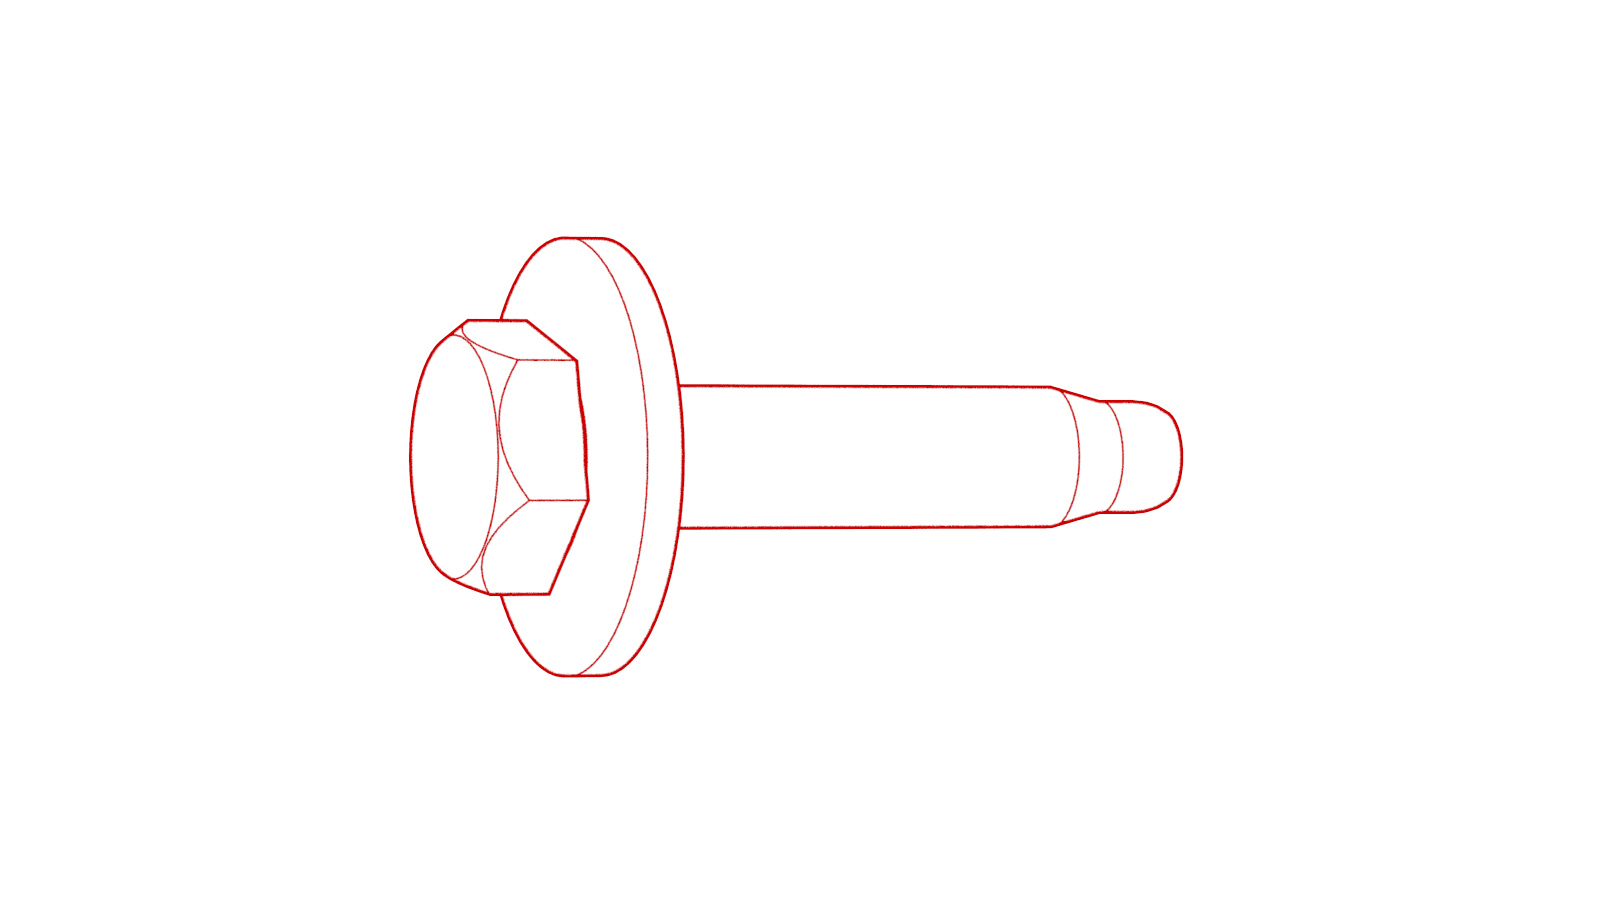 5 Nm (3.7 lbs-ft) |
|
Reuse |
Remove
- Remove the rear underhood apron. See Underhood Apron - Rear (Remove and Replace).
- Remove the LH and RH underhood aprons. See Underhood Apron - LH (Remove and Replace).
- Remove the front underhood apron. See Underhood Apron - Front (Remove and Replace).
- Remove the underhood storage unit access panel. See Underhood Storage Unit Access Panel (Remove and Replace).
-
Lift up on the underhood storage unit
seal to remove it from the underhood storage unit assembly.
NoteTake note of the orientation and any markings to allow re-installation into the original position.
-
Remove the bolts (x8) that attach the
underhood storage unit to the body, and then remove the storage unit from the
vehicle.
-
Inspect the HVIL harness branch of the
A/C compressor HV harness.
Install
-
Make sure that the HVIL harness branch
of the A/C compressor HV harness is properly routed away from and does not rest upon the
shock tower brace.
Figure 4. Harness properly routed away from the shock tower brace -
Install the underhood storage unit
into the vehicle, and then install the bolts (x8) that attach the storage unit to the
body.
 5 Nm (3.7 lbs-ft)
 -
Install the underhood storage unit
seal.
NoteUse the orientation marking noted in the removal to re-install into the original position.
- Install the underhood storage unit access panel. See Underhood Storage Unit Access Panel (Remove and Replace).
- Install the front underhood apron. See Underhood Apron - Front (Remove and Replace).
- Install the LH and RH underhood aprons. See Underhood Apron - LH (Remove and Replace).
- Install the rear underhood apron. See Underhood Apron - Rear (Remove and Replace).