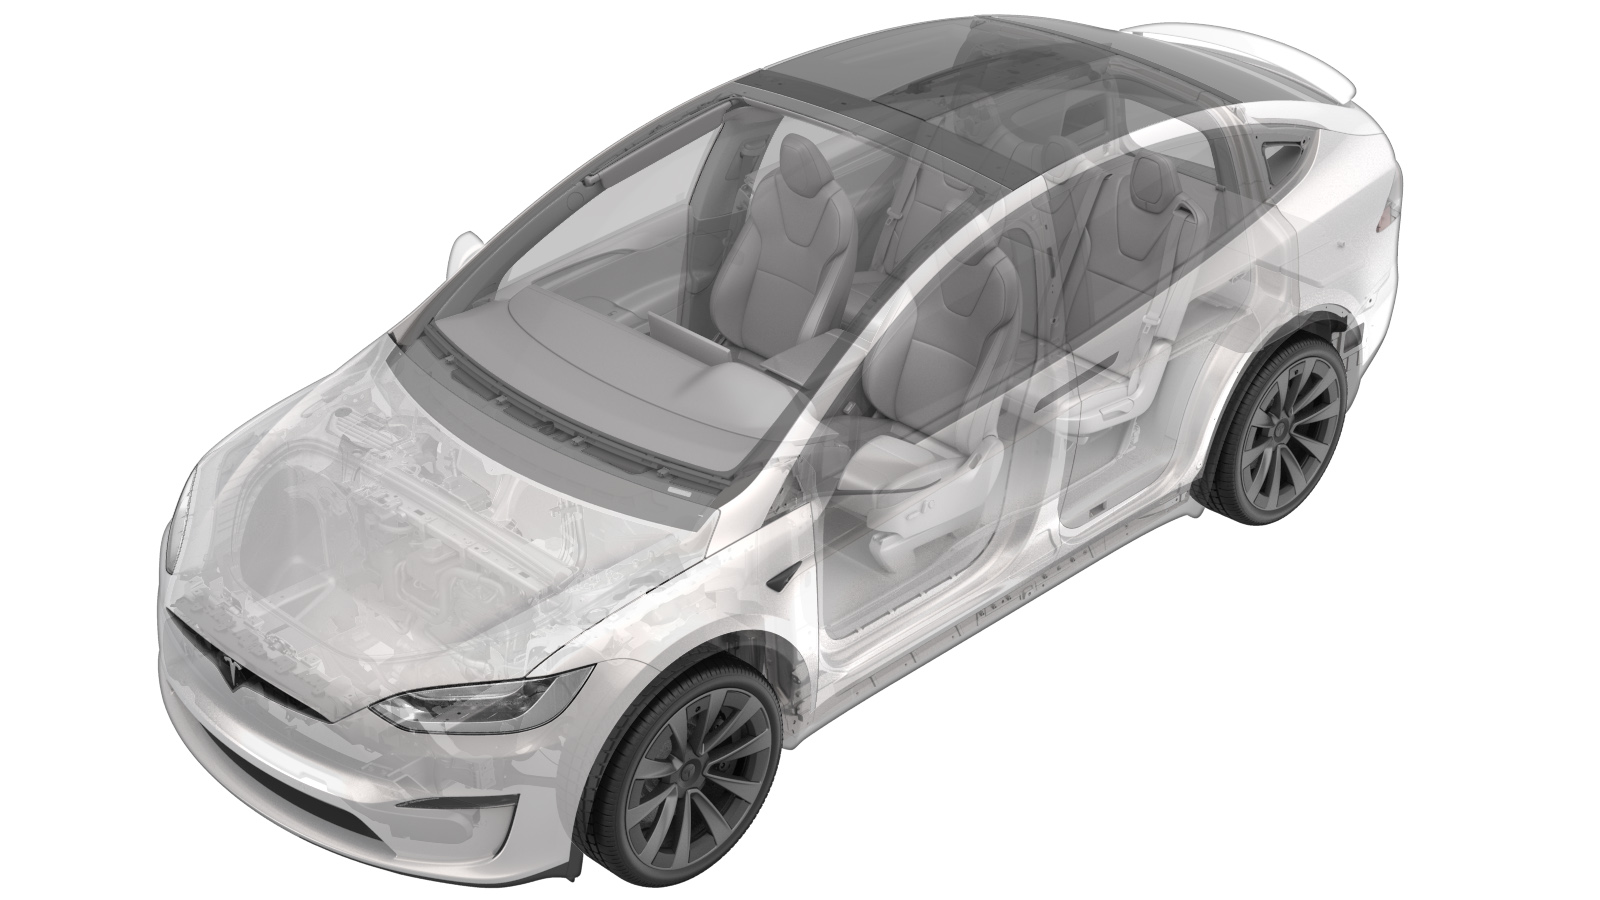
Gearbox Fluid - Rear Drive Unit (Plaid) (Drain and Refill)
 Correction code
40300112
0.48
NOTE: Unless otherwise explicitly
stated in the procedure, the above correction code and FRT reflect all of the work
required to perform this procedure, including the linked procedures. Do not stack correction codes unless
explicitly told to do so.
NOTE: See Flat Rate Times to learn
more about FRTs and how they are created. To provide feedback on FRT values, email ServiceManualFeedback@tesla.com.
NOTE: See Personal Protection to make sure proper PPE is worn when
performing the below
procedure.
- 2024-04-05: Updated gearbox fluid information with link.
- 2024-02-06: Updated gearbox fluid to KAF1.
- 2023-06-21: Added PN for fill port adapter.
Drain
- Move the vehicle to a 2 post lift. See Raise Vehicle - 2 Post Lift.
- Connect a laptop with Toolbox to the vehicle. See Toolbox (Connect and Disconnect).
- Remove the mid aero shield panel. See Panel - Aero Shield - Rear (Remove and Replace).
-
Position an oil drain collector under
the rear drive unit oil filter cover.
-
Remove the bolts (x2) that attach the
oil filter cover to the rear drive unit..
-
Use a plastic trim tool to pry
incrementally around the oil filter assembly to separate it from the rear drive unit
until the green O-ring is seen, remove the filter from the drive unit, and allow the
gearbox fluid to drain.
NoteTesla recommends that the oil filter is replaced with a new one upon removal. Any oil filter with visible corrosion or leaks must be replaced.
-
Remove the fill plug from the rear
drive unit..
-
Inspect the O-ring on the removed
plug, and if damaged, replace the entire plug.
-
Raise the oil drain collector as close
to the oil filter opening of the rear drive unit as possible to minimize splatter.
NoteWhen the following routine runs, gearbox fluid will splash out violently.
-
Set up a step ladder so as to access
the laptop to run Toolbox routines.
-
In Toolbox, select the Actions tab, search for
"OIL-PUMP", click PERFORMANCE-REAR Drive Unit Oil Pump Drain Control, and then click
Run.
NoteThis routine has a 10 minute duration, but can be stopped early by pressing the accelerator pedal. Do not allow the pump to run dry for more than a few seconds.
-
While the routine runs, drain the
gearbox fluid from the rear drive unit.
-
Unscrew the oil filter to release the
tabs (x3) that attach the filter to the oil filter cover.
Refill
-
Align the oil filter to the tabs (x3)
of the oil filter cover, and then turn the filter clockwise to attach to the
cover.
NoteTesla recommends that the oil filter is replaced with a new one upon removal. Any oil filter with visible corrosion or leaks must be replaced.
-
Lower the oil drain collector to
provide working space for the following steps.
-
Install the oil filter assembly into
the rear drive unit.
-
Install the bolts (x2) that attach the
oil filter cover to the rear drive unit..
 5 Nm (3.7 lbs-ft) +20 deg
 -
Fill a 5000mL measuring container with
4L/4000mL of new gearbox fluid.
NoteRefer to Fluids to determine which gearbox fluid is applicable.NoteThe rear drive unit requires 3.75L/3750mL of fluid, however the excess fluid will prevent underfill and air entrapment.
- If not already the correct length, trim the fluid transfer pump hoses to 26 in (660mm) each.
- Install the hoses onto the fluid transfer pump.
- Place the measuring container and the fluid transfer pump into the oil drain basket.
-
Install and hand tighten the fill plug
port fitting (PN: 1695022-00-A) to the rear drive unit fill hole.
-
Insert the output hose of the fluid
transfer pump onto the fill plug port fitting of the rear drive unit.
-
Fully submerge the input hose of the
fluid transfer pump into the measuring container, and prime the pump.
- If necessary, re-establish vehicle connection to Toolbox. See Toolbox (Connect and Disconnect).
-
In Toolbox, select the Actions tab, search for
"OIL-PUMP", click PERFORMANCE-REAR Drive Unit Oil Pump Fill Control, and then click
Run.
NoteThis routine has a 10 minute duration, but can be stopped early by pressing the accelerator pedal.
-
While the routine runs, pump
3.75L/3750mL of new gearbox fluid into the rear drive unit.
NoteRefer to Fluids to determine which gearbox fluid is applicable.NoteMake sure the input hose end remains submerged, so that air is not pumped into the gearbox.NoteWhen properly filled, there should be 250mL or less of gearbox fluid left in the measuring container.
-
Remove the fill plug port fitting from
the rear drive unit fill hole and quickly install the fill plug into the drive
unit..
 15 Nm (11.1 lbs-ft)NoteGearbox fluid will spill until the fill plug is installed.
 - Put on face shielding PPE.
- Spray the working area of the rear drive unit with brake cleaner, and then wipe off residual fluid with a clean shop towel.
-
Move the oil drain collector out from
under the rear drive unit.
- Install the mid aero shield panel. See Panel - Aero Shield - Rear (Remove and Replace).
- Disconnect the laptop with Toolbox from the vehicle. See Toolbox (Connect and Disconnect).
- Remove the vehicle from the 2 post lift. See Raise Vehicle - 2 Post Lift.