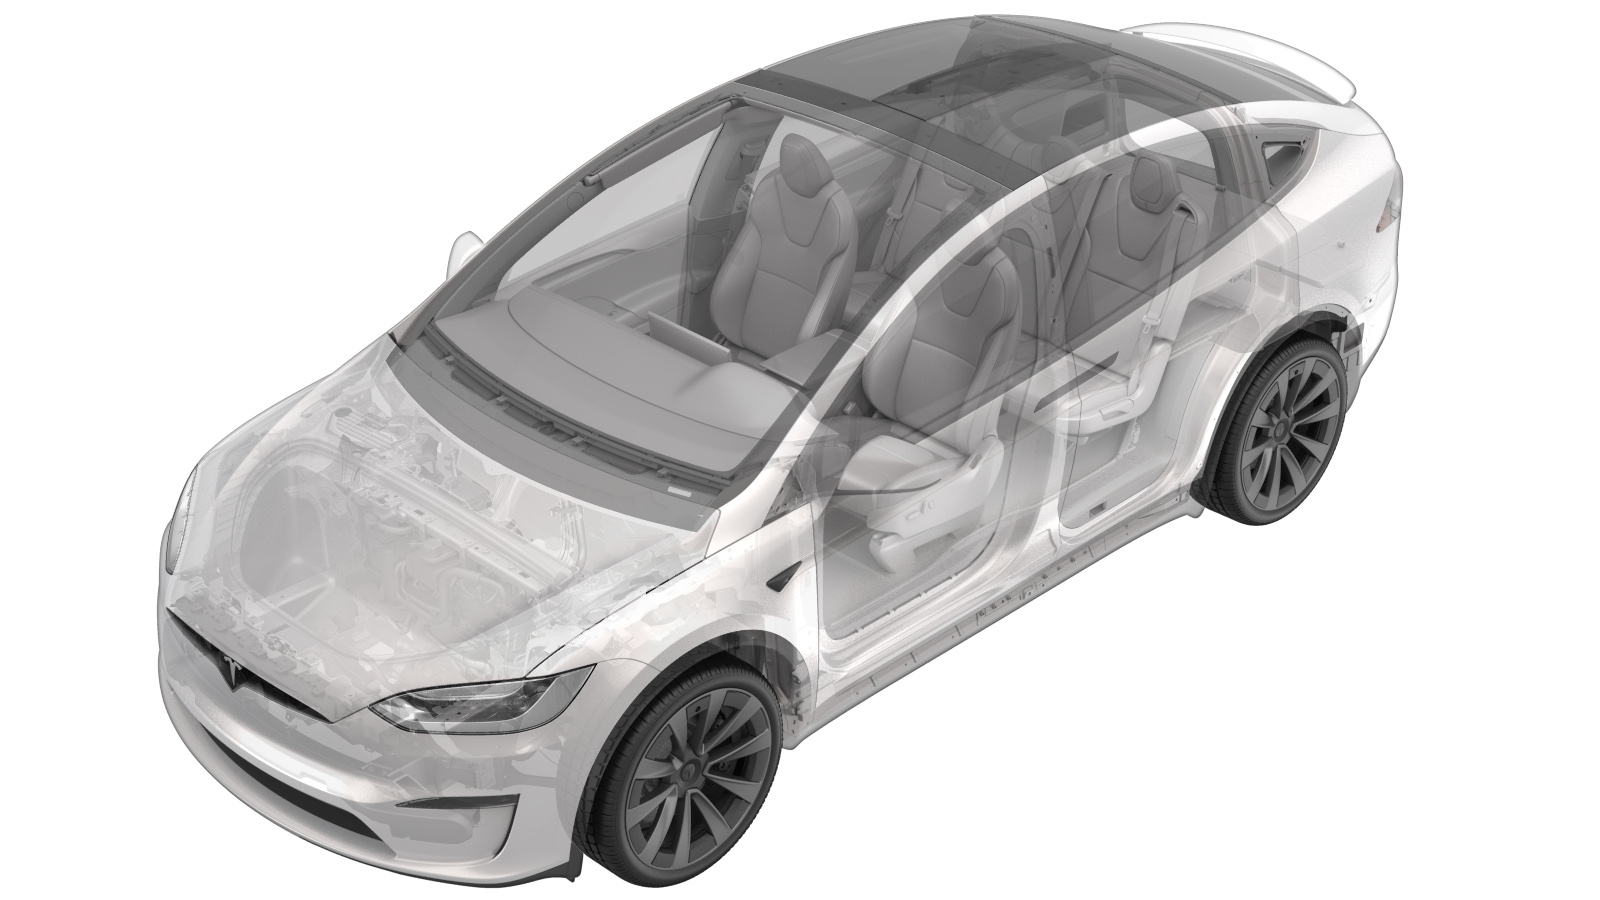
Floor Panel - Rear - 2nd Row (7 Seat) (Remove and Replace)
 Correction code
15303062
0.54
NOTE: Unless otherwise explicitly
stated in the procedure, the above correction code and FRT reflect all of the work
required to perform this procedure, including the linked procedures. Do not stack correction codes unless
explicitly told to do so.
NOTE: See Flat Rate Times to learn
more about FRTs and how they are created. To provide feedback on FRT values, email ServiceManualFeedback@tesla.com.
NOTE: See Personal Protection to make sure proper PPE is worn when
performing the below
procedure.
Remove
- Open all the doors and lower the LH front window.
- Move the driver seat forward.
- Move the LH 2nd row seat fully forward.
- Remove the LH rear sill panel trim. See Trim - Sill Panel - Rear - LH (Remove and Replace).
- Repeat step 2 through step 4 for the RH side of the vehicle.
- Open the liftgate.
- Remove the RH mid C-pillar trim. See Trim - C-Pillar - Mid - LH (Remove and Replace).
- Remove the RH lower C-pillar trim. See Trim - C-Pillar - Lower - LH (Remove and Replace).
- Repeat steps 7 and 8 for the LH side of the vehicle.
- Move the 2nd row seats out of easy entry position.
- Remove the 2nd row mid floor panel. See Floor Panel - Mid - 2nd Row (7 Seat) (Remove and Replace).
- Move the 2nd row seats fully forward.
-
Lift the front of the 2nd row rear
floor panel to release the clips (x2). While lifting the floor panel up, release the
rear sliding plates from the seat and slide the plates rearward, and then lift the rear
of the floor panel and slide the panel rearward to remove it from the vehicle.
CAUTIONBe careful not to damage the HVAC ducts.
Install
-
Position the 2nd row rear floor panel
into the vehicle, and then secure the clips that attach the panel to the vehicle.
CAUTIONBe careful not to damage the center console display.
- Move the 2nd row seats rearward and out of easy entry position.
-
Position the 2nd row mid floor panel
into the vehicle, and then secure the clips (x5) that attach the panel to the
vehicle.
NoteReplace all damaged clips.
- Move the 2nd row seats fully forward.
- Install the LH lower C-pillar trim. See Trim - C-Pillar - Lower - LH (Remove and Replace).
- Install the LH rear sill panel trim. See Trim - Sill Panel - Rear - LH (Remove and Replace).
- Install the LH mid C-pillar trim. See Trim - C-Pillar - Mid - LH (Remove and Replace).
- Repeat step 5 through step 7 for the RH side of the vehicle.
-
Position the LH trunk sill side trim
into the vehicle, and then secure the clips (x4) that attach the trim to the vehicle.
Repeat this step for the RH trunk sill side trim.
- Close the liftgate.
- Move the RH 2nd row seat to the original position.
- Move the front passenger seat to the original position.
- Close the RH front door.
-
Calibrate the rear doors.
NoteIf the "Calibration Needed" message appears on the vehicle touchscreen, touch and hold Calibrate to calibrate the rear doors
- Move the LH 2nd row seat to the original position.
- Close the LH front door.
- Move the driver seat to the original position.
- Raise the LH front window and close the LH front door.