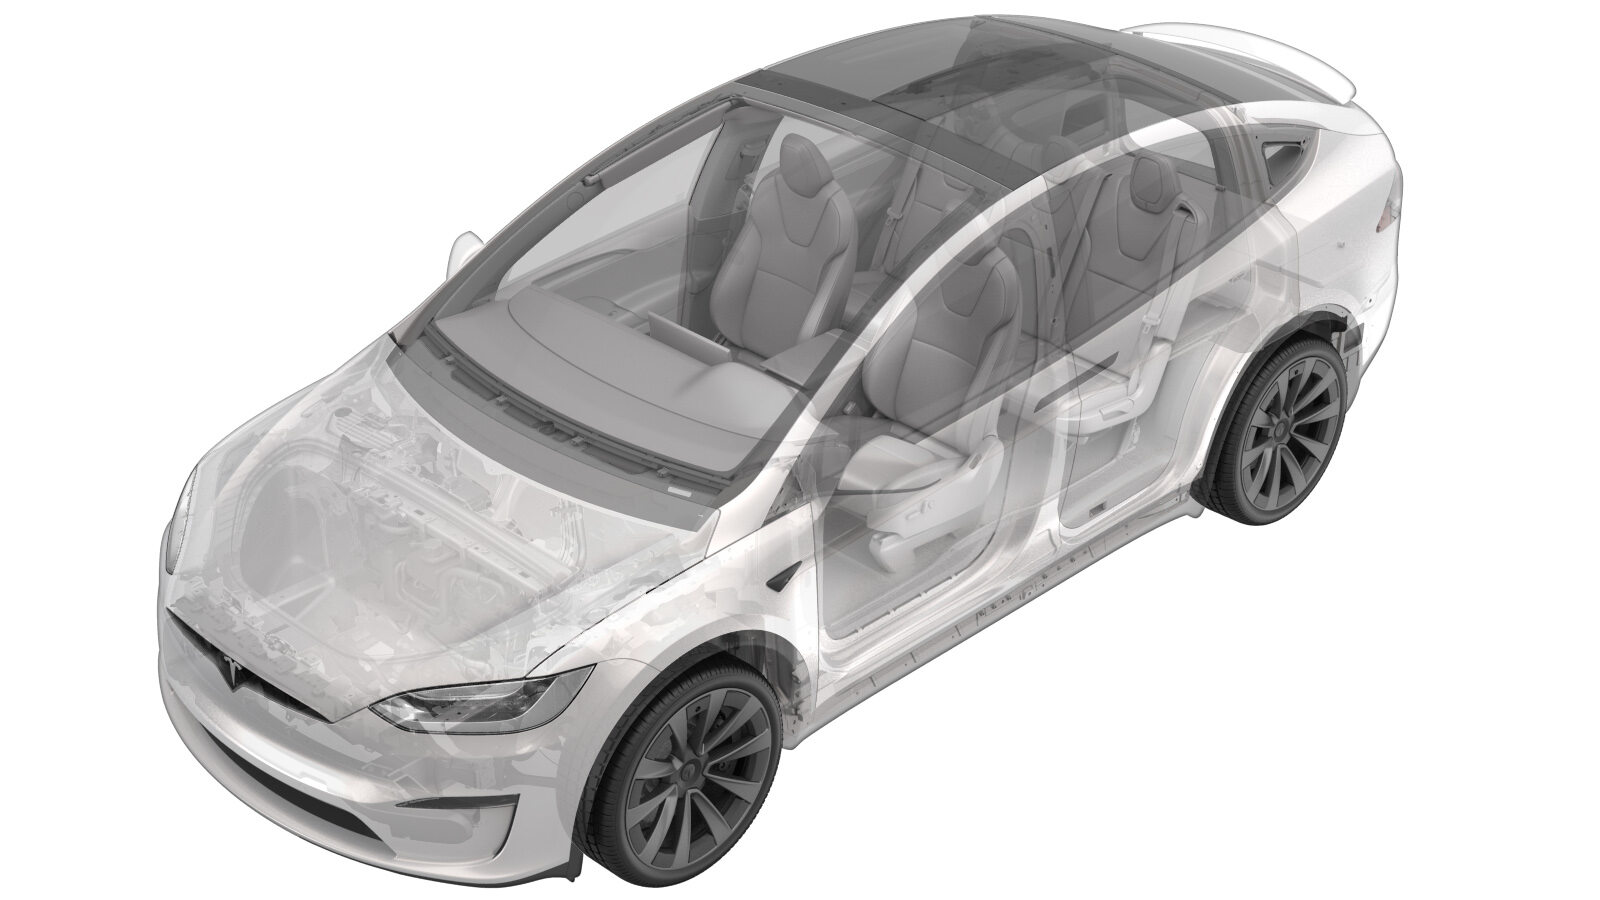
ECU - Trailer Hitch (Remove and Replace)
 Correction code
12302102
0.48
NOTE: Unless
otherwise explicitly stated in the procedure, the above correction code and
FRT reflect all of the work required to perform this procedure, including
the linked procedures. Do
not stack correction codes unless explicitly told to do so.
NOTE: See Flat Rate Times to learn more about FRTs and how
they are created. To provide feedback on FRT values, email ServiceManualFeedback@tesla.com.
NOTE: See Personal Protection
to make sure wearing proper PPE when performing the below procedure.
NOTE: See Ergonomic Precautions for safe and
healthy working practices.
Remove
- Open the LH front door.
- Lower both front windows.
-
Set air suspension ride height to
“Very High”
NoteVia center display > Controls > Suspension > ''Very High''
-
Open the hood.
-
Open liftgate
-
Power off the vehicle using the
touchscreen.
-
Remove the rear underhood apron.
-
Disconnect the LV battery connector
and First Responder Loop.
-
Remove RH liftgate stop from
vehicle
Note1x bump stop
-
Remove LH liftgate stop from
vehicle
Note1x bump stop
-
Remove bolt securing LH top of fascia
to bracket
Note1x bolts, 10mm, 4 Nm, Lift up on the outer section where upper trough and lower trough meet, Be cautious not to remove double sided tape, This will allow access to the bolt without fully removing trim
-
Remove bolt securing RH top of fascia
to bracket
Note1x bolts, 10mm, 4 Nm, Lift up on the outer section where upper trough and lower trough meet, Be cautious not to remove double sided tape, This will allow access to the bolt without fully removing trim
-
Remove clip and bolts securing RH rear
fender garnish and arch liner
Note2x push clips, 2x bolts, 10mm, 5 Nm
-
Partially release RH rear fender
garnish from rear fascia
Note3x clips, 7 tabs
-
Remove screw securing RH rear fascia
to quarter panel
Note1x screw, T25, 1.5 Nm
-
Remove clips and bolts securing LH
rear fender garnish and arch liner
Note2x push clips, 2x bolts, 10mm, 5 Nm
-
Partially release LH rear fender
garnish from rear fascia
Note3x clips, 7 tabs
-
Remove screw securing LH rear fascia
to quarter panel
Note1x screw, T25, 1.5 Nm
-
Remove fasteners securing rear
diffuser to rear fascia
Note6x bolts, 10mm, 6 Nm, 2x clips
-
Remove bolts securing rear lower
valence to body
Note4x bolts, 10mm, 3 Nm
-
Apply masking tape to protect RH rear
quarter panel
-
Apply masking tape to protect LH rear
quarter panel
-
Remove rear fascia from vehicle
Note2x connectors, 24x tabs, 1st release LH and RH fascia edges from fender brackets, 2nd Pull fascia rearward to detach from vehicle, 3rd reach in and disconnect both BLE connectors before setting fascia on the bench, Recommended assistance, Place on protected surface
-
Disconnect trailer hitch ECU
Note2x connectors, 1st release yellow connector tab, 2nd simultaneously pull tab up and connector outwards
-
Remove trailer hitch ECU
Note1x bolt, 10mm, 6 Nm
Install
-
Install trailer hitch ECU
Note1x bolt, 10mm, 6 Nm
-
Connect trailer hitch ECU
Note2x connectors
-
Install rear fascia onto vehicle
Note2x connectors, 24x tabs, Secure BLE connectors first then secure fascia onto vehicle, Recommended assistance
-
Remove masking tape from LH rear
quarter panel
-
Remove masking tape from RH rear
quarter panel
-
Install rear lower diffuser bolts to
body
Note4x bolts, 10mm, 3 Nm
-
Apply Loctite 222 to fasteners and
secure rear lower valence onto rear fascia
Note6x bolts, 10mm, 6 Nm, 2x clips
-
Install screw securing RH rear fascia
to quarter panel
Note1x screw, T25, 1.5 Nm
-
Install RH rear fender garnish onto
rear fascia
Note3x clips, 7 tabs
-
Install clip securing RH rear fender
garnish and arch liner
Note2x push clips, 2x bolts, 10mm, 5 Nm
-
Install screw securing LH rear fascia
to quarter panel
Note1x screw, T25, 1.5 Nm
-
Install LH rear fender garnish onto
rear fascia
Note3x clips, 7 tabs
-
Install clip securing LH rear fender
garnish and arch liner
Note4x push clips, 2x bolts, 10mm, 5 Nm
-
Install bolt securing LH top of fascia
to bracket
Note1x bolts, 10mm, 4 Nm
-
Install bolt securing RH top of fascia
to bracket
Note1x bolts, 10mm, 4 Nm
-
Install LH and RH sides of rear fascia
trough
NoteVerify trim is flush to rear fascia and body
-
Install RH liftgate stop from
vehicle
Note1x bump stop
-
Install LH liftgate stop onto
vehicle
Note1x bump stop
-
Connect the First Responder Loop and
LV battery connector.
-
Close liftgate
-
Install the rear underhood
apron.
- Close the hood.
-
Calibrate the RH falcon wing
door.
-
Calibrate the LH falcon wing
door.
- Press brake pedal to turn on drive rails
-
Turn steering wheel back to
center
-
Set air suspension ride height to
"Standard"
NoteUsing center display > Suspension > ''Standard''
- Raise both front windows.
- Close the LH front door.