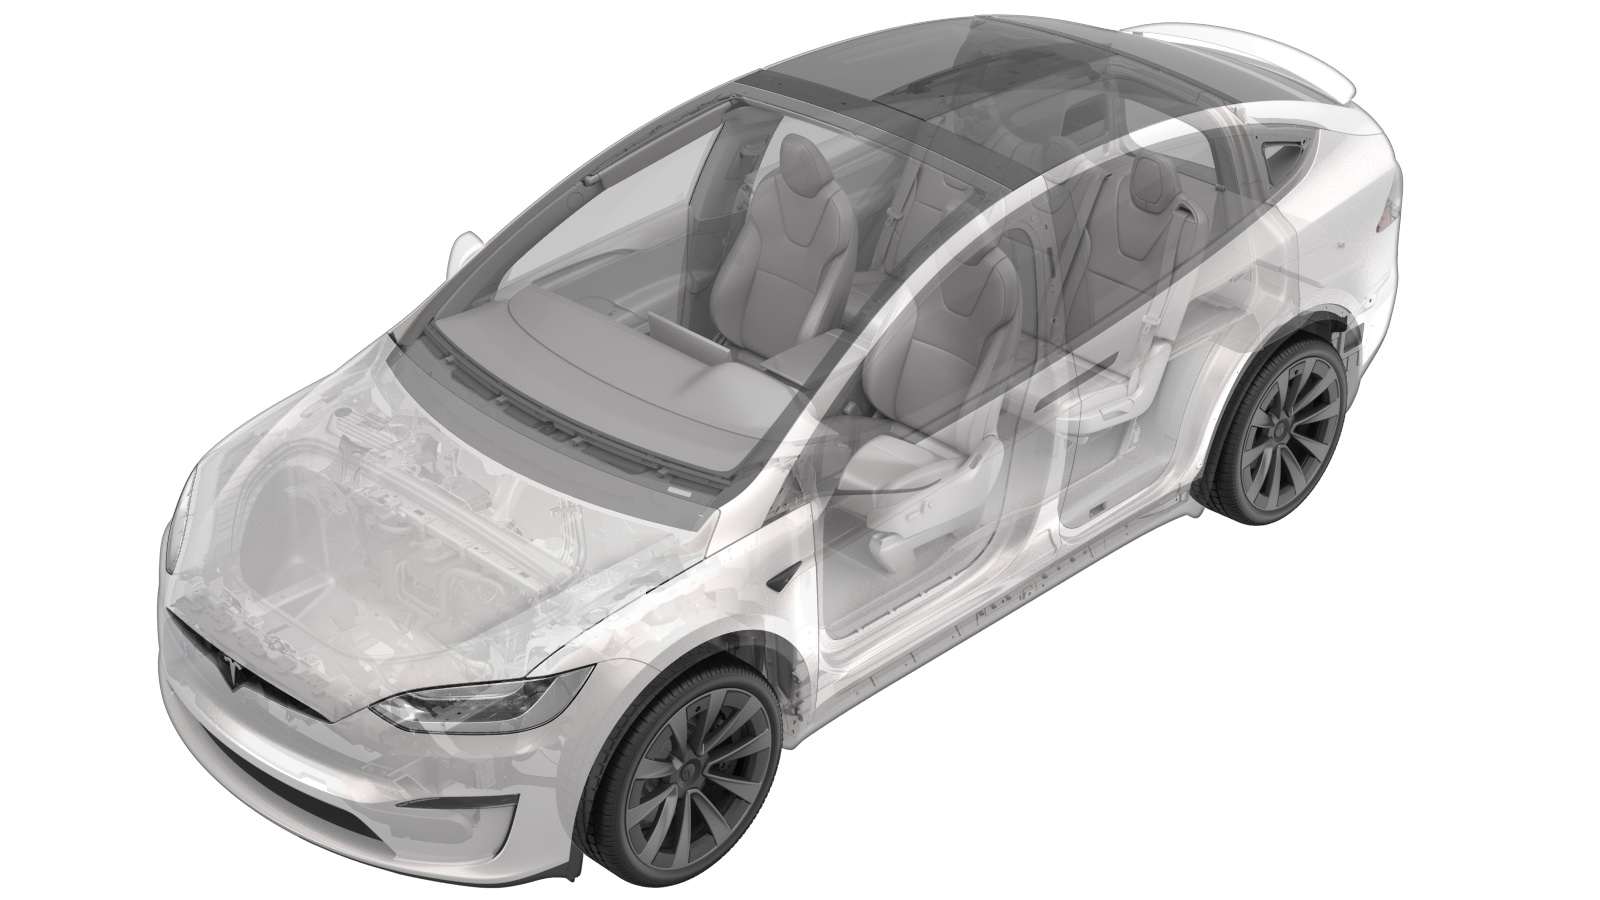
Fender Assembly - Front - LH (Remove and Replace)
 Correction code
10103002
0.72
NOTE: Unless otherwise explicitly
stated in the procedure, the above correction code and FRT reflect all of the work
required to perform this procedure, including the linked procedures. Do not stack correction codes unless
explicitly told to do so.
NOTE: See Flat Rate Times to learn
more about FRTs and how they are created. To provide feedback on FRT values, email ServiceManualFeedback@tesla.com.
NOTE: See Personal Protection to make sure proper PPE is worn when
performing the below
procedure.
Remove
- Open the LH front door.
- Lower the LH front window.
-
Remove the upper rear fender mounting
bolt.
Note10 mm. Torque 12 Nm.NotePerform this step before positioning the vehicle on the lift as the LH front door should be fully open to access the bolt.NoteAccess the bolt from vehicle interior-side of the door while holding back the door seal.
- Raise and support the vehicle on a 2 post lift. See Raise Vehicle - 2 Post Lift.
- Remove the LH front wheel. See Wheel Assembly (Remove and Install).
- Open the hood.
-
Apply masking tape to fender-adjacent
surfaces to prevent damage.
-
Remove the upper fender and lamp
bracket bolts (x4).
Notex3 bolts: 10 mm, torque 12 Nm. x1 bolt: 10 mm, torque 8 Nm.
- Remove the LH front wheel arch liner. See Wheel Arch Liner - Front - LH (Remove and Replace).
- Remove the LH fender baffle. See Baffle - Fender - LH (Remove and Replace).
- Remove LH front side repeater. See Side Repeater - Front - LH (HW3) (Remove and Replace).
-
Remove the screw and the clip that
attach the front of the LH rocker panel cover.
NoteT25. Torque 2 Nm.
-
Remove the lower rear LH fender bolts
(x2).
CAUTIONCarefully pull the rocker arm cover away from the frame for lower exterior-side bolt access.Note10 mm. Torque 12 Nm.
-
Remove the screw, bolt, and then
release the locking tabs (x2) that hold the inner front of the fender to the
vehicle.
NoteT25, torque 2 Nm. 10 mm, torque 12 Nm.NoteLocking tabs must be released from both the top and bottom of the tab.
-
Remove the fender from the
vehicle.
Install
-
Apply masking tape to the fender to
prevent damage.
-
Position the LH front fender to the
vehicle.
NoteRemove the masking tape afterward as the fender is being positioned for ease of removal prior to final positioning.
-
Hand tighten the screw and bolt, and
then secure the locking tabs that hold the inner front of the fender to the
vehicle.
NoteT25. 10 mm.NoteDo not fully tighten the fasteners until all fasteners have been installed and fender gap/flushness have been checked.NoteMake sure the locking tabs are locked in place.
-
Hand tighten the lower rear fender
bolts (x3).
Note10 mm.NoteDo not fully tighten the bolts until all fender fasteners have been installed and the fender flushness/gaps have been checked.
-
Hand tighten the upper fender and lamp
bracket bolts (x3).
Note10 mm.NoteDo not fully tighten the bolts until all fender fasteners have been installed and the fender flushness/gaps have been checked.
- Close the hood.
- Close the LH front door.
-
Check the gap and flush
measurements.
NoteUse the current CVIS specifications.NoteRepeat open/close the hood and the door steps until flushness and gaps are within specification, and then continue to the next step.
- Open the LH front door.
- Open the hood.
-
Torque the fender fasteners to
specifications.
Notex6 bolts, 10 mm, torque 12 Nm.Notex1 bolt, 10 mm, torque 8 Nm.NoteT25, torque 2 NmNoteThe rear upper fender mounting bolt will be installed later in this procedure.
-
Connect the side repeater and camera
electrical connectors (x2).
NotePerform a push-pull-push test to ensure that the connectors are secured.
-
Install the LH side repeater.
Notex2 tabs.NoteCarefully push back of repeater through mounting hole in fender. Repeater will lock into place.
- Install the LH fender baffle. See Baffle - Fender - LH (Remove and Replace).
- Install the LH front wheel arch liner. See Wheel Arch Liner - Front - LH (Remove and Replace).
- Install the LH front wheel. See Wheel Assembly (Remove and Install).
- Close the hood.
- Remove the vehicle from the lift.
-
Install the bolt that attaches the
upper rear fender mounting bolt.
Note10 mm. Torque 12 Nm.NotePerform this step after removing the vehicle from the lift as the LH front door should be fully open to access bolt. Access the bolt from the vehicle interior-side of the door and holding back the door seal.