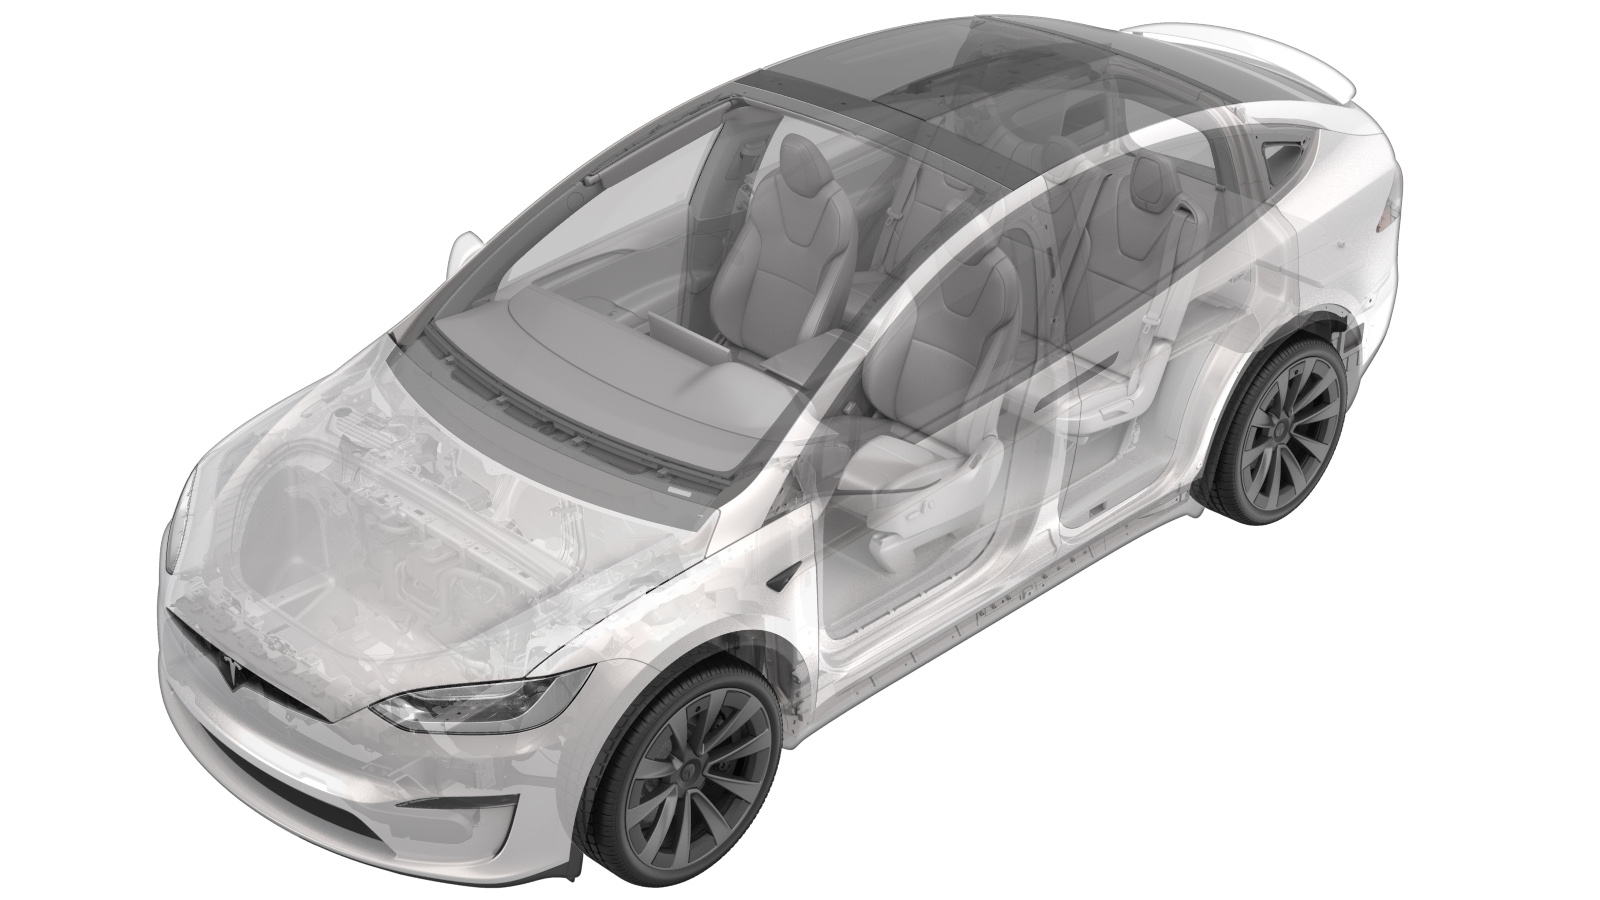
Oil Pump - LH - Rear Drive Unit (Plaid) (Manual Drain) (Remove and Replace)
 Correction code
40304612
0.48
NOTE: Unless otherwise explicitly
stated in the procedure, the above correction code and FRT reflect all of the work
required to perform this procedure, including the linked procedures. Do not stack correction codes unless
explicitly told to do so.
NOTE: See Flat Rate Times to learn
more about FRTs and how they are created. To provide feedback on FRT values, email ServiceManualFeedback@tesla.com.
NOTE: See Personal Protection to make sure proper PPE is worn when
performing the below
procedure.
- 2024-02-06: Updated gearbox fluid to KAF1.
- 2023-10-02: Corrected EDF2 gearbox fluid.
- 2023-09-22: Rearranged steps for preparing oil transfer pump, and added note to perform fill while the Toolbox routine runs.
- 2023-07-20: Reorganized steps and updated software reinstall steps to UI.
Remove
- Raise and support the vehicle on a 2 post lift. See Raise Vehicle - 2 Post Lift.
- Open the LH front door and lower the LH front window.
- Remove the mid aero shield panel. See Panel - Aero Shield - Rear (Remove and Replace).
-
Disconnect the LH oil pump electrical
connector.
NoteRelease the connector lock, press and gently pull the electrical connector.
-
Position an oil drain container under
the LH oil pump.
-
Remove the bolts (x2) that attach the LH
oil pump to the rear drive unit.
TIpUse of the following tool(s) is recommended:
- EP10 socket
- Put the measuring container (1541474-00-B, 1081767-00-B) underneath the LH oil pump, and then start to remove the pump from the rear drive unit and allow the fluid to drain into the container. Record the amount of fluid collected.
-
Remove LH oil pump from the rear drive
unit.
NoteCarefully insert a plastic wedge between the oil pump and the lower housing bracket. In small increments, work the wedge between the lower housing bracket and the oil pump until the green O-ring is visible. Remove the oil pump by hand towards the LH side of the vehicle.NoteAllow residual fluid to drain from the rear drive unit into the measuring container.
-
Inspect the O-rings (x3) on the LH oil
pump.
NoteIf missing a O-ring check inside the rear drive unit and remove it before installation.
Install
-
Install the rear drive unit LH oil
pump.
NoteLubricate all O-rings on new oil pump before installation.NoteCarefully position the oil pump into the rear drive unit.
-
Install the bolts (x2) that attach the
LH oil pump to the rear drive unit.
 5 Nm (3.7 lbs-ft) + 20 degreesTIpUse of the following tool(s) is recommended:
- EP10 socket
-
Connect the LH oil pump electrical
connector.
NoteEngage the connector lock, and then install and gently pull to test secure connection.
-
Prepare the oil transfer pump.
- Place the oil measuring container on the drain basket, and fill the container with enough KAF1 gearbox fluid to replace all fluid drained.
- Place the oil transfer pump input hose in the measuring container.
- Prime the pump with oil.
- Lower the vehicle.
- Reinstall the vehicle software. See Firmware Reinstall - Touchscreen.
- Connect a laptop with Toolbox to the vehicle.
- In Toolbox, click the Actions tab, and then search for "Performance-Rear Drive Unit".
- Click PROC_DIREL_X_OIL-PUMP-FILL-CONTROLvia Toolbox: (link), and then click Run.
- Fully raise the vehicle.
-
Remove the fill plug from the rear drive unit.
- Inspect the fill plug and O-ring. If either the plug or O-ring are damaged, discard the plug and procure a new plug.
-
Install the fill adapter
(1695022-00-A) on the drive unit fill port.
-
Install the oil transfer pump
(1541474-00-B) fill hose on the fill adapter.
-
While the routine runs, pump the
recorded amount of KAF1 gearbox fluid into the drive unit.
NoteIf needed, use assistance.
- Remove the fill adapter (1695022-00-A) from the drive unit fill port.
-
Install the fill plug on the rear
drive unit.
 15 Nm (11.1 lbs-ft)
 -
Carefully spray the drive unit with
brake cleaner, and then wipe clean with a towel.
WarningUse PPE such as a face covering and protective glasses when handling brake cleaner.
- Remove the oil drain container from underneath the vehicle.
- Install the mid aero shield panel. See Panel - Aero Shield - Rear (Remove and Replace).
- Fully lower vehicle.
- Disconnect Toolbox and remove the laptop from the vehicle.
- Remove the vehicle from the lift. See Raise Vehicle - 2 Post Lift.
- Raise the LH front window and close the LH front door.