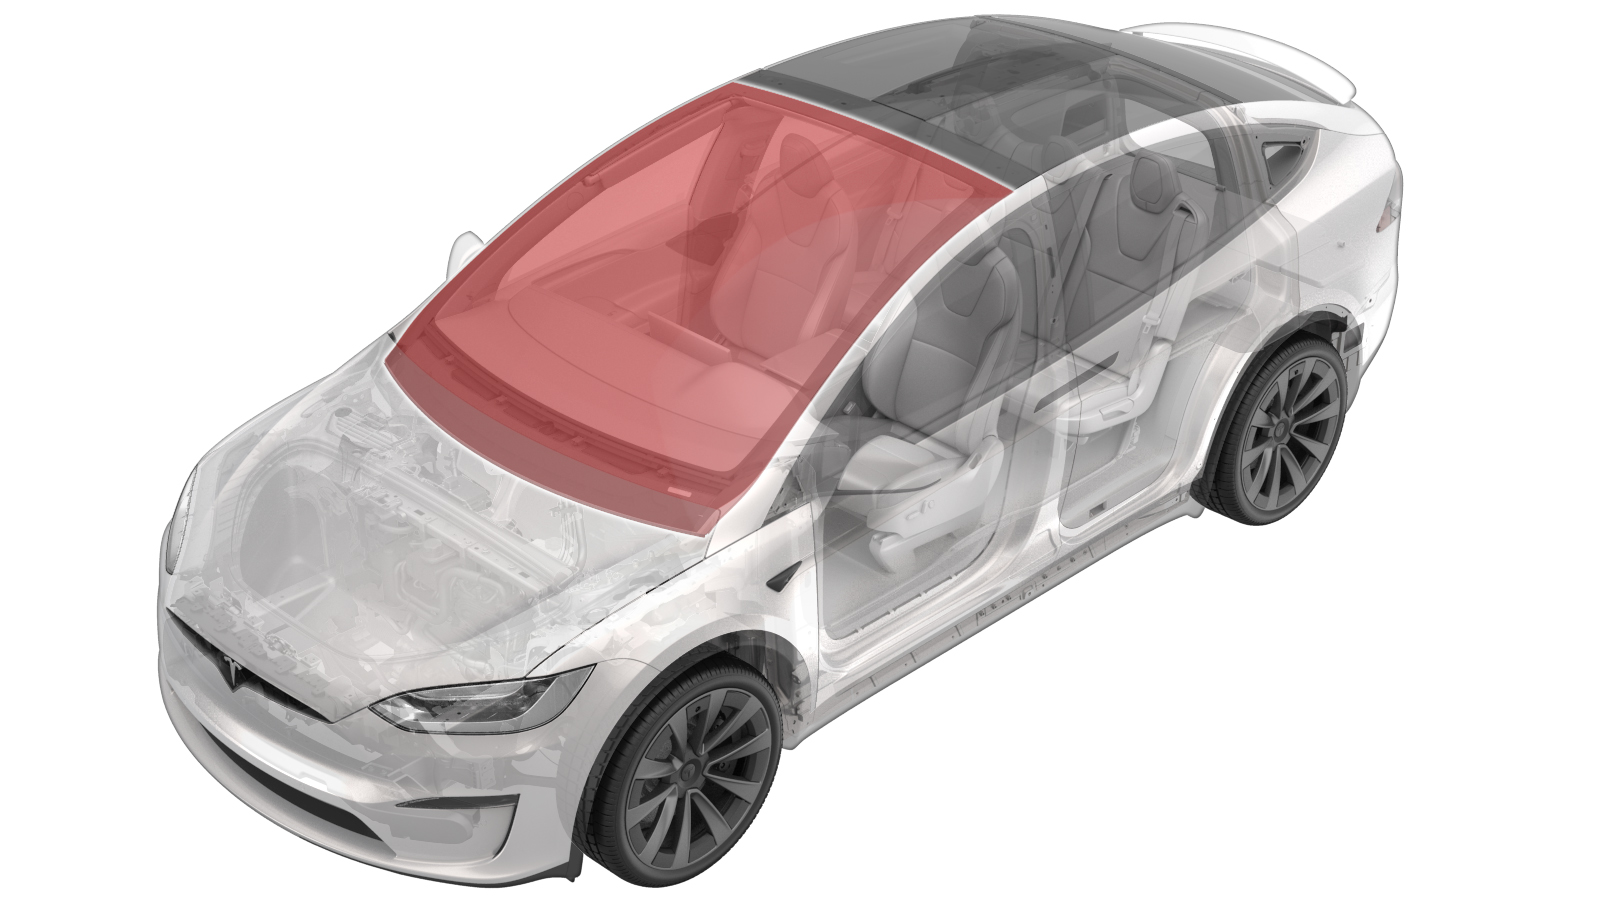
Windshield (Remove and Install)
 Correction code
10200301
2.58
NOTE: Unless otherwise explicitly
stated in the procedure, the above correction code and FRT reflect all of the work
required to perform this procedure, including the linked procedures. Do not stack correction codes unless
explicitly told to do so.
NOTE: See Flat Rate Times to learn
more about FRTs and how they are
created.
NOTE: See Personal Protection to make sure proper PPE is worn when
performing the below
procedure.
Correction code
10200301
2.58
NOTE: Unless otherwise explicitly
stated in the procedure, the above correction code and FRT reflect all of the work
required to perform this procedure, including the linked procedures. Do not stack correction codes unless
explicitly told to do so.
NOTE: See Flat Rate Times to learn
more about FRTs and how they are
created.
NOTE: See Personal Protection to make sure proper PPE is worn when
performing the below
procedure.
- 2023-08-09: Added reference to camera pitch verification procedure.
- 2024-02-05: Re-structured the procedure.
- 2024-04-11: Added a step of cleaning the windshield, especially the forward-facing camera area, to ensure a clear view of the forward-facing camera.
| Description | Torque Value | Recommended Tools | Reuse/Replace | Notes |
|---|---|---|---|---|
| Bolts (x2) that secure the glare shield |
 1 Nm (.7 lbs-ft) |
|
Reuse | |
| Screws (x4) that secure the mounting plate to the windshield bracket |
0.8 Nm (7 lbs-in) |
Tools for removal:
Tools for installation:
|
Reuse |
Remove
- Remove the windshield from the windshield frame. See Windshield (Remove and Replace).
-
Clean and remove the old adhesive from
the windshield frame.
-
Remove the urethane bead and
windshield seals from the glass.
-
Remove the damaged datums (x2) at the
inside of the upper corners.
-
Clean the double-sided tape
residue.
TIpUse of the following tool(s) is recommended:
- Flat Scraper Blade
- Eraser Wheel
- Battery Powered Drill
-
Use isopropyl alcohol to clean all
mating surfaces.
Install
- Clean the windshield as needed. Take special caution to the forward-facing camera area to ensure a clear view of the forward-facing camera. See Clean Forward Camera View (Precision Cleaning of Inboard Glass).
-
Check the continuity of the wiper
heater grid by testing the resistance.
NoteThe resistance should be tested in an environment of 23 degrees +/-15%.
- For the HWA with single circuit pre-03/2016, the resistance should be 1.45ohms.
- For the R1 HWA with dual circuit post-03/2016, the resistance should be 1.52ohms.
- For the R2 HWA with dual circuit post-03/2016, the resistance should be 1.54ohms.
-
Check the continuity of the heated
camera area by testing the resistance.
NoteThe resistance should be tested in an environment of 23 degrees +/-15%. The resistance should be 7.44ohms.
-
Install the windshield lower lip
seal.
NoteFollow windshield alignment marks at the lower corners of glass.
-
Install the windshield edge
seal.
NoteFollow the windshield alignment marks at the upper corners of glass. Start from one corner and peel the tape as you apply inch by inch to ensure proper fitment.
-
Remove the adhesive cover from the
datums, and then install the LH side and RH side datums.
-
Tape the wiper heater area connectors
to the glass.
-
Apply primer to the windshield and the
windshield frame.
-
Install the windshield from the windshield frame. See Windshield (Remove and Replace).
NoteBefore installing the triple camera and the mounting plate, clean the inner windshield camera viewing area with a clean microfiber cloth and glass cleaner. Let the windshield fully dry before continuing. Verify that the windshield has no stains or leftover residue. Otherwise, Autopilot features may be hindered.