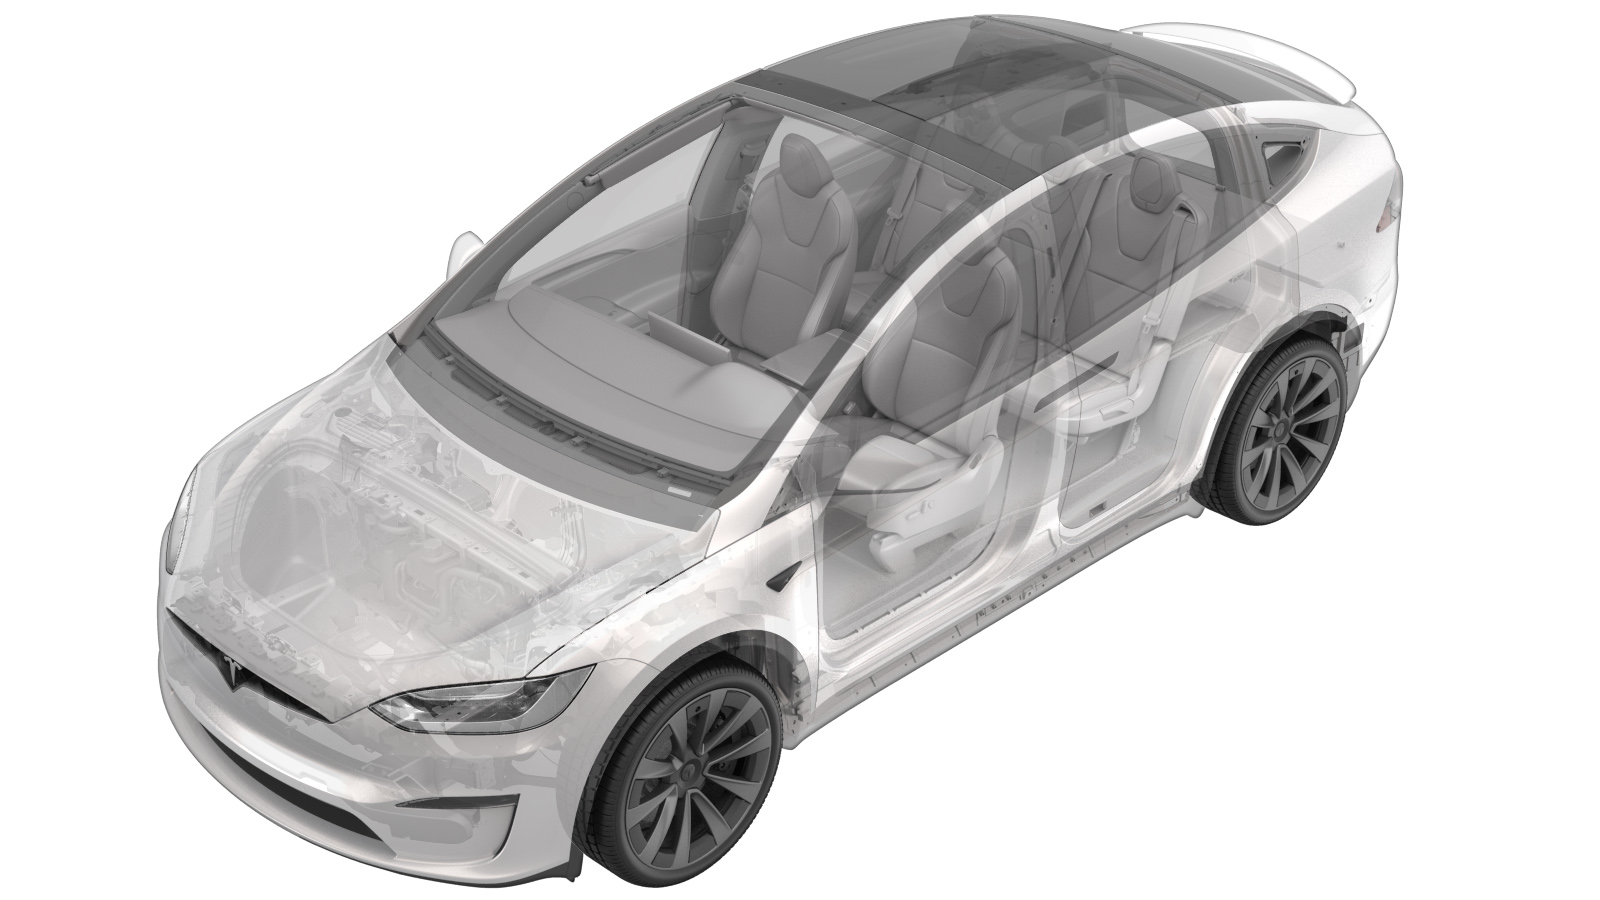
Controller - Driver Seat (Remove and Replace)
 Correction code
13016202
0.54
NOTE: Unless otherwise explicitly
stated in the procedure, the above correction code and FRT reflect all of the work
required to perform this procedure, including the linked procedures. Do not stack correction codes unless
explicitly told to do so.
NOTE: See Flat Rate Times to learn
more about FRTs and how they are created. To provide feedback on FRT values, email ServiceManualFeedback@tesla.com.
NOTE: See Personal Protection to make sure proper PPE is worn when
performing the below
procedure.
- 2023-06-21: Updated procedure not to remove seat from vehicle, added seat assignment routine and modified seat calibration routine.
Remove
- Open the LH front door and lower the window.
- Move the 1st row LH seat forward.
-
Remove and discard the bolts (x2) that
attach the rear of the 1st row LH seat tracks to the floor panel.
TIpUse of the following tool(s) is recommended:
- Torx Plus T45 socket
- Move the 1st row LH seat rearwards.
-
Remove and discard the bolts (x2) that
attach the front of the 1st row LH seat tracks to the floor panel.
TIpUse of the following tool(s) is recommended:
- Torx Plus T45 socket
- Disconnect LV power. See LV Power (Disconnect and Connect).
- Tilt the LH seat back, and then rest the seat against the 2nd row seat.
-
Disconnect the body harness from the seat controller.
Note2x connectors, 1x clip.
-
Disconnect the FSC vent heat pad
electrical connector from the driver seat controller.
-
Disconnect the FSB vent heat pad
electrical connector from the driver seat controller.
-
Release the heat pad harnesses from
the driver seat controller bracket.
-
Release the connector lock, and then
disconnect the driver seat controller electrical connector.
-
Release the clips (x3) that attach the
driver seat controller to the seat assembly, and then remove the controller from the
assembly.
Install
-
Position the driver seat controller
onto the seat assembly, and then fasten the clips (x3) that attach the controller to the
seat assembly.
-
Connect the driver seat controller electrical connector, and then engage the locking
tab.
-
Route the vent heat pad harnesses
along the driver seat controller bracket.
-
Connect the FSB vent heat pad electrical connector to the driver seat
controller.
-
Connect the FSC vent heat pad electrical connector to the driver seat
controller.
-
Connect the body harness to the seat controller.
Note2x connectors, 1x clip.
- Connect LV power. See LV Power (Disconnect and Connect).
-
Install new bolts (x2) that attach the front of the 1st row LH seat tracks to the
floor panel.
 34 Nm (25.1 lbs-ft)TIpUse of the following tool(s) is recommended:
- Torx Plus T45 socket
- Move the 1st row LH seat forward.
-
Install new bolts (x2) that attach the rear of the 1st row LH seat tracks to the
floor panel.
 34 Nm (25.1 lbs-ft)TIpUse of the following tool(s) is recommended:
- Torx Plus T45 socket
-
Calibrate the LH and RH falcon wing doors by holding the LH and RH button at the
upper B-pillar in the down position.
NoteDoors must be calibrated and closed for firmware to pass at a later step.
- Connect a laptop with Toolbox to the vehicle.
-
In Toolbox, select the Actions tab, and then
search for "VCSEATD".
NoteFor passenger seat, search for "VCSEATP".
-
Click
VCSEATD_Side_Assignment_Procedure, click
Run, and allow the routine to complete.
NoteFor passenger seat, run the VCSEATP_Side_Assignment_Procedure.
- Reinstall the firmware. See Firmware Reinstall - Toolbox.
- Calibrate the LH front seat: on the touchscreen, touch , and then touch START to start the calibration.