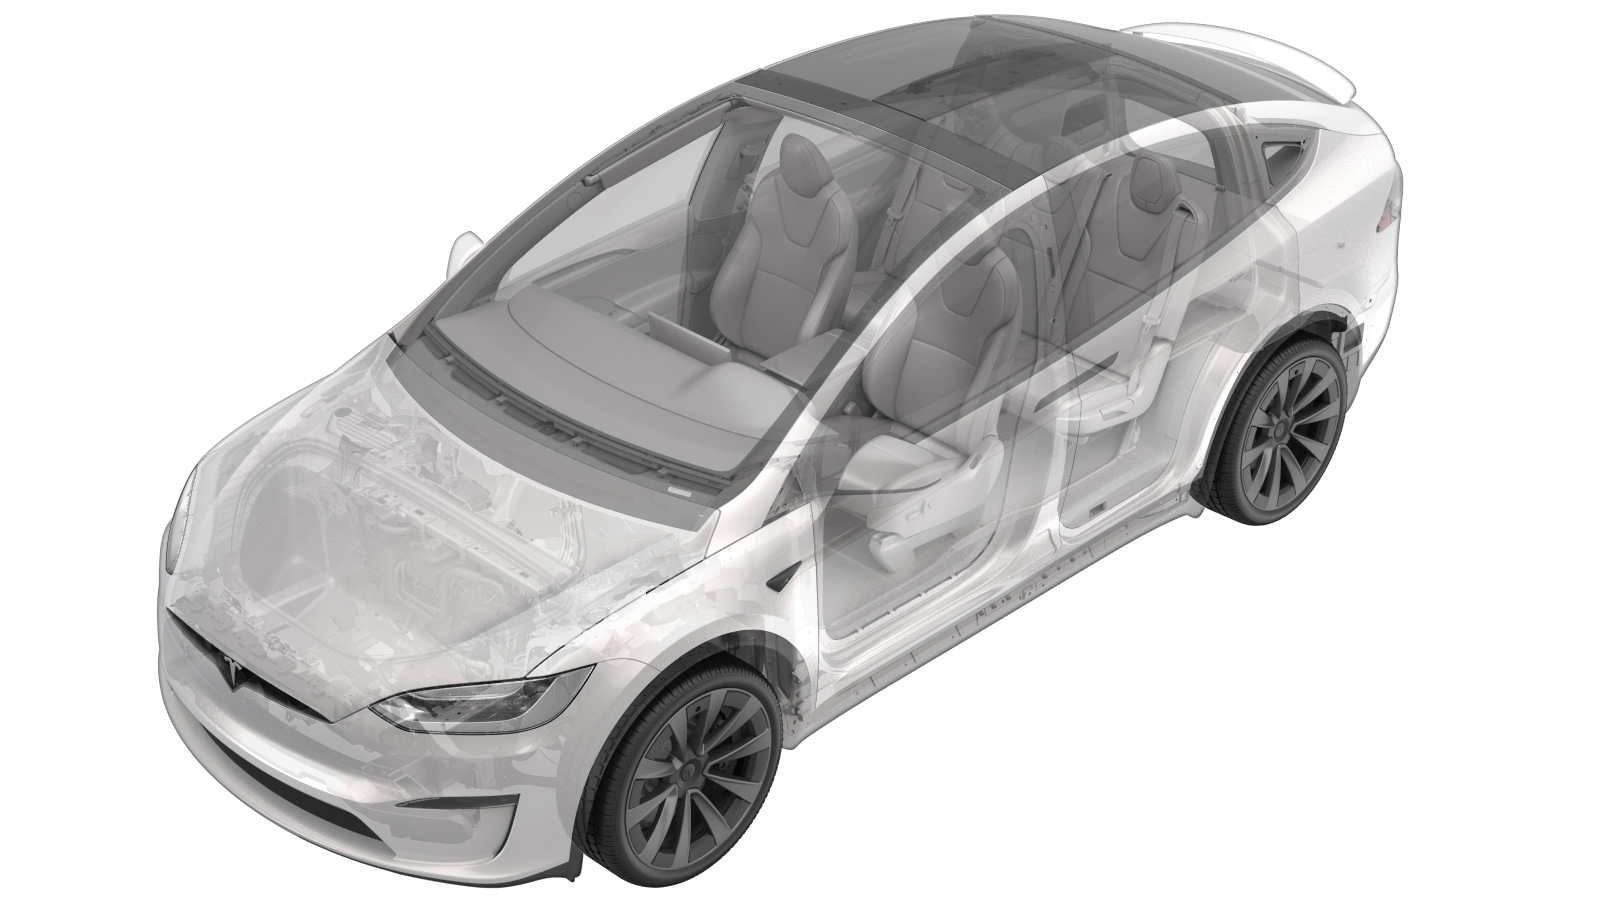
Light - Brake - High Mounted (Remove and Replace)
 Correction code
17402502
0.84
NOTE: Unless otherwise explicitly
stated in the procedure, the above correction code and FRT reflect all of the work
required to perform this procedure, including the linked procedures. Do not stack correction codes unless
explicitly told to do so.
NOTE: See Flat Rate Times to learn
more about FRTs and how they are created. To provide feedback on FRT values, email ServiceManualFeedback@tesla.com.
NOTE: See Personal Protection to make sure proper PPE is worn when
performing the below
procedure.
Remove
- Open the liftgate.
- Remove the lower liftgate trim. See Trim - Liftgate - Lower (Remove and Replace).
- Remove the liftgate speaker grille. See Grille - Speaker - Liftgate (Remove and Replace).
- Remove the liftgate upper trim. See Trim - Upper - Liftgate (Remove and Replace).
- Remove the RH active spoiler catch basin cover. See Cover - Catch Basin - Active Spoiler - LH (Remove and Replace).
-
Release the clip that attaches the high mounted brake light harness connector to the
liftgate assembly, and then disconnect the harness connector.
TIpUse of the following tool(s) is recommended:
- Clip pry tool
- Close the liftgate.
-
Carefully tape around the edges of the upper active spoiler applique and the liftgate
to prevent any paint damage when cutting away from the lower spoiler assembly.
TIpUse of the following tool(s) is recommended:
- Masking tape
-
Carefully insert the equalizer blade between the passive spoiler upper wing and
spoiler lower wing to cut through the urethane, and then remove the passive spoiler
upper wing from the spoiler lower wing.
NoteUse a wedge to help separate the passive spoiler upper wing and allow additional clearance for the equalizer blade to access and prevent contact to the body.TIpUse of the following tool(s) is recommended:
- Combi wedge
- Equalizer 360 - 1080598-00-A
- Equalizer blade - 1083427-00-A
- Equalizer blade handle - 1080594-00-A
-
Use IPA wipes to clean and remove any excess urethane from the spoiler lower wing
assembly surface area.
TIpUse of the following tool(s) is recommended:
- IPA wipes
- Winged scraper set - 1080601-00-A
-
Carefully release the high mounted brake light harness from the lower spoiler wing
assembly.
-
Remove and discard the screws (x6) and patch screws (x2) that attach the high mounted
brake light to the lower spoiler wing assembly, and then remove the light from the
vehicle.
TIpUse of the following tool(s) is recommended:
- 4 in extension
- Flex head ratchet/flex head torque wrench
- Plastic trim tool
- Torx T10 bit
-
Place the passive spoiler upper wing onto a soft surface, and then carefully use IPA
wipes to clean and remove any excess urethane from the surface area underneath the
passive spoiler upper wing.
TIpUse of the following tool(s) is recommended:
- IPA wipes
- Winged scraper set - 1080601-00-A
Install
-
Position the high mounted brake light
on the vehicle, and then install the new screws (x6) and patch screws (x2) that attach
the light to the lower spoiler wing assembly.
 1.5 Nm (1.1 lbs-ft)TIpUse of the following tool(s) is recommended:
- 4 in extension
- Flex head ratchet/flex head torque wrench
- Torque wrench with angle measurement
- Torx T10 bit
-
Ensure the high mounted brake light
harness is routed properly on the lower spoiler wing assembly.
NoteUse tape to secure the harness on the lower spoiler wing assembly.TIpUse of the following tool(s) is recommended:
- Harness tape
-
Apply Betaseal primer on the spoiler
lower wing assembly.
TIpUse of the following tool(s) is recommended:
- Betaseal primer
-
Apply Betaseal express on the surface
of the spoiler lower wing assembly.
TIpUse of the following tool(s) is recommended:
- Caulk and adhesive gun
-
Install the passive spoiler upper wing
on the spoiler lower wing assembly.
NoteApply equal pressure, use tape if needed to hold down passive spoiler upper wing, and check gaps and fitment from side to side and front to back.NoteAllow 1 hour for urethane to dry. Remove masking tape after drying time has passed.TIpUse of the following tool(s) is recommended:
- Masking tape
- Open the liftgate.
-
Install the clip that attaches the high mounted brake light harness connector to the
liftgate assembly, and then connect the harness connector.
- Install the RH active spoiler catch basin cover. See Cover - Catch Basin - Active Spoiler - LH (Remove and Replace).
- Install the liftgate upper trim. See Trim - Upper - Liftgate (Remove and Replace).
- Install the liftgate speaker grille. See Grille - Speaker - Liftgate (Remove and Replace).
- Install the lower liftgate trim. See Trim - Liftgate - Lower (Remove and Replace).
- Close the liftgate.