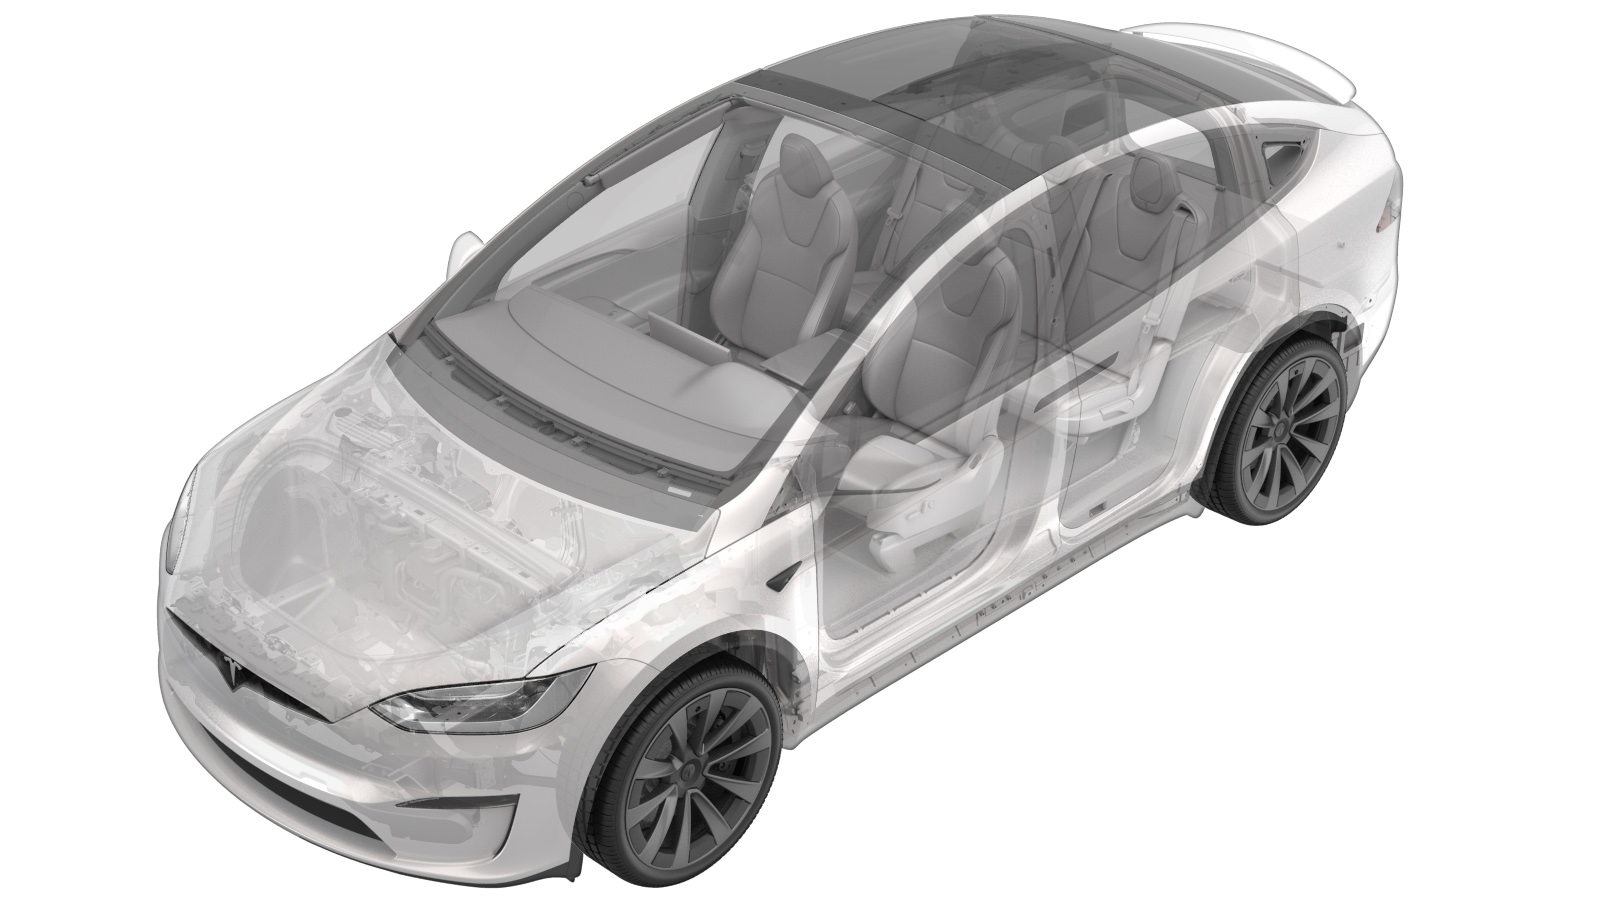
Seal - Lower NVH Extrusion - LH (Remove and Replace)
 Correction code
11709002
0.66
NOTE: Unless otherwise explicitly
stated in the procedure, the above correction code and FRT reflect all of the work
required to perform this procedure, including the linked procedures. Do not stack correction codes unless
explicitly told to do so.
NOTE: See Flat Rate Times to learn
more about FRTs and how they are created. To provide feedback on FRT values, email ServiceManualFeedback@tesla.com.
NOTE: See Personal Protection to make sure proper PPE is worn when
performing the below
procedure.
Remove
-
Measure the gap and flush of the LH
falcon wing door according to specification.
NoteRecord the gap and flush data, and then use it as a base line when installing the door.TIpUse of the following tool(s) is recommended:
- Gap and flush tool
- Masking tape
- Pen
- Open the LH front door.
- Lower both of the LH side windows.
- Move the LH front seat forward.
- Open the LH falcon wing door.
- Remove the LH rear door trim lower garnish. See Garnish - Lower - Door Trim - Rear - LH (Remove and Replace).
- Remove the LH rear door trim decor. See Decor - Trim - Rear Door - LH (Remove and Replace).
- Remove the LH rear door trim panel. See Panel - Door Trim - Rear - LH (Remove and Replace).
-
With assistance, use an underhoist
stand to support the LH falcon wing door.
TIpUse of the following tool(s) is recommended:
- 3/4 Ton underhoist stand - 1081765-00-A
- Open the hood.
- Remove the rear underhood apron. See Underhood Apron - Rear (Remove and Replace).
- On the touchscreen, touch .
- Disconnect LV power. See LV Power (Disconnect and Connect).
- Remove the LH lower rear door harness. See Harness - Rear Door - Lower - LH (Remove and Replace).
-
Mark the position of the LH rear lower
door assembly to the LH rear upper door assembly.
TIpUse of the following tool(s) is recommended:
- Marker
- Masking tape
- Remove the LH rear lower door assembly. See Door Assembly - Rear Lower - LH (Remove and Replace).
-
Remove the LH lower NVH extrusion seal
from the LH rear lower door assembly.
Install
- Apply adhesive promoter to the LH lower NVH extrusion seal and the LH rear lower door assembly surface area. Allow 1 minute dry time.
-
Remove the double sided tape from the LH lower NVH extrusion seal, install the seal
on the LH rear lower door assembly, and then use a seam roller to press the seal in
place.
NoteCenter the seal approximately 57mm from the rear of cantrail seal, and 51mm from the front of the cantrail seal.TIpUse of the following tool(s) is recommended:
- Seam roller - 1049517-00-A
- Install the LH rear lower door assembly. See Door Assembly - Rear Lower - LH (Remove and Replace).
-
With assistance, remove the underhoist stand from the LH falcon wing door.
TIpUse of the following tool(s) is recommended:
- 3/4 Ton underhoist stand - 1081765-00-A
- Install the LH lower rear door harness. See Harness - Rear Door - Lower - LH (Remove and Replace).
-
Manually lower the LH falcon wing
door.
NoteDo not engage the door latch.
- Connect LV power. See LV Power (Disconnect and Connect).
- Install the rear underhood apron. See Underhood Apron - Rear (Remove and Replace).
- Close the hood.
- Install the LH rear door trim panel. See Panel - Door Trim - Rear - LH (Remove and Replace).
- Install the LH rear door trim decor. See Decor - Trim - Rear Door - LH (Remove and Replace).
- Install the LH rear door trim lower garnish. See Garnish - Lower - Door Trim - Rear - LH (Remove and Replace).
-
Calibrate the rear doors.
NoteIf the "Calibration Needed" message appears on the vehicle touchscreen, touch and hold Calibrate to calibrate the rear doors.
- Move the LH front seat to original position.
- Raise both of the LH side windows.
- Close the LH front door.