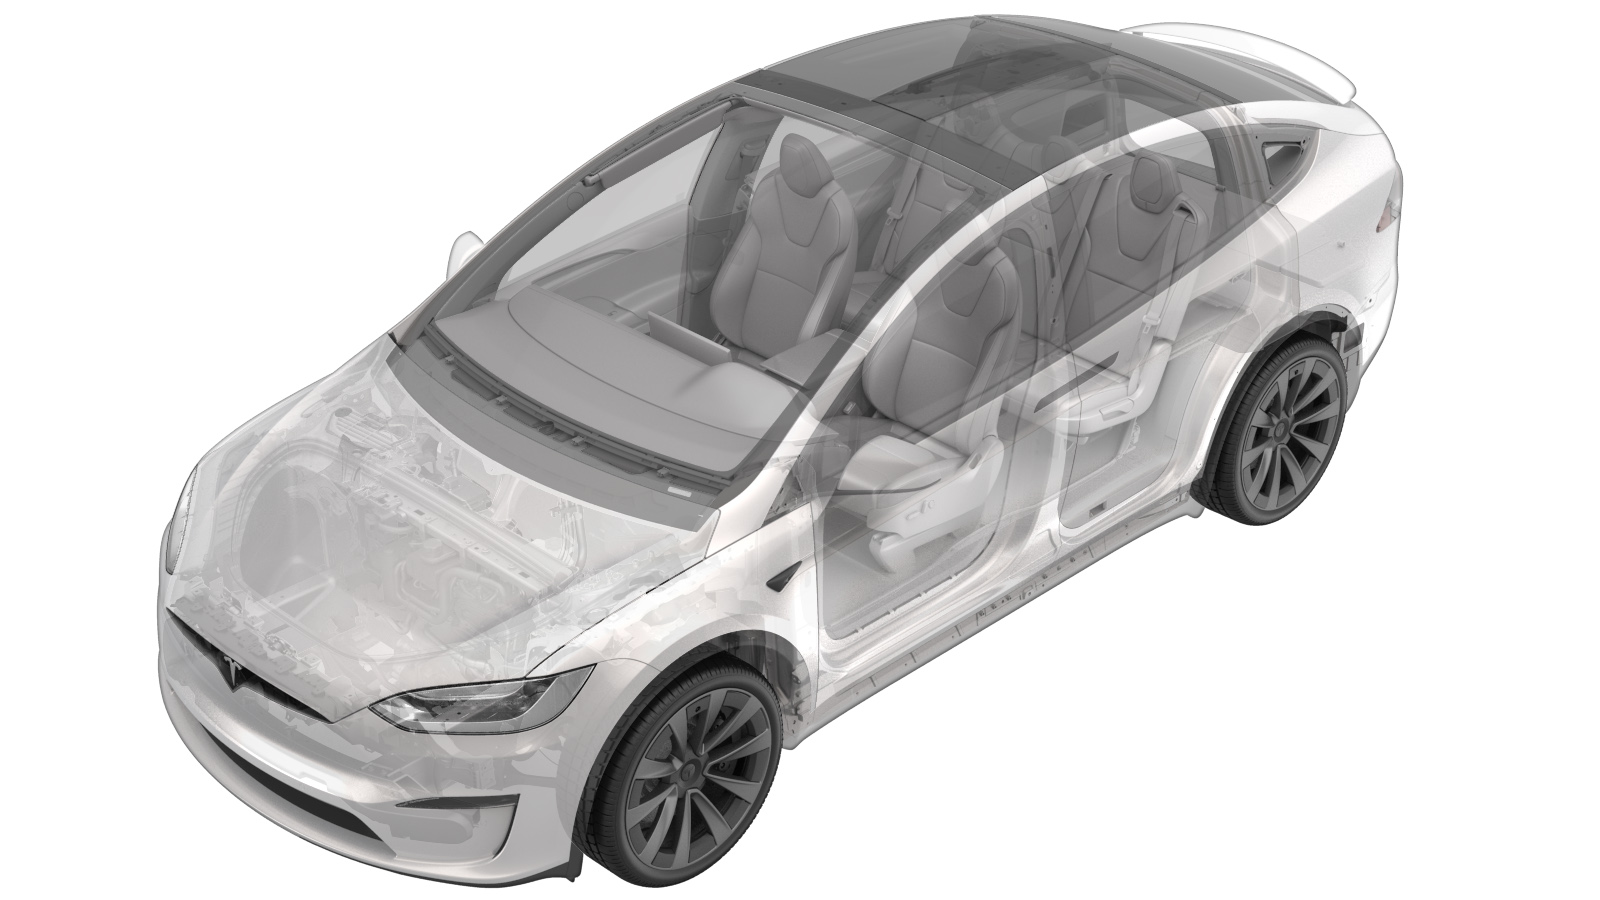
Bracket - Trim - Trunk - RH (Remove and Replace)
 Correction code
15240202
0.60
NOTE: Unless otherwise explicitly
stated in the procedure, the above correction code and FRT reflect all of the work
required to perform this procedure, including the linked procedures. Do not stack correction codes unless
explicitly told to do so.
NOTE: See Flat Rate Times to learn
more about FRTs and how they are created. To provide feedback on FRT values, email ServiceManualFeedback@tesla.com.
NOTE: See Personal Protection to make sure proper PPE is worn when
performing the below
procedure.
Remove
- Open the RH doors and lower the RH front window.
- Move RH seats forward.
- Remove the RH rear sill panel trim. See Trim - Sill Panel - Rear - LH (Remove and Replace).
- Remove the rear trunk load floor. See Trunk Load Floor - Rear (Remove and Replace).
-
Remove the trunk tub floor
insulator.
-
Remove the trunk carpet.
- Remove the LH and RH side rear trunk garnishes. See Garnish - Rear Trunk - Side - LH (Remove and Replace)
- Remove the RH mid C-pillar trim. See Trim - C-Pillar - Mid - LH (Remove and Replace).
- Remove the RH lower C-pillar trim. See Trim - C-Pillar - Lower - LH (Remove and Replace).
- Remove the trunk sill trim. See Trim - Sill - Trunk (Remove and Replace).
-
Remove the clips (x6) that attach the
rear wall load support to the vehicle.
- Fold the RH 3rd row seat back to the down position.
- Remove the RH upper C-pillar trim. See Trim - C-Pillar - Upper - LH (Remove and Replace).
-
Release the RH trunk tie down from the
RH side trim carpet.
-
Disconnect the connectors (x2), remove
the push clips (x4) that attach the RH trunk side trim to the vehicle, and then remove
the side trim from the vehicle.
-
Remove the bolts (x3), screw, and push
clip that attach the RH trunk trim bracket to the vehicle, and then remove the bracket
from the vehicle.
 2.5 Nm (1.8 lbs-ft)TIpUse of the following tool(s) is recommended:
- T20 socket
- T30 socket
Install
-
Position the RH trunk trim bracket to
the vehicle, and then install the bolts (x3), screw, and push clip that attach the
bracket to the vehicle.
 2.5 Nm (1.8 lbs-ft)TIpUse of the following tool(s) is recommended:
- T20 socket
- T30 socket
-
Position the RH trunk side trim into
the vehicle, connect the connectors (x2), and then install the push clips (x4) that
attach the side trim to the vehicle.
-
Insert the RH trunk tie down into the
RH trunk side trim carpet.
- Install the RH upper C-pillar trim. See Trim - C-Pillar - Upper - LH (Remove and Replace).
- Move the RH 3rd row seat back to the upright position.
- Install the RH lower C-pillar trim. See Trim - C-Pillar - Lower - LH (Remove and Replace).
- Install the RH rear sill panel trim. See Trim - Sill Panel - Rear - LH (Remove and Replace).
- Install the RH mid C-pillar trim. See Trim - C-Pillar - Mid - LH (Remove and Replace).
-
Install the clips (x6) that attach the
rear wall load floor support to the vehicle.
- Install the trunk sill trim. See Trim - Sill - Trunk (Remove and Replace).
- Install the LH and RH side rear trunk garnishes. See Garnish - Rear Trunk - Side - LH (Remove and Replace).
-
Install the trunk carpet.
-
Install the trunk tub floor
insulator.
- Install the rear trunk load floor. See Trunk Load Floor - Rear (Remove and Replace).
- Move the RH seats to the original position.
- Close the RH doors and raise the RH front window.