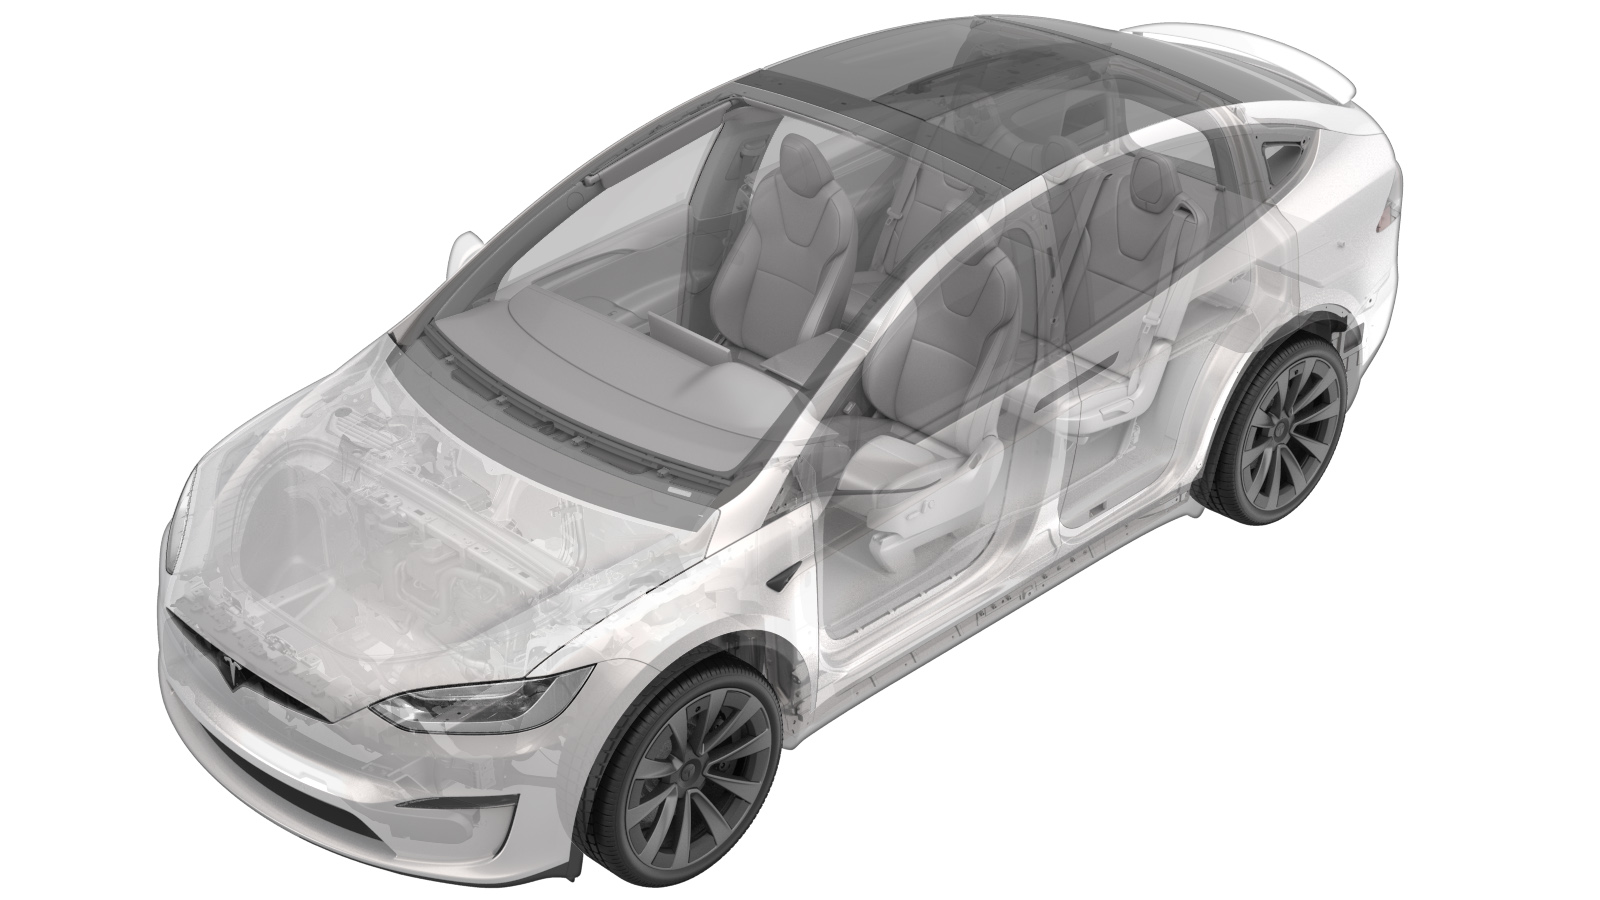
Sensor Mat - Occupant Classification System - 1st Row - RH (Remove and Replace)
 Correction code
20202212
1.14
NOTE: Unless otherwise explicitly
stated in the procedure, the above correction code and FRT reflect all of the work
required to perform this procedure, including the linked procedures. Do not stack correction codes unless
explicitly told to do so.
NOTE: See Flat Rate Times to learn
more about FRTs and how they are created. To provide feedback on FRT values, email ServiceManualFeedback@tesla.com.
NOTE: See Personal Protection to make sure proper PPE is worn when
performing the below
procedure.
- 2023-04-20: Cleaned up.
Remove
- Remove the RH front seat from the vehicle. See Seat Assembly - 1st Row - LH (Remove and Replace).
- Remove the RH front seat cushion cover from the foam pad. See Cover - Cushion - Driver Seat (Remove and Replace).
-
Remove the occupant classification
system sensor mat from the FSC vent heat pad.
NoteThe mat is secured with adhesive strips at 4 locations, be cautious during removal to avoid damage to the heat pad.
Install
-
Install the occupant classification
system sensor mat onto the FSC vent heat pad.
NotePosition the mat in line with the rear circle cutouts on the foam pad, ensure all strips are fully secured to the heat pad.
- Install the RH front seat cushion cover to the foam pad. See Cover - Cushion - Driver Seat (Remove and Replace).
- Install the RH front seat to the vehicle. See Seat Assembly - 1st Row - LH (Remove and Replace).
- Connect a laptop with Toolbox to the vehicle. See Toolbox (Connect and Disconnect).
- Unlock the vehicle gateway. See Gateway (Unlock).
- In Toolbox, click the Actions tab, type "Calibration" into the search field, click PROC_VCSEATD_SEAT-CALIBRATEvia Toolbox: (link), click Run, and allow the routine to complete.
- Disconnect Toolbox and remove the laptop from the vehicle. See Toolbox (Connect and Disconnect).