Cover - Pyrotechnic Fuse - HV Battery (Remove and Replace)
 Correction code
16100012
0.36
NOTE: Unless otherwise explicitly
stated in the procedure, the above correction code and FRT reflect all of the work
required to perform this procedure, including the linked procedures. Do not stack correction codes unless
explicitly told to do so.
NOTE: See Flat Rate Times to learn
more about FRTs and how they are created. To provide feedback on FRT values, email ServiceManualFeedback@tesla.com.
NOTE: See Personal Protection to make sure proper PPE is worn when
performing the below
procedure.
High Voltage Awareness Care Pointsfor additional glove and safety information.
Torque Specifications
| Description | Torque Value | Recommended Tools | Reuse/Replace | Notes |
|---|---|---|---|---|
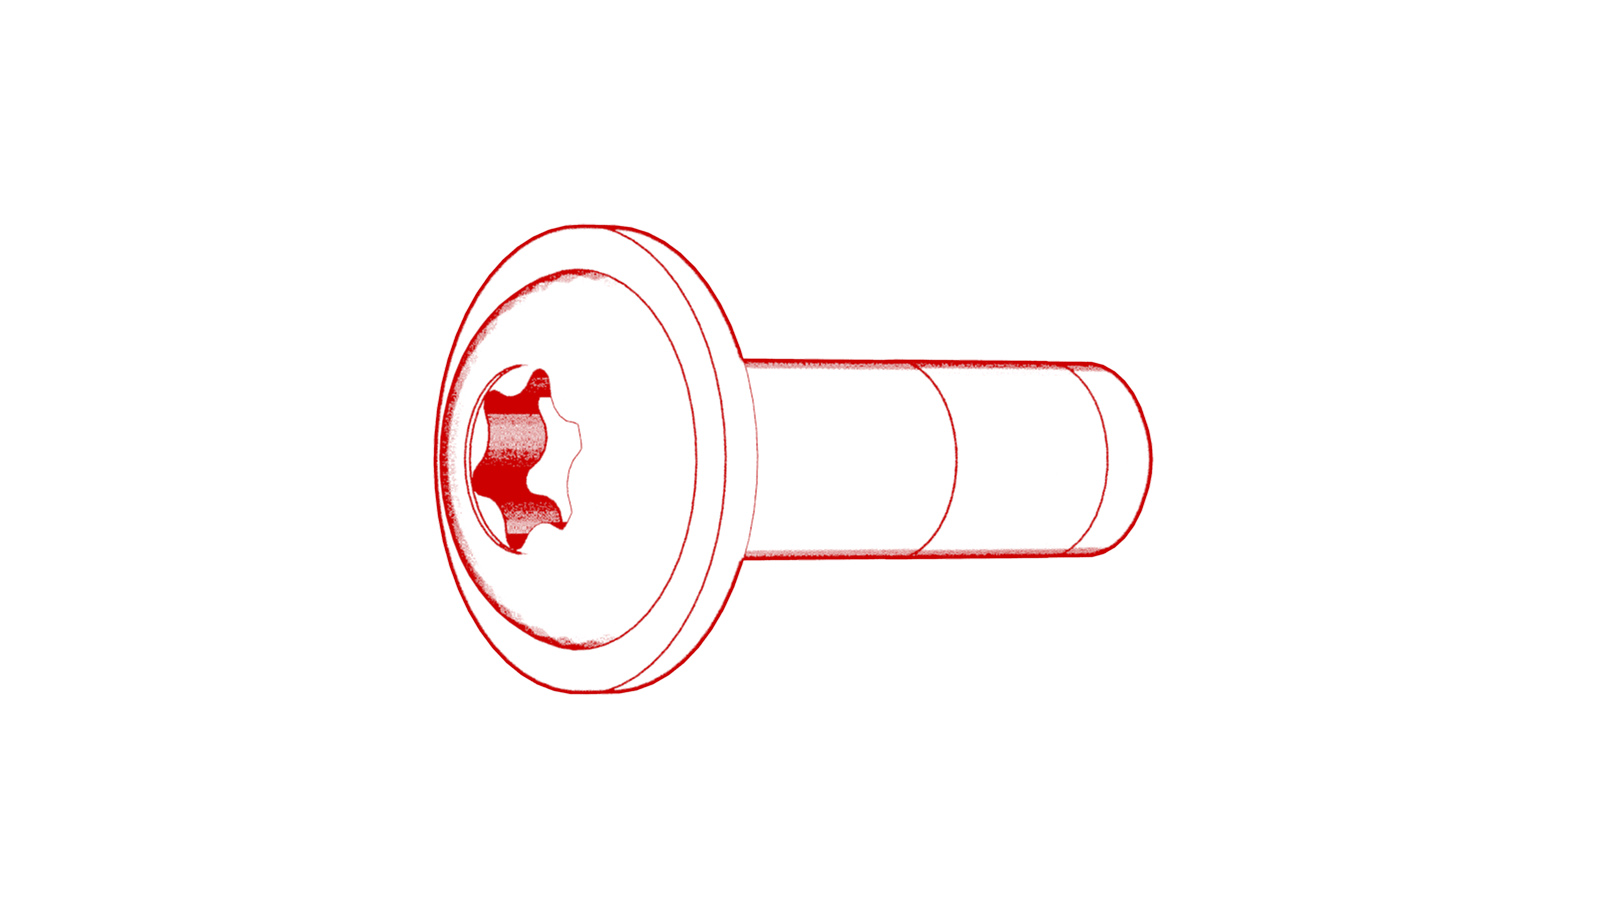
| Bolts (x8) that attach the pyrotechnic fuse cover to the HV battery |
 7.5 Nm (5.5 lbs-ft) |
Insulated tools
|
Replace |
Remove
- Move the vehicle to a 2 post lift. See Raise Vehicle - 2 Post Lift.
- Remove the rear underhood apron. See Underhood Apron - Rear (Remove and Replace).
- Disconnect LV power. See LV Power (Disconnect and Connect).
- Raise the vehicle fully.
- Remove all items from pockets and ensure not wearing metal items.
-
Check the HV insulating gloves for
damage prior to use.
CAUTIONRefer to service document TN-15-92-003, for information on inspecting the HV gloves.
- Put on the HV insulating gloves and leather over gloves.
-
Remove and discard the bolts (x8) that
attach the pyrotechnic fuse cover to the HV battery, and then remove the cover.
TIpUse of the following tool(s) is recommended:
- Insulated tools:
- Ratchet/torque wrench
- T25 Socket, 1/4" drive, hex bit, 6"
- Insulated tools:
Install
-
Clean the sealing surface of the
pyrotechnic fuse cover with an IPA wipe, and allow 1 minute to dry.
-
Install new bolts (x8) that attach the
pyrotechnic fuse cover to the HV battery, and then mark each bolt with a paint pen after
it is torqued.
 7.5 Nm (5.5 lbs-ft)TIpUse of the following tool(s) is recommended:
- Insulated tools:
- Ratchet/torque wrench
- T25 Socket, 1/4" drive, hex bit, 6"
- Insulated tools:
- Remove the leather glove protectors and HV insulating gloves.
- Connect LV power. See LV Power (Disconnect and Connect).
- Install the rear underhood apron. See Underhood Apron - Rear (Remove and Replace).
- Remove the vehicle from the 2 post lift. See Raise Vehicle - 2 Post Lift.