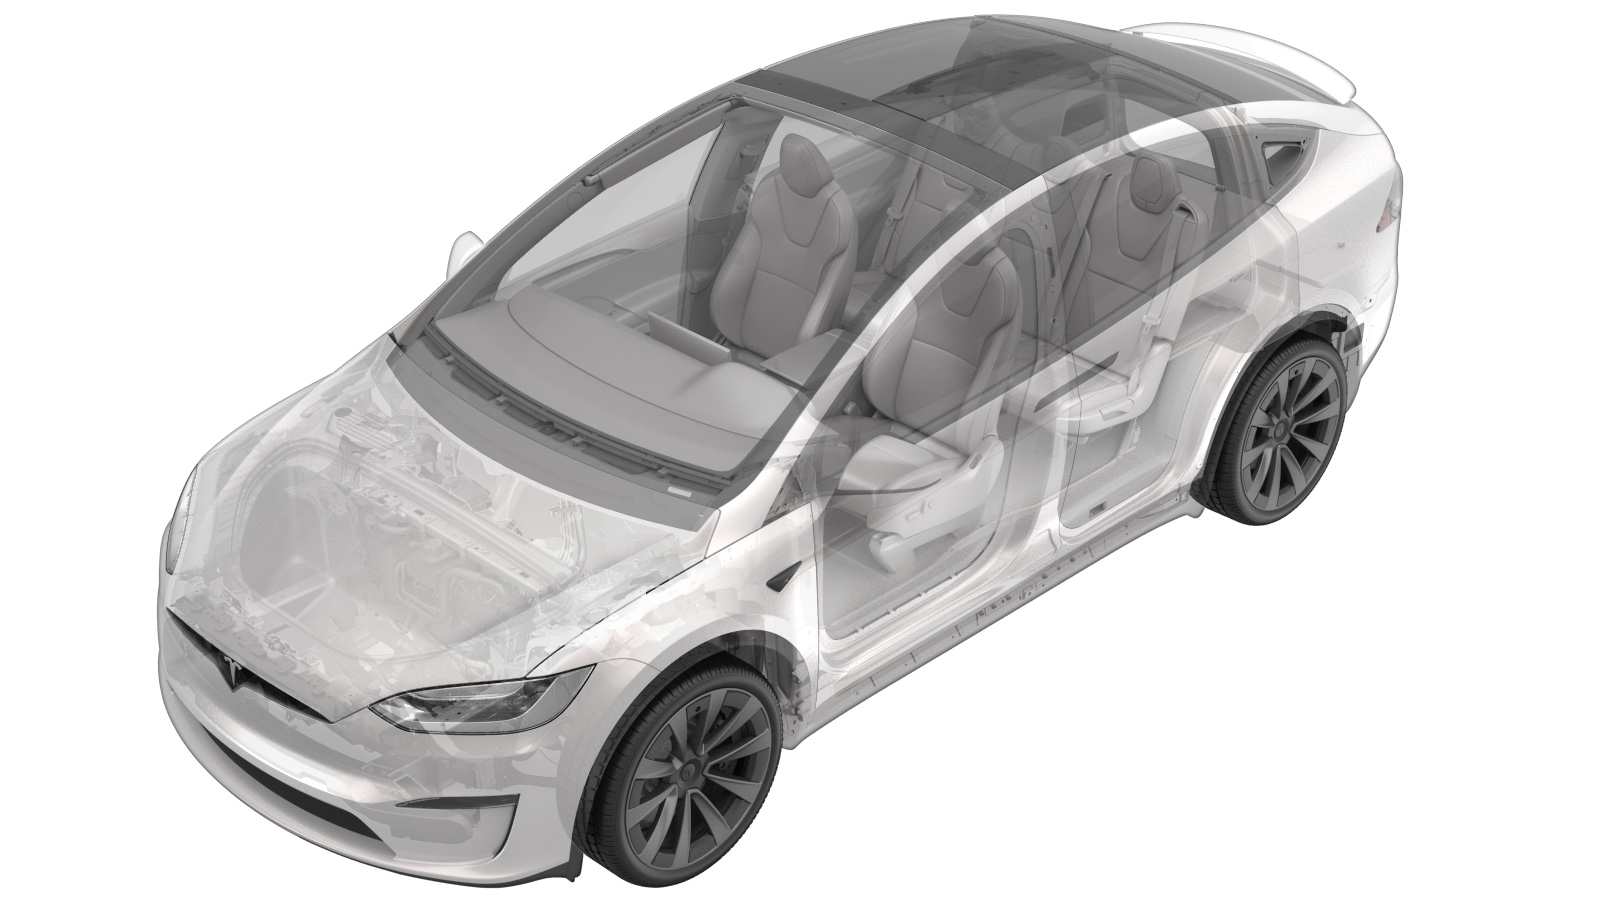
Ride Height (Adjust)
 Correction code
31001000
0.30
NOTE: Unless otherwise explicitly
stated in the procedure, the above correction code and FRT reflect all of the work
required to perform this procedure, including the linked procedures. Do not stack correction codes unless
explicitly told to do so.
NOTE: See Flat Rate Times to learn
more about FRTs and how they are created. To provide feedback on FRT values, email ServiceManualFeedback@tesla.com.
NOTE: See Personal Protection to make sure proper PPE is worn when
performing the below
procedure.
- 2023-12-04: Revised procedure to be in line with latest PDS validation.
Procedure
- At the alignment rack, verify that the turn and slip plates are locked.
- Align the vehicle to the alignment rack ramps, drive the vehicle onto the alignment rack, and then shift into Park.
- Set vehicle ride height to "Low": on the touchscreen, touch .
- Open the LH front door and lower the window.
- On the touchscreen, touch and confirm that the wheel configuration is set correctly.
-
Set the steering wheel/yoke straight ahead.
NoteUse the steering wheel/yoke bubble level to confirm that the front wheels are pointing straight forward.
-
With the LH front door open, manually latch the LH front door.
NoteDo not close the door with the latch engaged.
- Put wheel chocks at both sides of the LH rear wheel.
- Connect a laptop with Toolbox to the vehicle. See Toolbox (Connect and Disconnect).
- Raise the alignment rack to a comfortable working height.
- Install inflation hoses onto all four wheels so that tire pressures can be set automatically.
-
Set the tire machine pressures to
match those specified for the vehicle.
NoteRefer to the "Tire and Loading Information" label located on the driver side B-pillar.
-
Verify that the chassis height
measurement tool (1071271-00-A) is zeroed at 51 mm, and adjust if necessary.
- Remove the inflation hoses from all four wheels, and then reinstall the valve stem caps.
- In Toolbox, select the Actions tab and search for "Level Tesla Air Suspension", select PROC_TAS_X_LEVEL-TO-HEIGHTvia Toolbox: (link)via Service Mode: Chassis ➜ Alignment & Tires ➜ Set Suspension Height, select Cycle, and click Run.
- Perform air suspension calibration: in Toolbox, select the Actions tab and search for "Calibrate Air Suspension", and then select PROC_TAS_X_CALIBRATE-RIDE-HEIGHTvia Toolbox: (link).
-
Measure the vehicle ride height at the 4 designated points, enter the measured ride
height values into Toolbox, and then click Run.
- In Toolbox, select the Actions tab and search for "Level Tesla Air Suspension", select PROC_TAS_X_LEVEL-TO-HEIGHTvia Toolbox: (link)via Service Mode: Chassis ➜ Alignment & Tires ➜ Set Suspension Height, select Cycle, and click Run.
- Check the ride height calibration: in Toolbox, select the Actions tab and search for "Check Tesla Ride Height Calibration", and select PROC_TAS_X_CHECK-RIDE-HEIGHT-CALIBRATIONvia Toolbox: (link).
-
Measure the vehicle ride height at the
4 designated points, enter the measured ride height values into Toolbox, and then click
Run.
NoteIf the routine fails, perform air suspension calibration through Toolbox. If calibration fails, find the root cause before continuing this procedure.
- Fully lower the alignment rack.
- Disconnect the laptop from the vehicle. See Toolbox (Connect and Disconnect).
- Release the LH front door latch by simultaneously pressing on the interior door switch and pushing the door latch open.
- Remove the steering wheel/yoke bubble level.
- Remove the wheel chocks from the LH rear wheel.
- Remove the vehicle from the alignment rack.