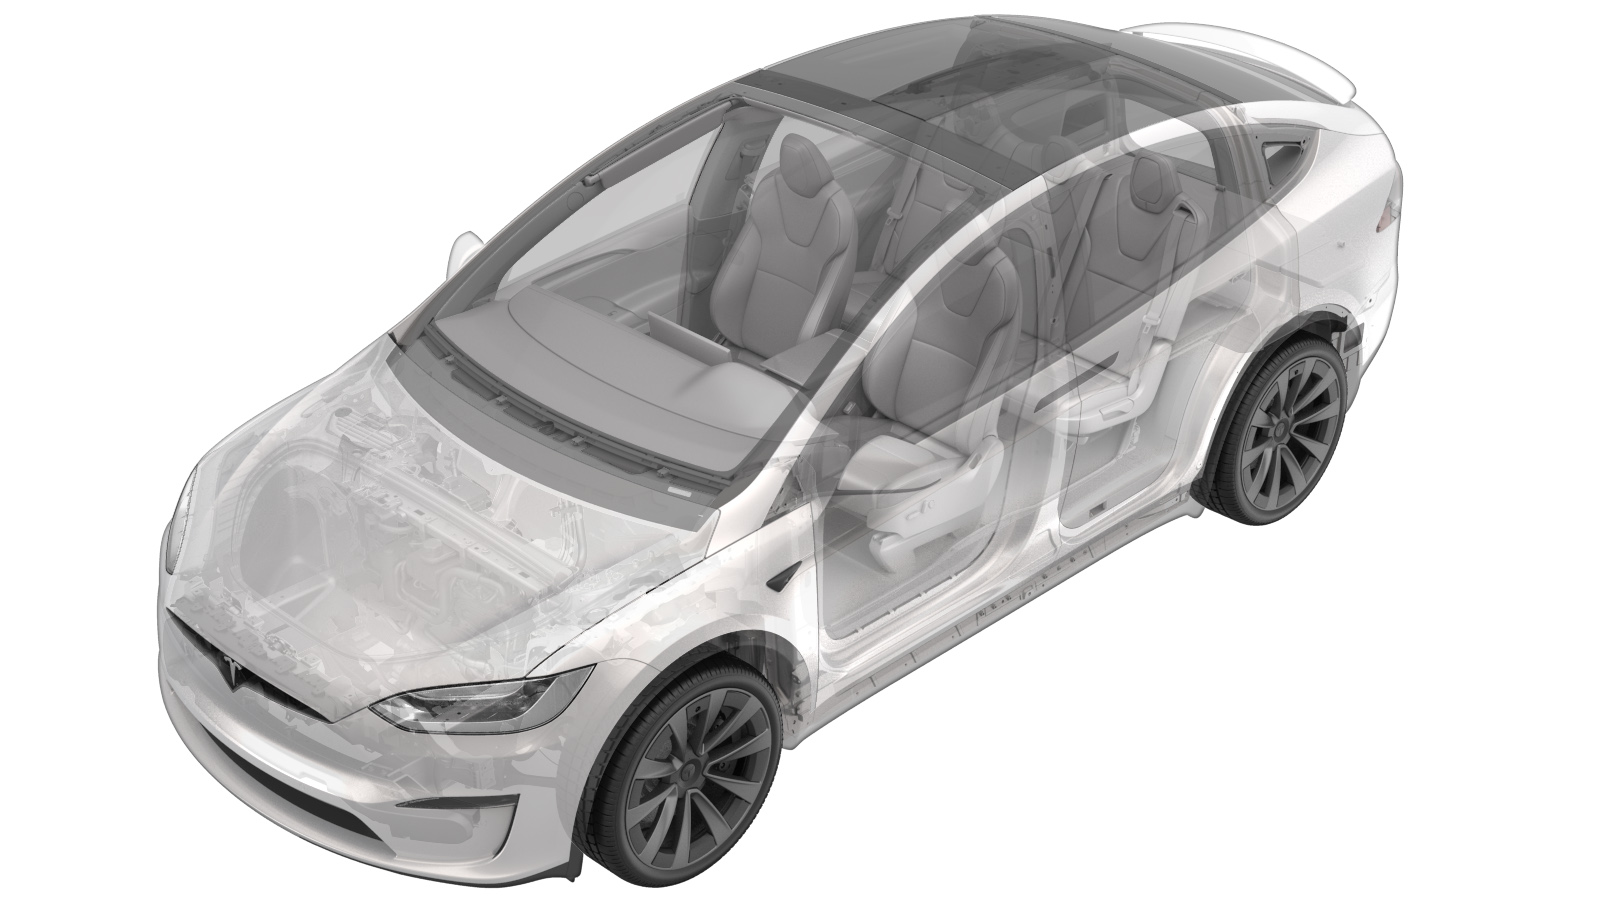
Vehicle HV Disablement Procedure
 Correction code
17010000
0.42
NOTE: Unless otherwise explicitly
stated in the procedure, the above correction code and FRT reflect all of the work
required to perform this procedure, including the linked procedures. Do not stack correction codes unless
explicitly told to do so.
NOTE: See Flat Rate Times to learn
more about FRTs and how they are
created.
NOTE: See Personal Protection to make sure proper PPE is worn when
performing the below
procedure.
Correction code
17010000
0.42
NOTE: Unless otherwise explicitly
stated in the procedure, the above correction code and FRT reflect all of the work
required to perform this procedure, including the linked procedures. Do not stack correction codes unless
explicitly told to do so.
NOTE: See Flat Rate Times to learn
more about FRTs and how they are
created.
NOTE: See Personal Protection to make sure proper PPE is worn when
performing the below
procedure.
- 2025-12-04: Added note not to remove HV leather gloves if procedure that requires isolation involves handling HV components.
- 2025-03-24: Added warning for regional tooling regulations.
- 2024-12-20: Added note to set the clamp meter to measure DC.
- 2024-06-07: Added steps to set suspension height and activate Jack Mode before step that instructs to disconnect LV.
- 2024-06-05: Added warning to measure the specified order of locations for high voltage.
- 2024-04-19: Updated the order of measuring the voltage at each terminal to ground first before measuring the voltage at both terminals.
- 2023-06-22: Updated photos to show CAT III probes being used and corrected photo for HV harness connection.
- 2023-05-02: Updated current measurement step sequence and consistency.
Only
technicians who have been trained in High Voltage Awareness and
have completed all required certification courses (if applicable) are permitted to
perform this procedure. Proper personal protective equipment
(PPE) and insulating HV gloves with a minimum rating
of class 0 (1000V) must be worn at all times a high voltage
cable, busbar, or fitting is handled. Refer to Tech Note
TN-15-92-003, High Voltage Awareness Care Points
for
additional glove and safety
information.
Equipment:
- 1076921-00-B, Insulation Multimeter, Fluke 1507
- 1130480-00-A, Test Probes, Slim, Fluke TP38
- 1146175-00-A, Current Clamp; Fluke 374 FC
Disable
-
Prepare the vehicle for lifting, but
do not raise the vehicle yet. See Raise Vehicle - 2 Post Lift.
NoteSet air suspension to Very High and activate Jack Mode.
- Remove all items from pockets and make sure not to wear any metal items.
- Disconnect LV power. See LV Power (Disconnect and Connect).
-
Set the high voltage multimeter to DC
voltage. Lightly touch the probes to the LV battery terminals, and verify that the
multimeter displays a voltage.
NoteBattery voltage is typically 14.5 to 15.5 volts. If the battery voltage is 0 volts, the battery may have switched off internally. Use a 12 V lead acid battery for testing. Lead acid battery voltage is typically 10 to 14 volts.
- Raise the vehicle. See Raise Vehicle - 2 Post Lift.
- Remove the mid aero shield panel. See Panel - Aero Shield - Rear (Remove and Replace).
-
Power on the current clamp meter, then
zero out the meter for measurement.
WarningMake sure to set the clamp meter to measure DC amps ("Adc").
-
Install the current clamp meter onto
one cable of the rear drive unit HV harness.
NoteMake sure the meter is facing the correct direction as shown.
Figure 1. Long Range Figure 2. Plaid - Rear Drive Unit LH HV Harness -
Measure the current in the HV
cable.
- If the current is within the range of -0.5 A to 0.5 A, continue to the next step.
- If the current is outside the
range of -0.5 A to 0.5 A, for example -0.8 A or 1.3 A, re-perform the LV power
disconnect procedure. See LV Power (Disconnect and Connect). If the measurement is still
outside the range of -0.5 A to 0.5 A, escalate for assistance.WarningDO NOT DISCONNECT any HV harness when the current measurement is outside the range of -0.5 A to 0.5 A.
-
Inspect the HV insulating
gloves.
NoteRefer to service document TN-15-92-003, for information on inspecting HV gloves.
-
Put on the HV insulating gloves and
then leather over gloves.
-
Slide the red connector locking tab,
open the black release lever, and then disconnect the rear drive unit HV harness from
the HV battery LH HV header.
-
Use the high voltage multimeter with
CAT III probes to verify that no high voltage is present at the HV battery LH HV
header.
Measure the following voltages:WarningIn order to limit potential exposure to high voltage, measure for high voltage in the order specified below.
- B+ to ground
- B- to ground
- B+ to B-
WarningIf any voltage is greater than 10 V, the contactors are closed or welded. Escalate to Service Engineering. -
If the procedure that required vehicle
HV disablement does not need the rear drive unit HV harness disconnected from the HV
battery, reconnect the RDU to the HV battery header.
NoteVerify that the black release lever of the rear drive unit HV harness connector is in the open position. Install the connector flat and square to the HV battery header, secure the release lever to the closed position, then slide the red connector locking tab.
-
Return to the procedure that required
the HV disablement check.
WarningFollow all safety instructions and PPE requirements of the procedure that required the vehicle to be electrically isolated. Do not remove the HV gloves if the procedure requires you to handle high voltage cables, busbars, or fittings.NoteIf you are no longer exposed to high voltage, the HV insulating gloves may be removed.
Reenable
- If removed, put on the HV insulating gloves and leather over gloves.
-
If the RDU connector was disconnected
from the HV battery header, reconnect it.
NoteVerify that the black release lever of the rear drive unit HV harness connector is in the open position. Install the connector flat and square to the HV battery header, secure the release lever to the closed position, then slide the red connector locking tab.
- Remove the leather glove protectors and the HV insulating gloves.
- Install the mid aero shield panel. See Panel - Aero Shield - Rear (Remove and Replace).
- Lower the vehicle. See Raise Vehicle - 2 Post Lift.
- Connect LV power. See LV Power (Disconnect and Connect).
- Remove the vehicle from the lift.